

Hi Team,
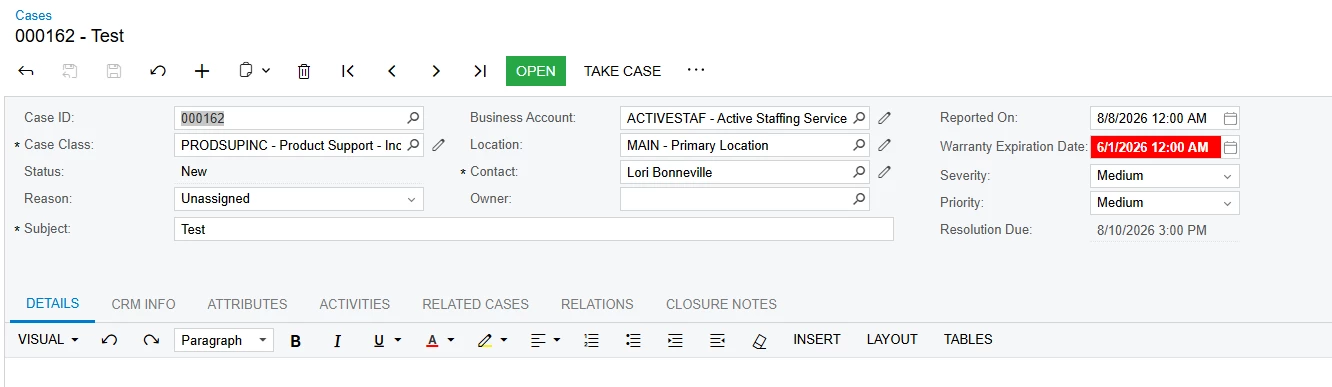
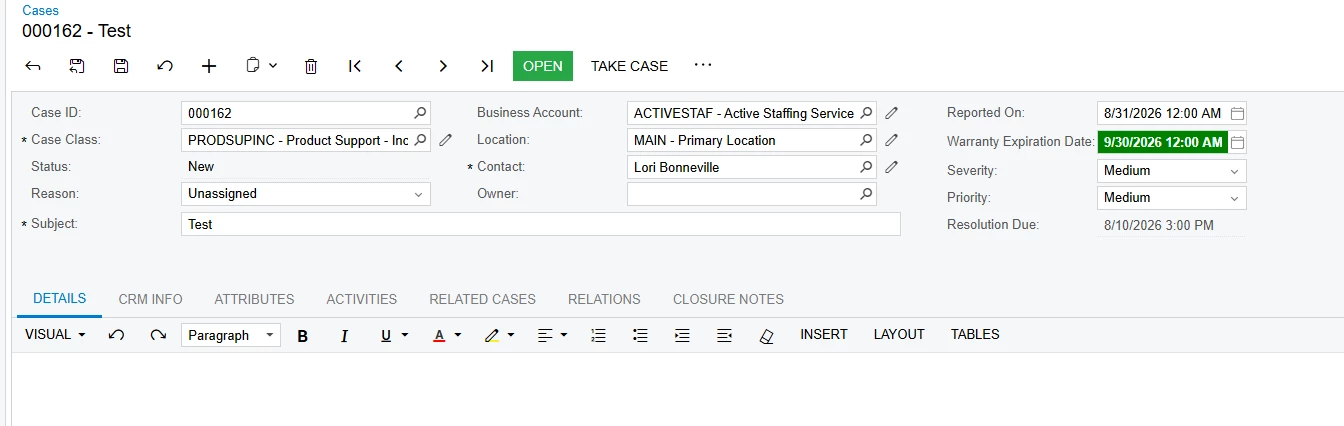
I have a requirement on the Cases screen where I added a custom Date field. I want to apply conditional formatting to this field:
- If the custom date is greater than the Reported Date, the field should appear Red.
- Else, it should be Green.
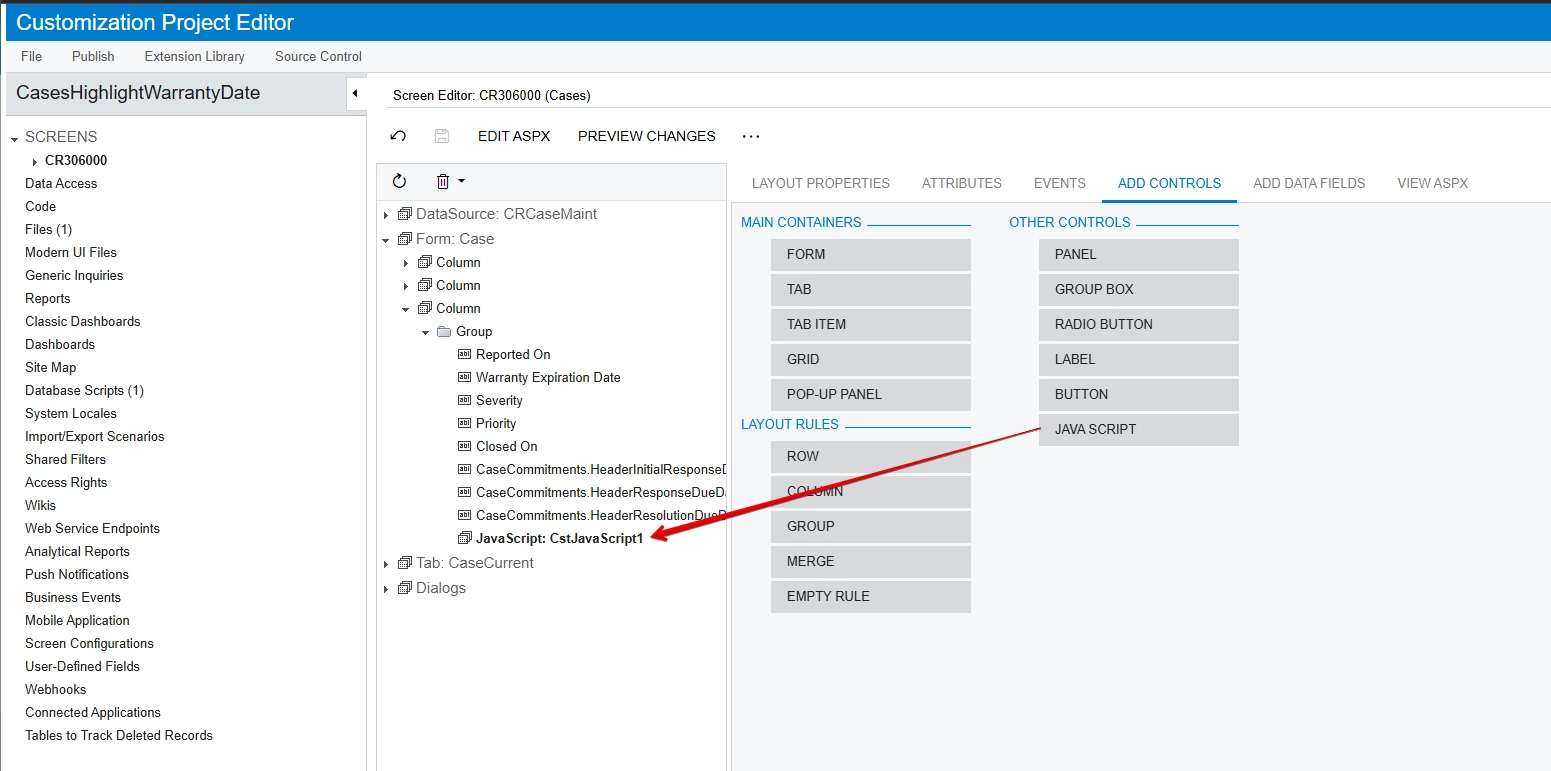
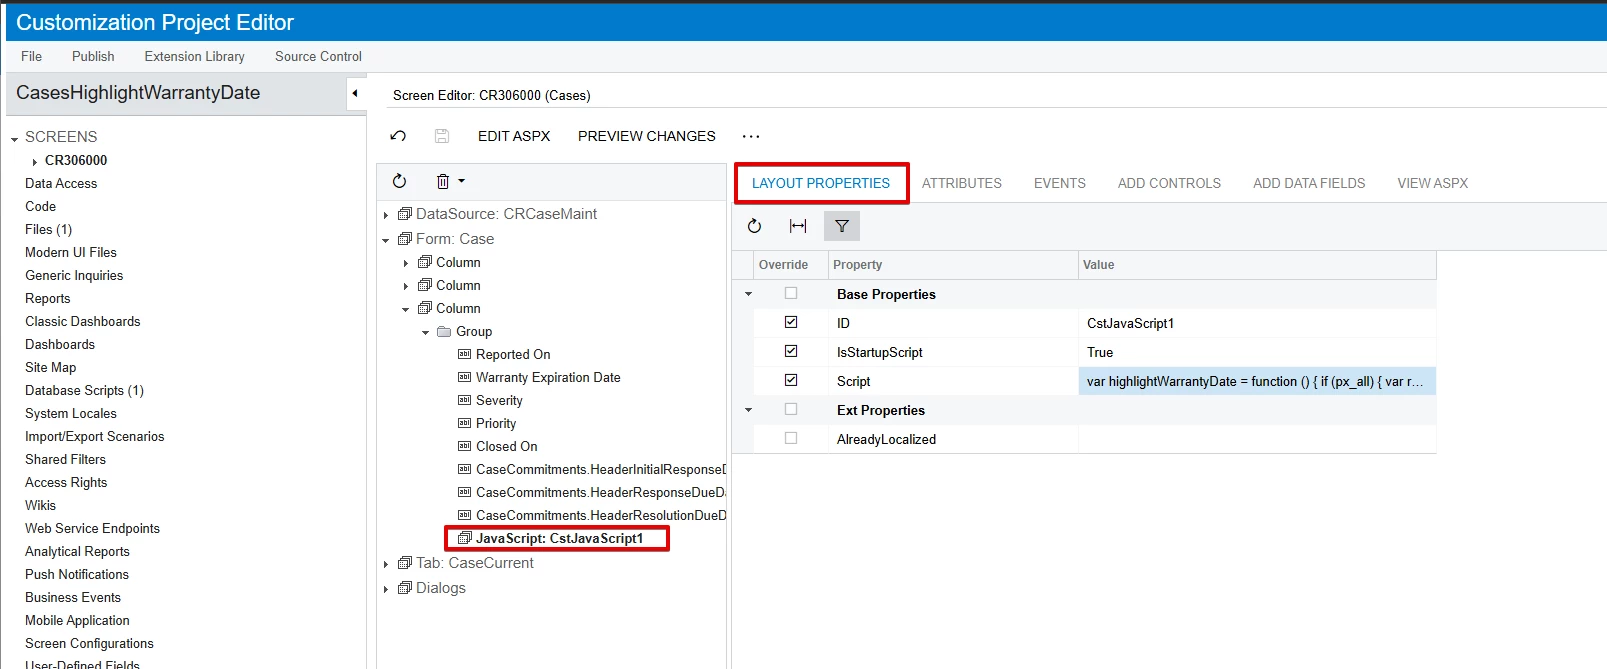
The below JavaScript runs, but it always goes to the else condition and never enters the if.
<script type="text/javascript">
    function highlightWarrantyDate() {
        // Get values from fields by their IDs
        var reportedDateField = document.getElementById("ctl00_phF_form_t0_edReportedOnDateTime_text");
        var warrantyDateField = document.getElementById("ctl00_phF_form_t0_NAWPREM03edUsrNAWPMWarrantyExpirationDate_text");

        if (reportedDateField && warrantyDateField) {
            var reportedDate = new Date(reportedDateField.value);
            var warrantyDate = new Date(warrantyDateField.value);

            if (reportedDate > warrantyDate) {
                // Expired => Red background
                warrantyDateField.style.backgroundColor = "red";
                warrantyDateField.style.color = "white";
                warrantyDateField.style.fontWeight = "bold";
            } else {
                // Valid => Green background
                warrantyDateField.style.backgroundColor = "green";
                warrantyDateField.style.color = "white";
                warrantyDateField.style.fontWeight = "bold";
            }
        }
    }

    // Run after page loads
    window.setTimeout(highlightWarrantyDate, 1000);
</script>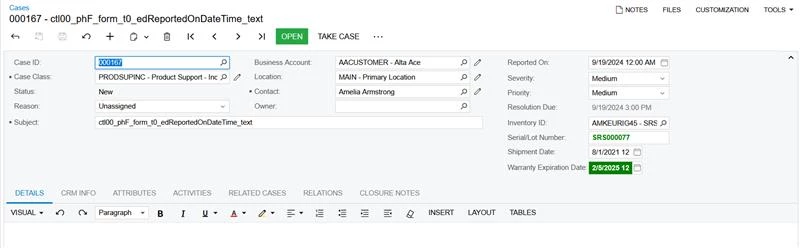
private void Page_Load(object sender, EventArgs e)
{
    Page page = (Page)sender;
    PX.Web.UI.PXDateTimeEdit myBox = (PX.Web.UI.PXDateTimeEdit)ControlHelper.FindControl("NAWPREM03edUsrNAWPMWarrantyExpirationDate", page);
    if (myBox != null)
    {
        myBox.DataBinding += (object boxsender, EventArgs boxargs) =>
        {
            PX.Web.UI.PXDateTimeEdit box = boxsender as PX.Web.UI.PXDateTimeEdit;
            if (box != null && box.Value != null)
            {
                DateTime expirationDate = (DateTime)box.Value;
                if (expirationDate < DateTime.Now)
                {
                    box.ForeColor = System.Drawing.Color.Red; // Expired
                    //box.Text = "Warranty Expired";
                    box.BackColor = System.Drawing.Color.LightPink;
                }
                else
                {
                    box.ForeColor = System.Drawing.Color.Green; // Valid
                    //box.Text = "Warranty Valid";
                    box.BackColor = System.Drawing.Color.LightGreen;
                }
            }
        };
    }
}


public override void Initialize()
{
    Page page = HttpContext.Current?.Handler as PXPage;
    if (page != null)
    {
          page.Load += Page_Load;
    }
}
I attempted this using JavaScript and the Page Load event, but the logic did not work as expected.
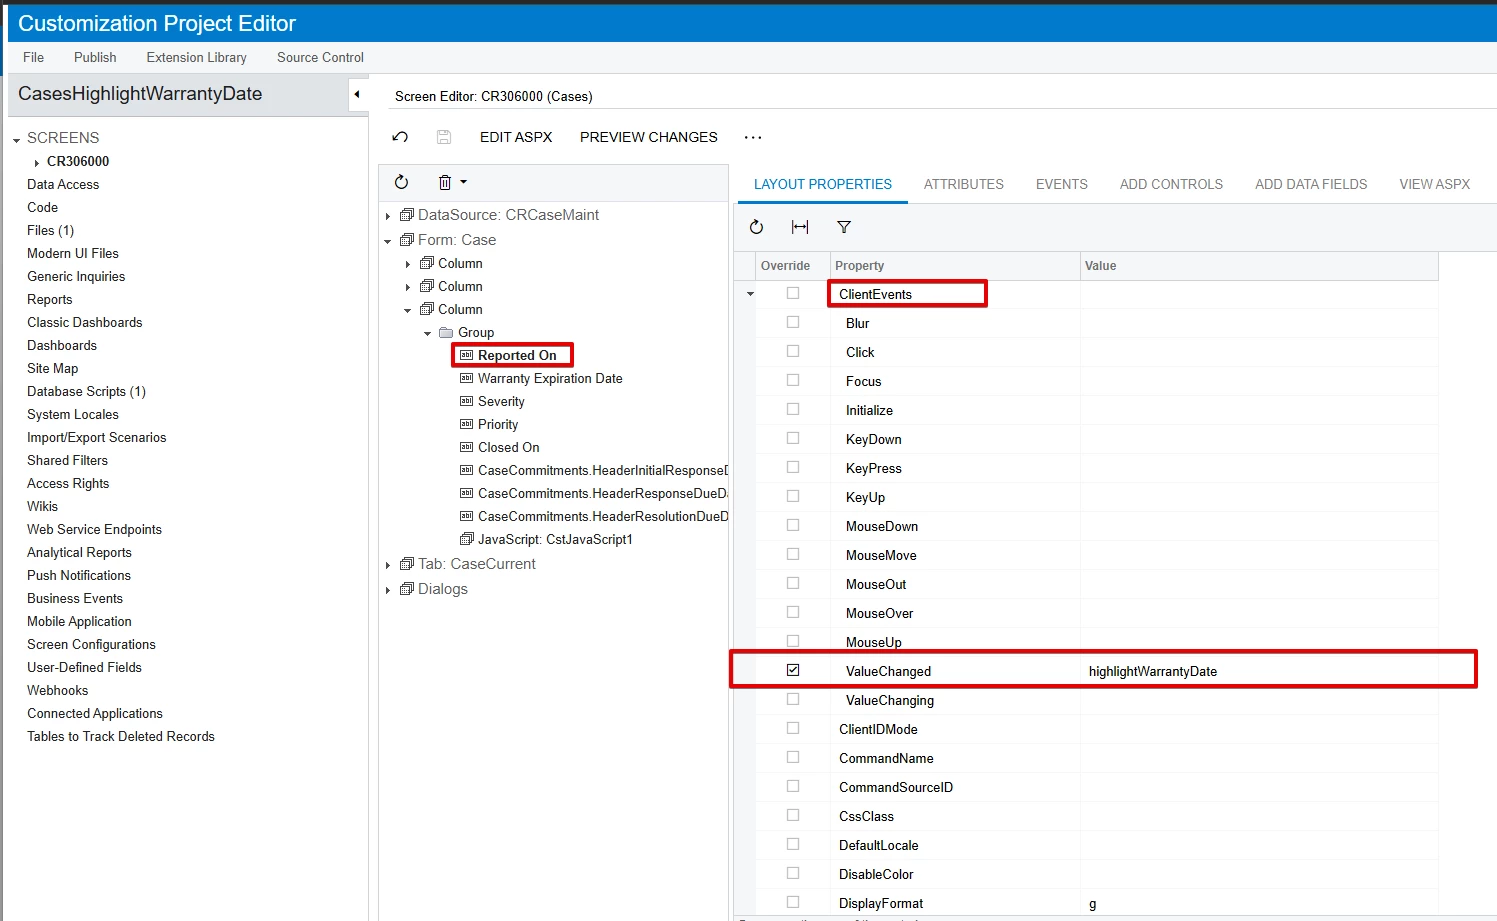
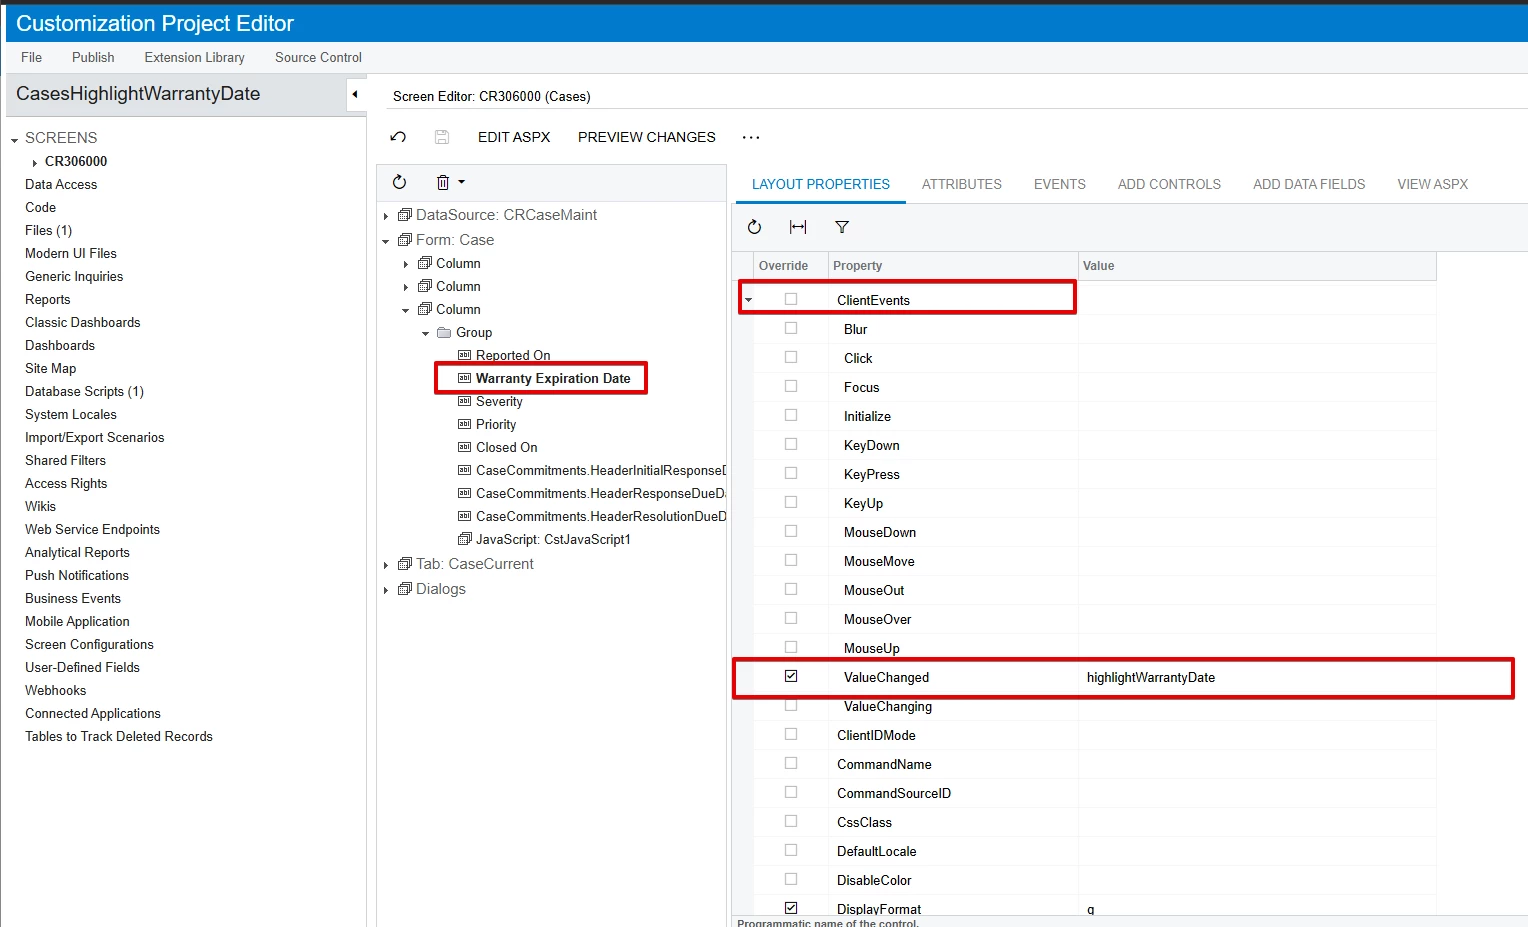
Note:- Will this JavaScript work when the Reported Date is modified, or only on Page Load? If not, what’s the best approach to make it dynamic
Could someone please help me with this?
Thanks,