Answer

Adding a column to the AP Invoice page using Customization Projects

  • April 18, 2025
  • 2 replies
  • 65 views

Forum|alt.badge.img+1

Hello all,

I am just starting to dabble with the no code customizations using the Customization Projects. I would like to move some UDF/Attributes from the UDF tab to the Document tab of the AP Bills, and hide the UDF tab.


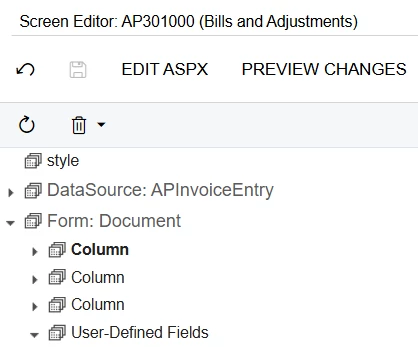
I have added the attributes to the first column under the Form:Document section.
However, what I would like to do for the layout is create a fourth column, so that they all land in their own column and do not interfere with the columns already on the page. 
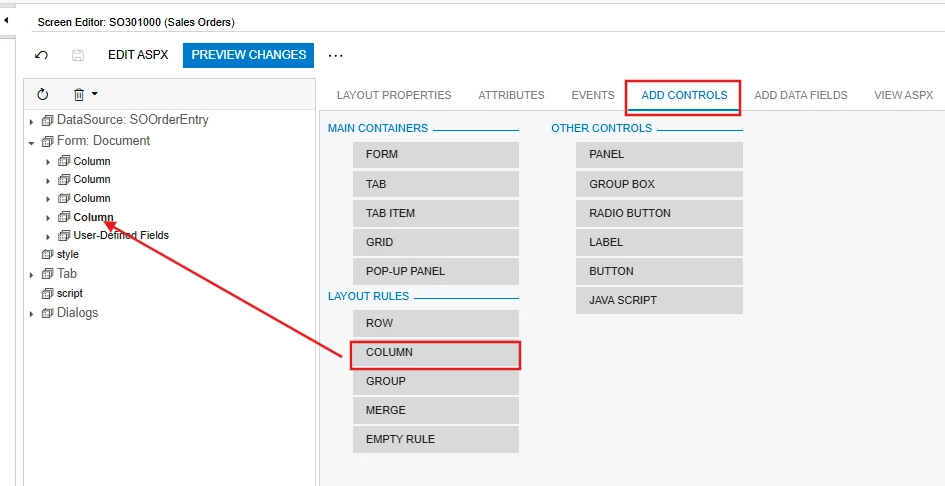
How do I add an additional column to this setup?


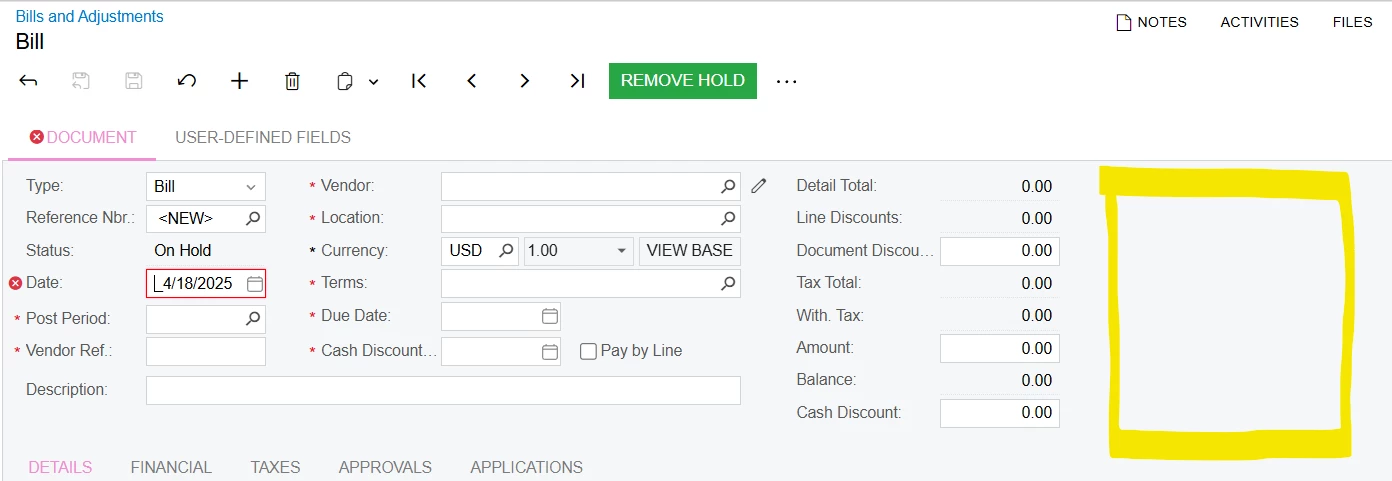
I would like the attributes to land in this highlighted section


Thank you for any help you can offer.


Best answer by DipakNilkanth

Hi ​@hgilbert,

You need to drag and drop the Column control into the Column section. This will add a new Column control to the header.

Note: If your attribute displays data using a Selector, Combo Box, or Multi-Select Combo, directly adding the same attribute to the Header section will not work. In such cases, you need to create a custom field to display it as a selector.
However, this approach works as expected for Text type attributes.

Hope, it helps!

2 replies

DipakNilkanth
Pro III
Forum|alt.badge.img+13
  • Pro III
  • Answer
  • April 19, 2025

Hi ​@hgilbert,

You need to drag and drop the Column control into the Column section. This will add a new Column control to the header.

Note: If your attribute displays data using a Selector, Combo Box, or Multi-Select Combo, directly adding the same attribute to the Header section will not work. In such cases, you need to create a custom field to display it as a selector.
However, this approach works as expected for Text type attributes.

Hope, it helps!


Forum|alt.badge.img+1
  • Author
  • Varsity I
  • April 21, 2025

@Nilkanth Dipak Thank you! I found that Add Controls page but couldn’t figure out what to do with it!