We are testing our new AI Assistant and ran your scenario through it, I hope this helps:
You're on the right track — you've implemented Item Class-based row-level security using Restriction Groups in a Single Tenant, Multi-Company environment in Acumatica. From your screenshots and description, the primary issue is:
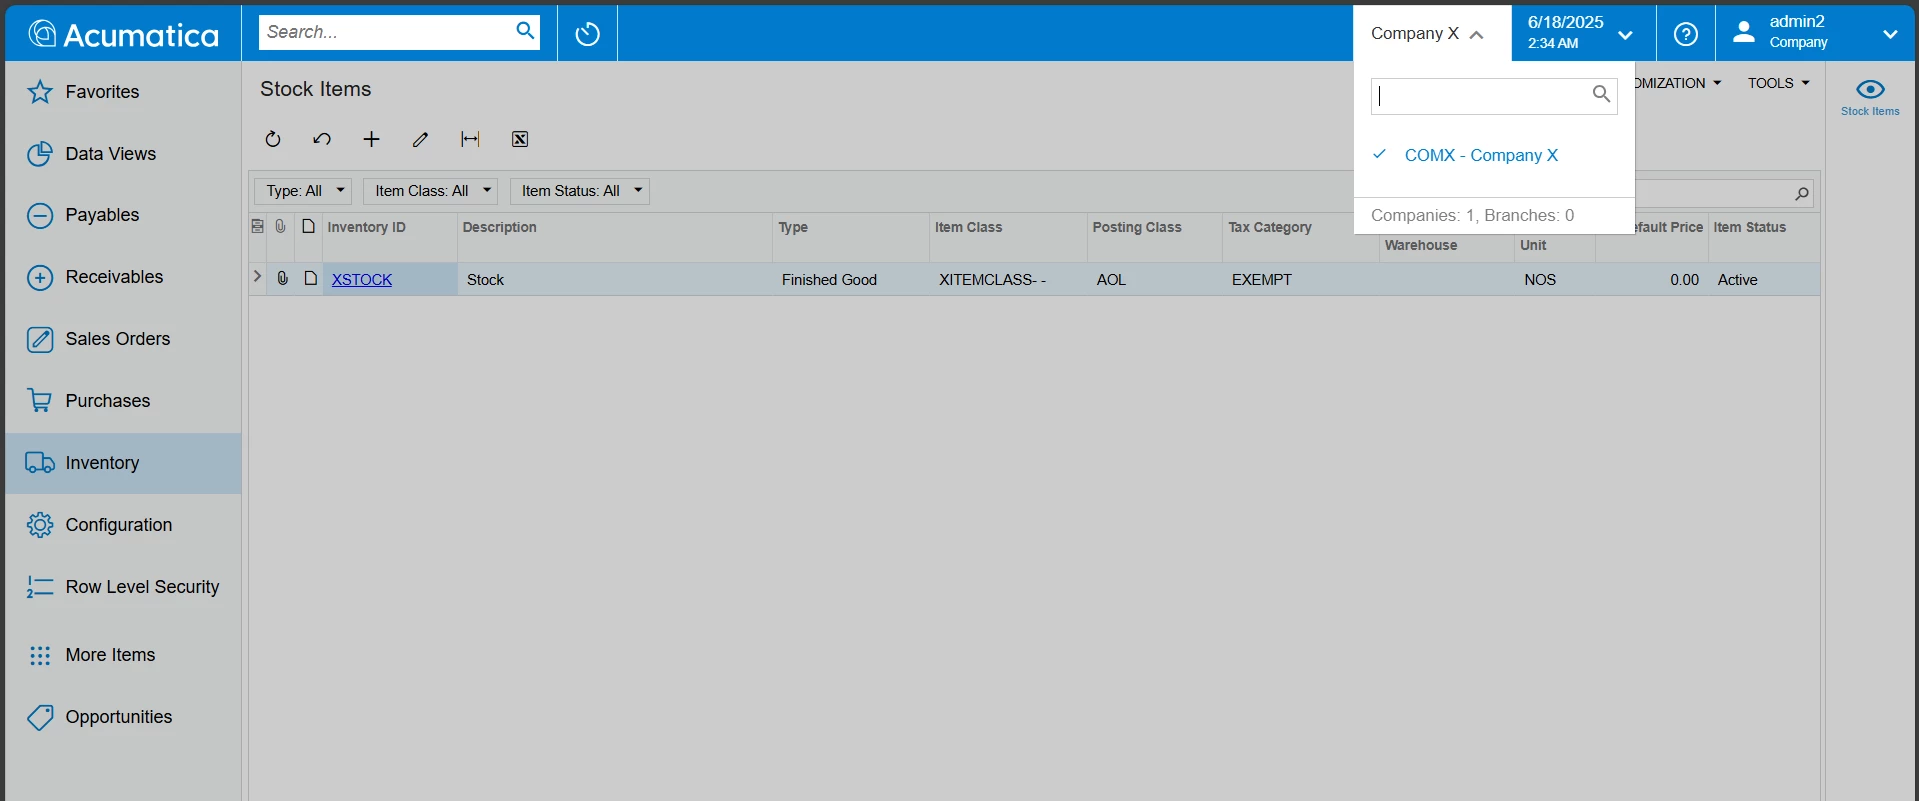
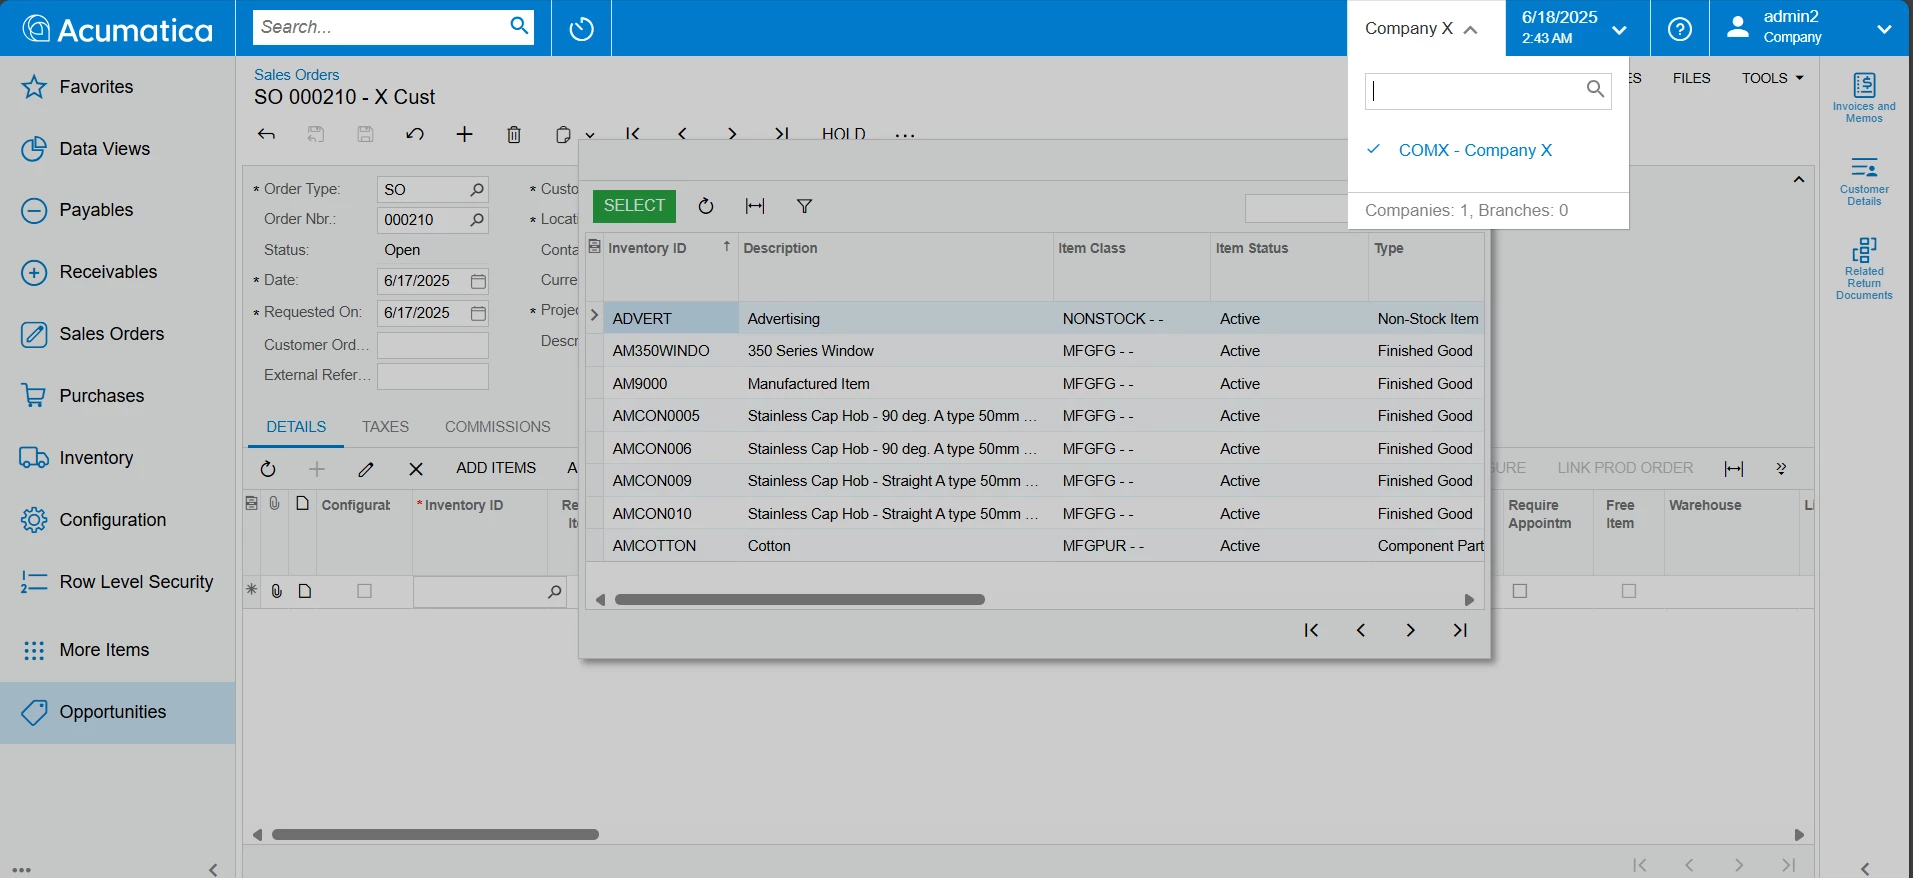
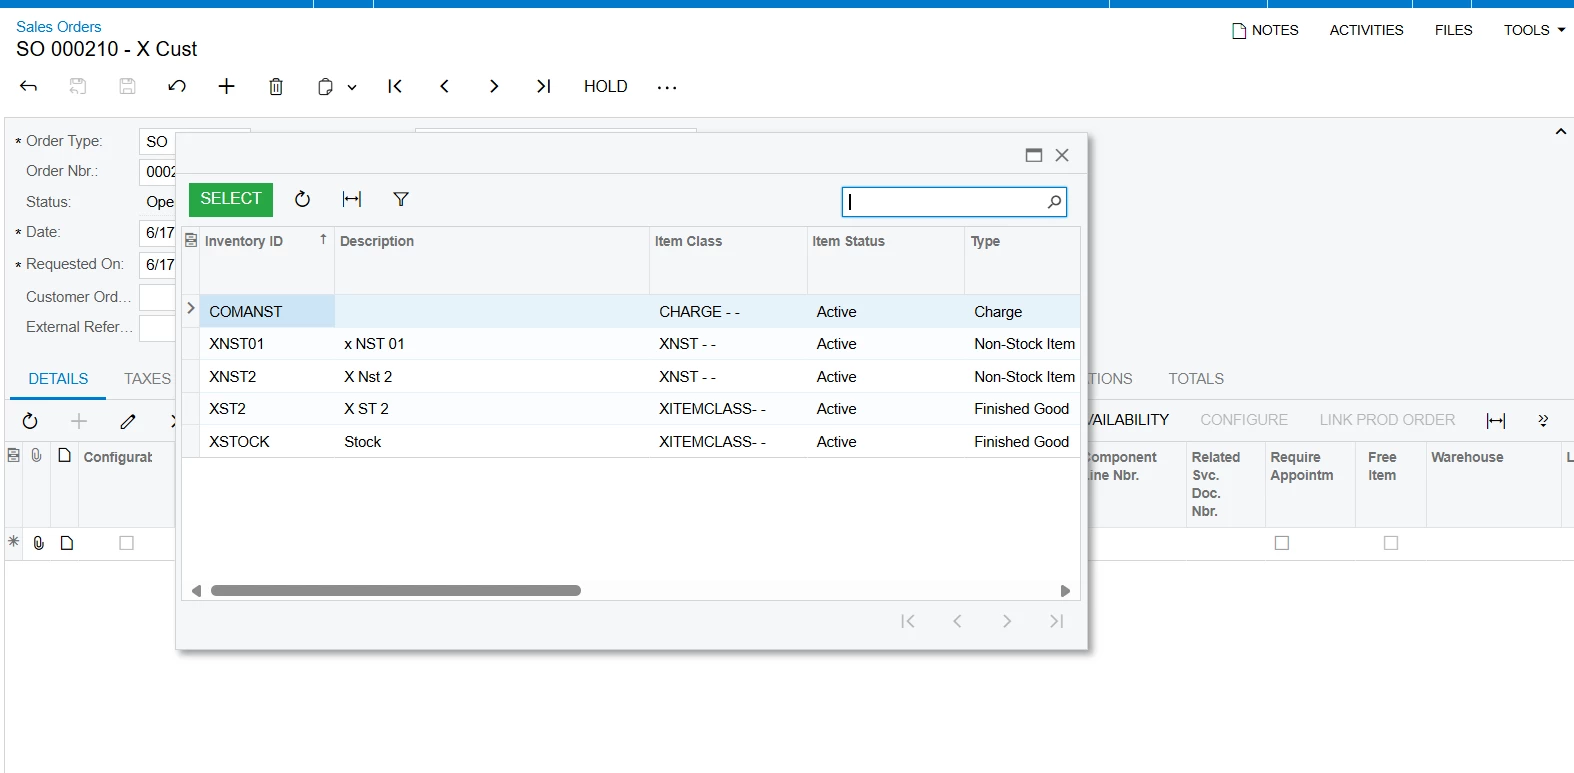
New non-stock items still appear for all companies, even when their Item Class is restricted.
This is a known limitation in the way Acumatica applies Item Class restrictions: assigning a Restriction Group to the Item Class does not automatically cascade the restriction to newly created items unless manually triggered.
✅ Summary Diagnosis:
The issue occurs because row-level restriction inheritance is not enforced automatically for new items created under a restricted Item Class unless explicitly propagated.
🛠️ Resolution Steps
✅ 1. Manually Apply Restrictions to New Items
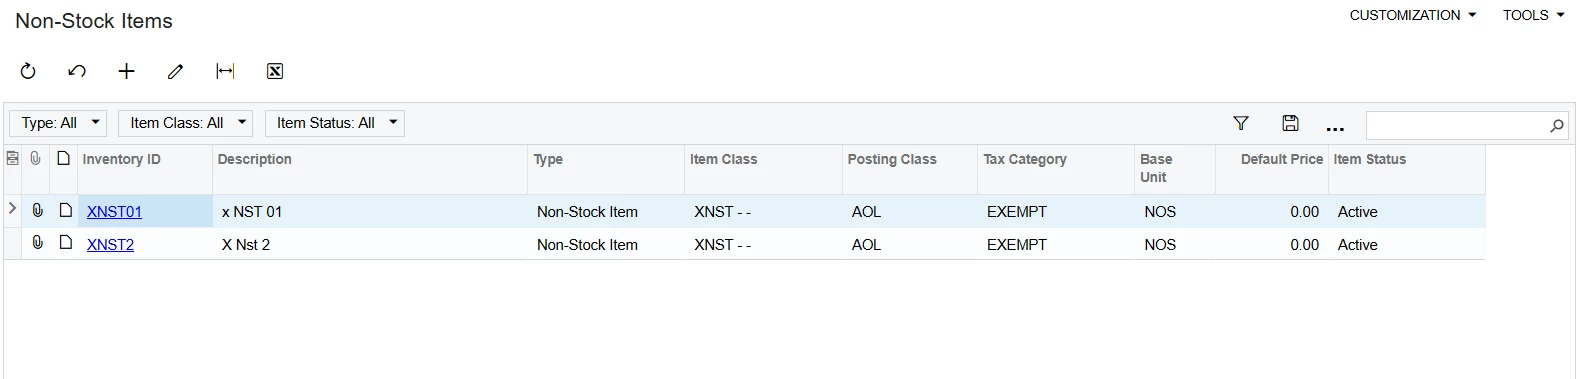
After creating a new item (Stock or Non-Stock):
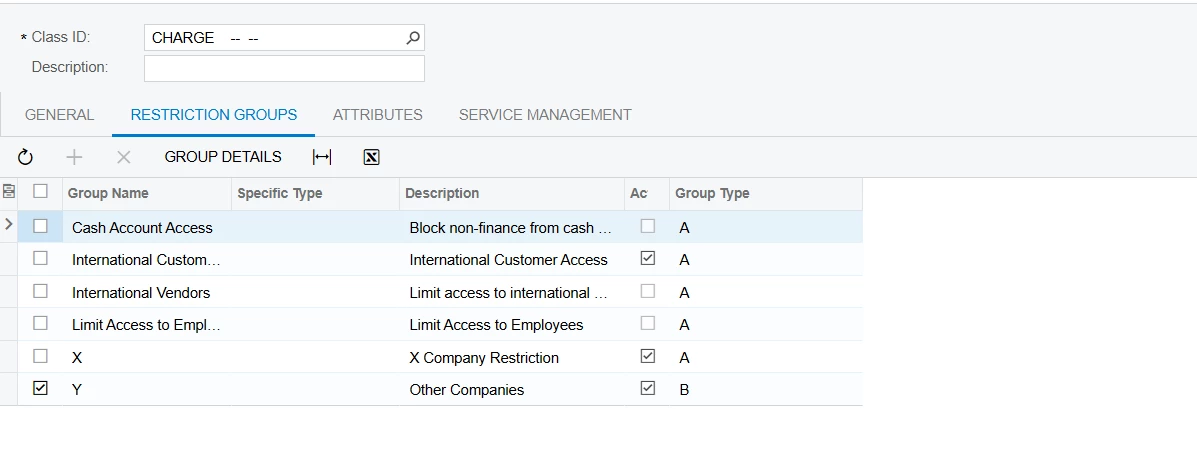
- Go to: Inventory → Preferences → Restriction Groups (CS101000).
- Select the group (e.g., X or Y).
- Go to the Group Details tab.
- Under Entity Type, select Inventory Item.
- Click + and add the new item(s) manually.
This makes the item visible only to the assigned group.
✅ 2. Use the “Apply Restriction Settings to All Items” Tool
If you want Acumatica to apply Item Class restriction inheritance:
- Go to: Inventory → Preferences → Item Class (IN201000).
- Select your Item Class (e.g., XNST).
- On the Restriction Groups tab, confirm the correct group (e.g., X) is assigned.
- Click ⋯ (Actions) → Apply Restriction Settings to All Items.
This forces the system to apply the current group restriction to all existing and future items under that class — including newly created ones.
⚠️ This is a manual step. It needs to be executed each time after a new item is added unless you implement an automation (see below).
🪄 Optional: Automate Inheritance via Customization
To fully automate restriction propagation for new items:
- Create a customization that hooks into the RowPersisted event on InventoryItem and applies the Restriction Group based on its Item Class.
- You can also trigger ApplyToAllItems logic programmatically.
This ensures no human step is missed during item creation.
✅ What You Did Right:
- ✅ Set up restriction groups properly
- ✅ Connected them to Item Classes
- ✅ Verified restriction enforcement works when manually updated
💡 ERP Pro Tips
💡 Tip for Admins: Add the “Apply Restriction Settings to All Items” as a dashboard shortcut or automation schedule if new items are being created frequently.
💡 Tip for Security Teams: Use a Generic Inquiry to list all inventory items that do not belong to any Restriction Group, to monitor gaps.
✅ Final Checklist
| Task | Required? | Notes |
| Assign Restriction Group to Item Class | ✅ | Done |
| Apply restriction to new items manually | ⚠️ | Required unless automated |
| Run “Apply Restriction Settings to All Items” after item creation | ✅ | Triggers propagation |
| Customize for automation (optional) | 🚀 | Ideal for frequent item creation |