How to add the company logo to the purchase order screen print form in Acumatica
Solved
How to add the company Logo on the PO printed form in Acumatica
Best answer by lauraj46
Hi
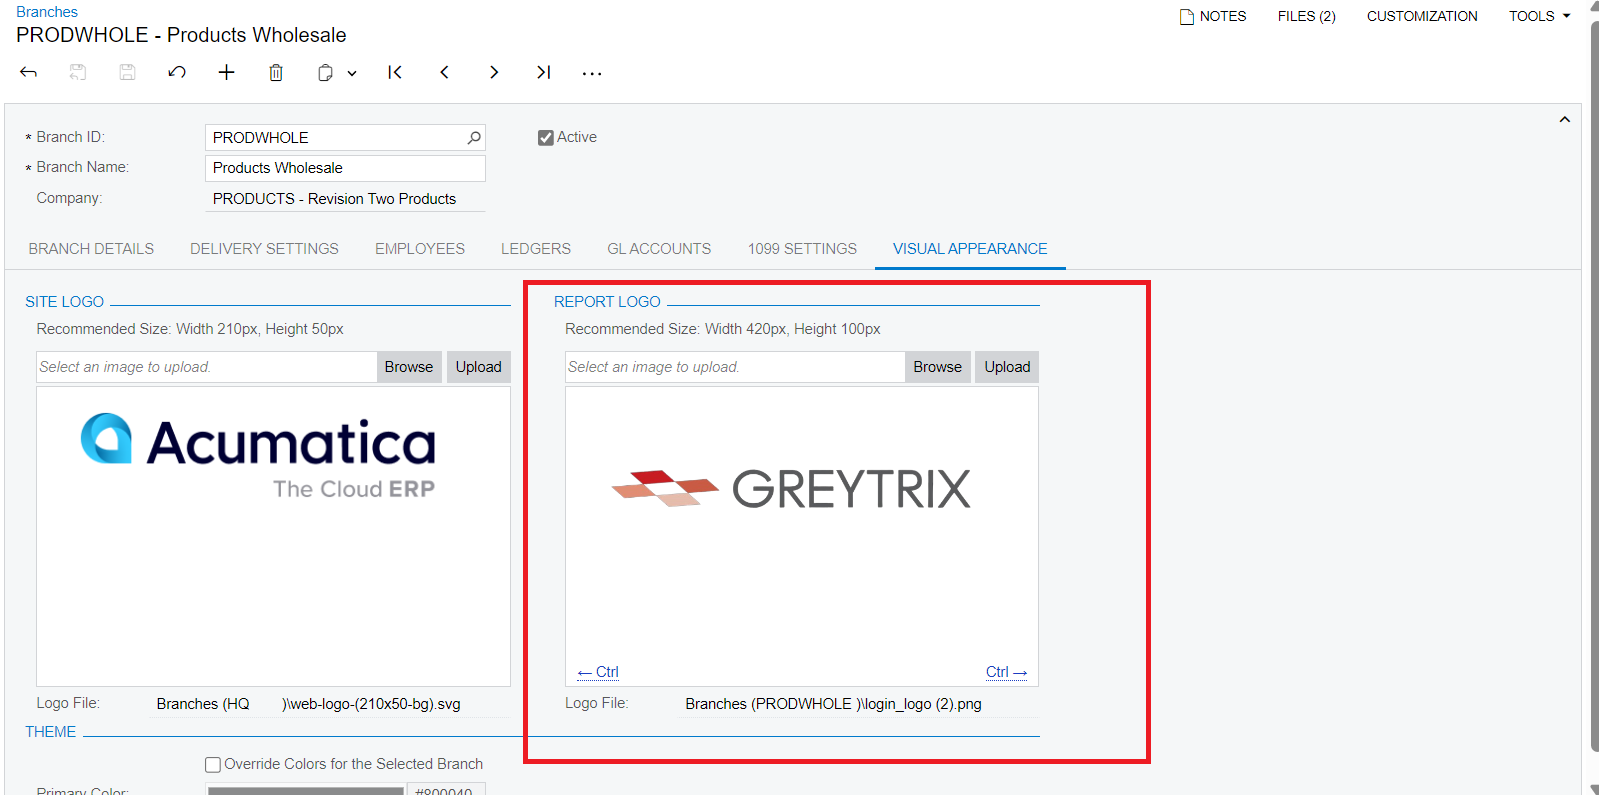
You can update the logo in the Site Logo section of the Visual Appearance tab on the Companies (CS101500) screen. If you have multiple branches with different logos, a branch specific logo can be uploaded on the Visual Appearance tab of the Branches (CS102000) form. The uploaded logo will appear on the standard printed PO and other forms.
Laura


Login to the community
No account yet? Create an account
Social Login
Login with your Acumatica accountEnter your E-mail address. We'll send you an e-mail with instructions to reset your password.