Answer

Modern UI, add 3rd column to a screen with 1-1 layout, such as Customer (AR303000)

  • November 4, 2025
  • 2 replies
  • 47 views

JKurtz29
Varsity II
Forum|alt.badge.img+1

Hello,

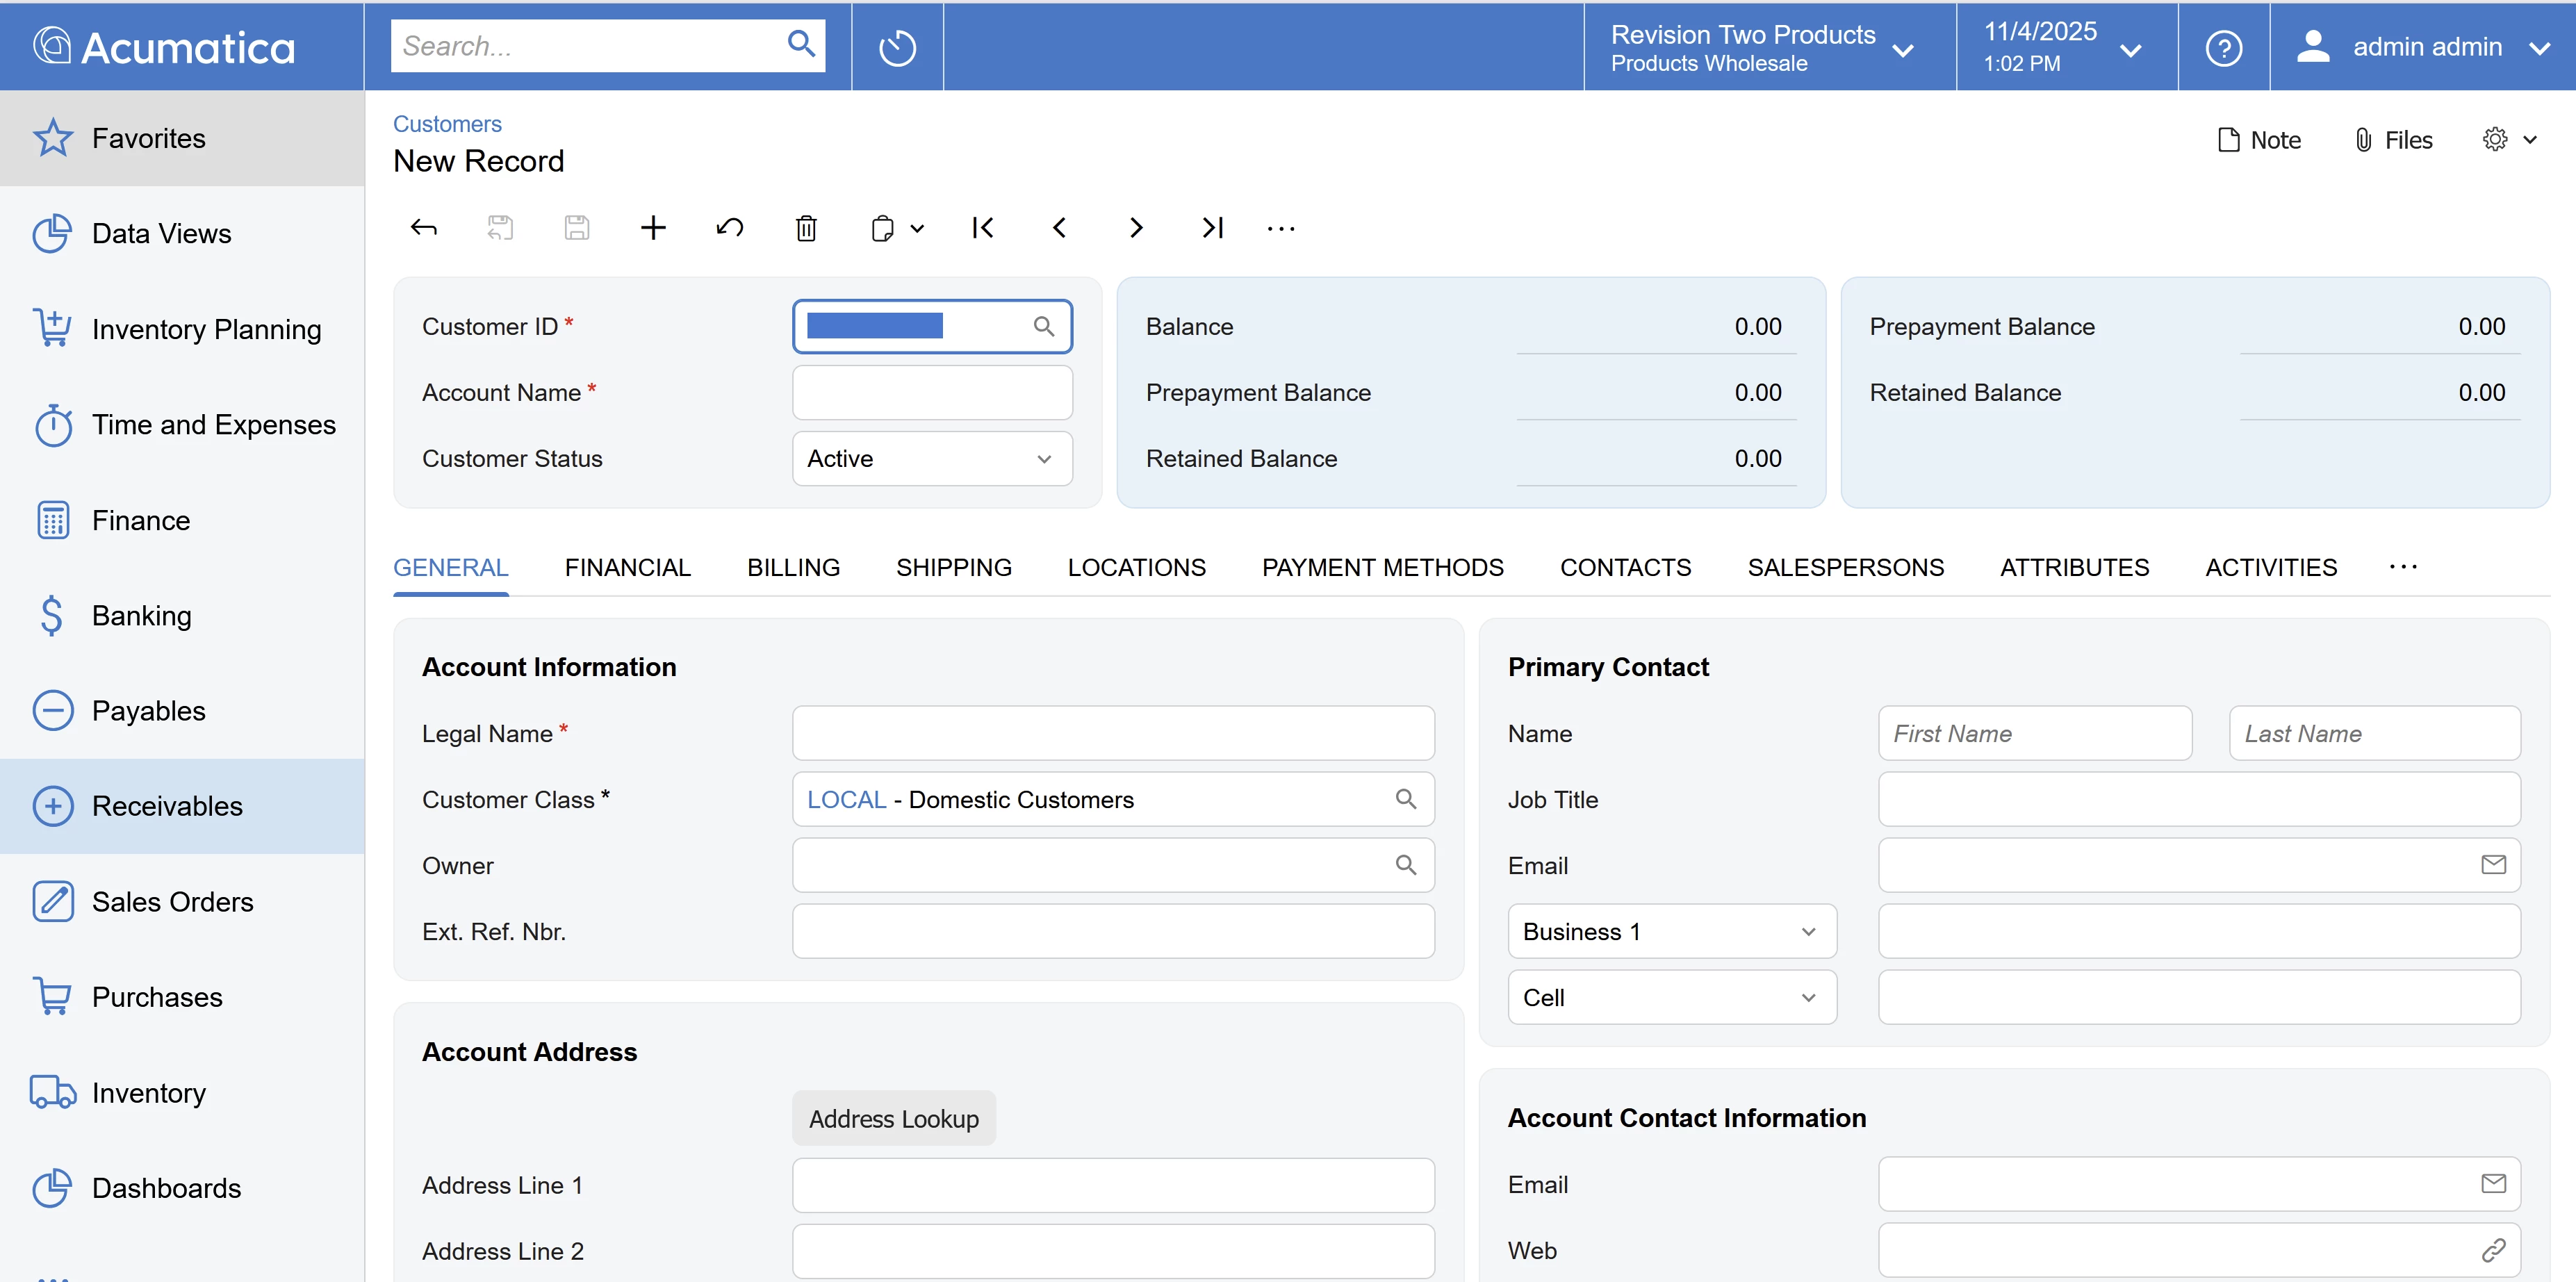
What would be the recommended way to add a 3rd column to a screen, such as AR303000, whose layout is 1-1.  I need the layout to be 1-1-1.

Existing qp-template below.  I need to override that so that name=”1-1-1” so that I can add a fieldset to column C.
 

<qp-template name="1-1" class="equal-height label-size-m" id="formCustomer" >
<qp-fieldset slot="A" id="columnFirstHeader" view.bind="BAccount" wg-container="BAccount_BAccount">
<field name="AcctCD"></field>
<using wg-container="CurrentCustomer_tab" view="CurrentCustomer">
<field name="AcctName"></field>
</using>
<field name="Status"></field>
</qp-fieldset>
<qp-fieldset slot="B" id="columnSecondHeader" view.bind="CustomerBalance" class="highlights-section" wg-container="CustomerBalance_CustomerBalance">
<field name="Balance">
<qp-label slot="label" caption.bind="CustomerBalance.Balance_Label.value"></qp-label>
</field>
<field name="ConsolidatedBalance">
<qp-label slot="label" caption.bind="CustomerBalance.ConsolidatedBalance_Label.value"></qp-label>
</field>
<field name="SignedDepositsBalance">
<qp-label slot="label" caption.bind="CustomerBalance.SignedDepositsBalance_Label.value"></qp-label>
</field>
<field name="RetainageBalance">
<qp-label slot="label" caption.bind="CustomerBalance.RetainageBalance_Label.value"></qp-label>
</field>
</qp-fieldset>

</qp-template>


Best answer by Vignesh Ponnusamy

Hi ​@JKurtz29,

You can try like below to modify the template name. For this example I’ve reused the fields from the Second Column in the Third Column,

<template>
<template modify="#formCustomer" name="1-1-1">
<qp-fieldset slot="C" id="columnThirdHeader" view.bind="CustomerBalance" class="highlights-section" wg-container="CustomerBalance_CustomerBalanceDup">
<field name="SignedDepositsBalance">
<qp-label slot="label" caption.bind="CustomerBalance.SignedDepositsBalance_Label.value"></qp-label>
</field>
<field name="RetainageBalance">
<qp-label slot="label" caption.bind="CustomerBalance.RetainageBalance_Label.value"></qp-label>
</field>
</qp-fieldset>
</template>
</template>

Hope that helps, feel free to post back if you have any questions!

Good Luck,

2 replies

Vignesh Ponnusamy
Acumatica Moderator
Forum|alt.badge.img+5

Hi ​@JKurtz29,

You can try like below to modify the template name. For this example I’ve reused the fields from the Second Column in the Third Column,

<template>
<template modify="#formCustomer" name="1-1-1">
<qp-fieldset slot="C" id="columnThirdHeader" view.bind="CustomerBalance" class="highlights-section" wg-container="CustomerBalance_CustomerBalanceDup">
<field name="SignedDepositsBalance">
<qp-label slot="label" caption.bind="CustomerBalance.SignedDepositsBalance_Label.value"></qp-label>
</field>
<field name="RetainageBalance">
<qp-label slot="label" caption.bind="CustomerBalance.RetainageBalance_Label.value"></qp-label>
</field>
</qp-fieldset>
</template>
</template>

Hope that helps, feel free to post back if you have any questions!

Good Luck,


JKurtz29
Varsity II
Forum|alt.badge.img+1
  • Author
  • Varsity II
  • November 4, 2025

Worked perfectly, thanks.

The documentation wasn’t real clear.  It said “modify” could be used to change attributes, but then the help just gave an example of relocating a control.