Solved

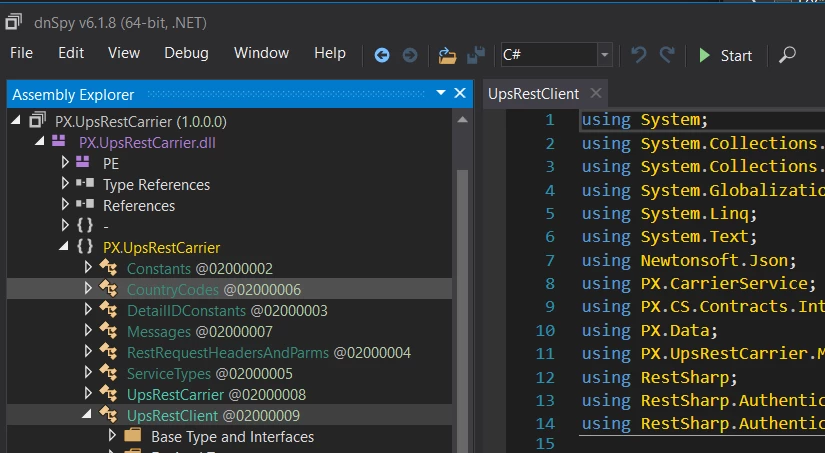
How do you go about editing UpsRestClient.cs class?

  • October 14, 2025
  • 6 replies
  • 59 views

Forum|alt.badge.img

I’m trying to make some edits to this class and I’m not sure how to access it.

Best answer by darylbowman

You’ll need to use a decompiler like dnSpy to take a look at \bin\PX.UpsRestCarrier.dll


6 replies

Forum|alt.badge.img
  • Varsity I
  • October 14, 2025

@kkraus This is AI generated answer hope it’ helpful

Locate the File

Usually, the file is part of the Acumatica customization source or a custom integration project.
Common locations:


App_Data\Projects\<YourCustomization>\Code\UPS\

or


PX.Objects\SO\CarrierService\UPS\

or sometimes inside:


External Plug-ins / Custom Connector / Shipping Plugin project

If you’re using Visual Studio, search your project for the file name:

  • Press Ctrl + Shift + F

  • Type UpsRestClient.cs

  • It will show the exact path.

2. Open in Visual Studio

  • Open your Customization Project (if you’re working inside Acumatica, open through the Customization Project Editor → Code → View Source).

  • Locate UpsRestClient.cs.

  • Right-click → Open.

3. Make Your Edits

Inside the class, you can usually modify:

  • API endpoint URLs

  • Authentication logic (UPS Access Key, Username, Password)

  • Request payloads

  • Logging or error-handling sections

Example (simplified):


public class UpsRestClient { private readonly string _baseUrl = "https://onlinetools.ups.com"; private readonly string _accessKey; private readonly string _username; private readonly string _password; public UpsRestClient(string accessKey, string username, string password) { _accessKey = accessKey; _username = username; _password = password; } public string GetRates(string requestBody) { // modify this section if you want to log or change request headers var client = new HttpClient(); client.DefaultRequestHeaders.Add("AccessLicenseNumber", _accessKey); client.DefaultRequestHeaders.Add("Username", _username); client.DefaultRequestHeaders.Add("Password", _password); var response = client.PostAsync($"{_baseUrl}/ship/rate", new StringContent(requestBody)).Result; return response.Content.ReadAsStringAsync().Result; } }

4. Save and Rebuild

After editing:

  • Save your file.

  • Rebuild the project.

  • If inside Acumatica Customization Project → click Publish to Site.

5. Test Your Changes

Go to the Shipments or Carrier Configuration screen and verify that UPS functions (Rate, Validate, or Ship) behave correctly.


darylbowman
Captain II
Forum|alt.badge.img+15

@smuddurthi81 - I suggest that you stop posting AI-generated answers unless you have enough expertise in that area of Acumatica to know when the answer is a hallucination and when it’s not.


darylbowman
Captain II
Forum|alt.badge.img+15

@kkraus Where are you seeing this class? I searched the source code and couldn’t locate it.


Forum|alt.badge.img
  • Author
  • Freshman II
  • October 14, 2025

@kkraus Where are you seeing this class? I searched the source code and couldn’t locate it.

I’m trying to follow the instructions in this post: 

to edit UPS and Fedex’s files.


darylbowman
Captain II
Forum|alt.badge.img+15
  • Answer
  • October 14, 2025

You’ll need to use a decompiler like dnSpy to take a look at \bin\PX.UpsRestCarrier.dll


  • Freshman I
  • October 16, 2025

AFAIK, you can’t edit/extend those classes. We’ve had to make changes to them, but we’ve done that by decompiling the code, creating a new carrier, and implementing our changes in that.