

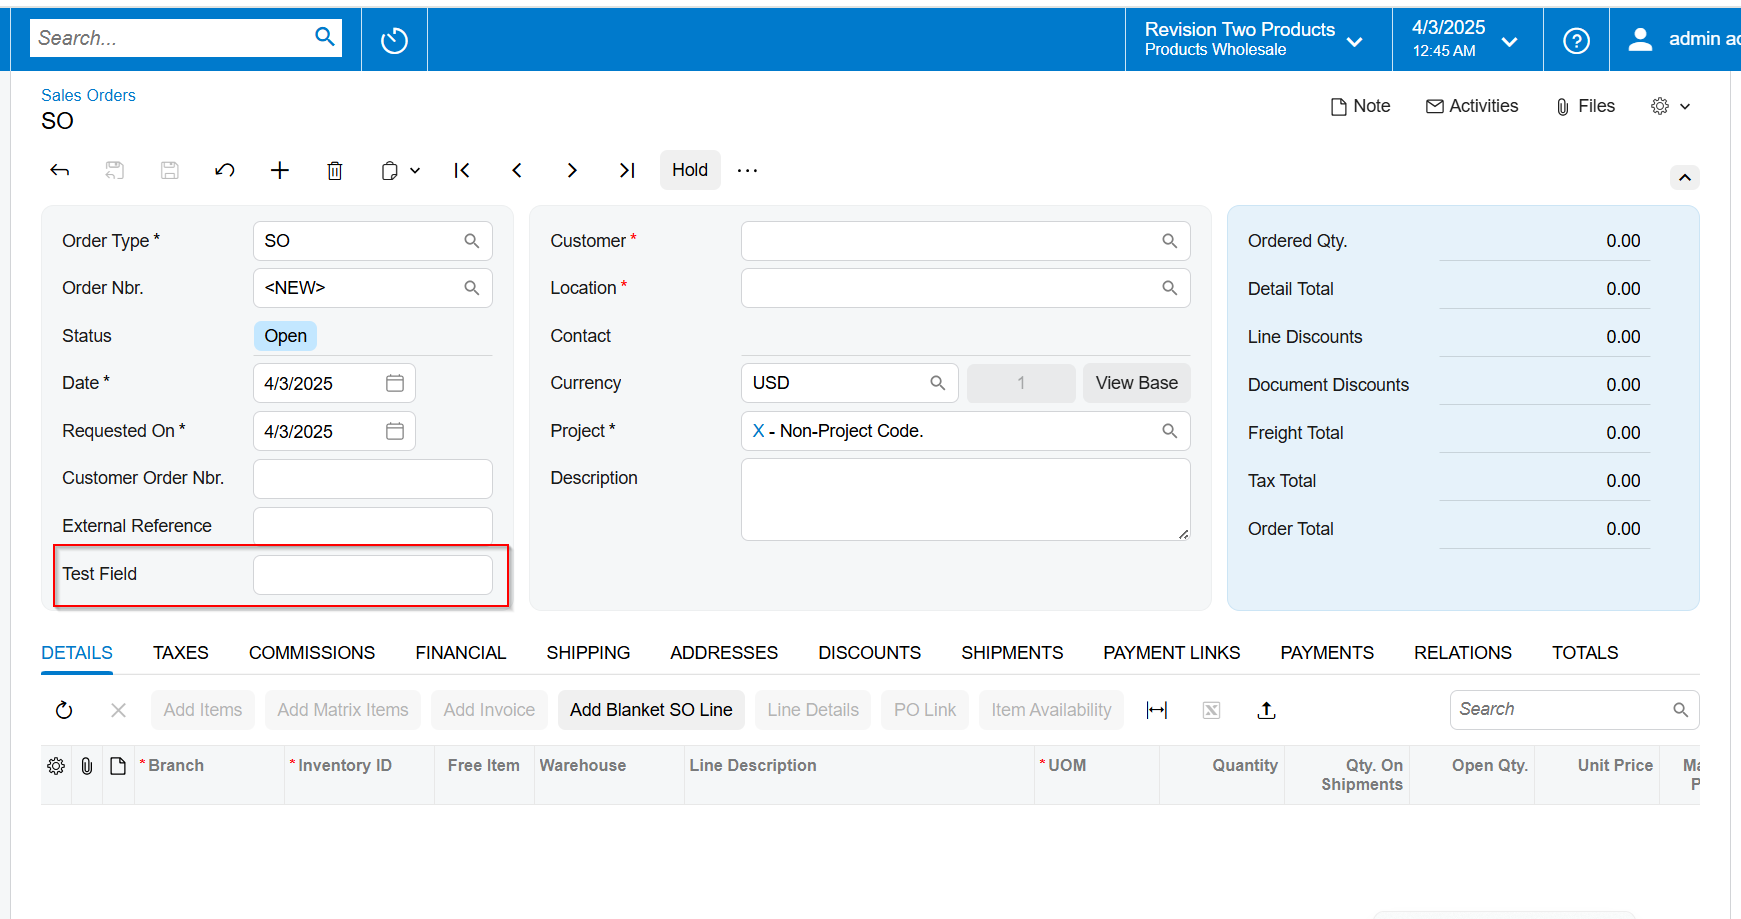
I have added a Extended DAC fields to the Sales order Screen And how to convert the Extended DAC fields into the Modern UI .
Solved
How to Convert Extended DAC Fields in the Sales order screen classic to Modern UI
Best answer by Siddu
Vignesh Ponnusamy wrote:
Hi
I played around a bit, but couldn’t exactly implement what you are looking for, but below are few points you can explore,
<template>
    <template remove="#fsColumnC-Order">
    </template>
    <template modify="#form-Order" name="14-17-17">
        <qp-template id="split" after="#fsColumnB-Order" slot="C" name="1-1">
            <qp-fieldset id="fsColumnC-Order" slot="A" view.bind="Document" class="highlights-section">
                <field name="OrderQty" pinned="true"></field>
                <field name="CuryDetailExtPriceTotal"></field>
                <field name="CuryLineDiscTotal"></field>
                <field name="CuryDiscTot"></field>
                <field name="CuryFreightTot"></field>
                <field name="CuryTaxTotal" pinned="true"></field>
                <field name="CuryOrderTotal" pinned="true"></field>
                <field name="CuryControlTotal" pinned="true"></field>
            </qp-fieldset>
            <qp-fieldset id="fsColumnC1-Order" slot="A" view.bind="Document" class="highlights-section">
                <field name="OrderQty" pinned="true"></field>
            </qp-fieldset>
        </qp-template>
    </template>
</template>
As in the above template,
- Firstly, remove the fscolumnC-Order
- modify the form-order and change the template(name=”14-17-17”) to allow more space to the 3rd column. You can use different template. For more info about templates refer, https://help.acumatica.com/(W(9))/Help?ScreenId=ShowWiki&pageid=df37e247-9176-46fe-b326-f1af81e5c547
- With the Slot C, define a template name=”1-1” so both the columns will be split equally, within which you can create two fieldset.
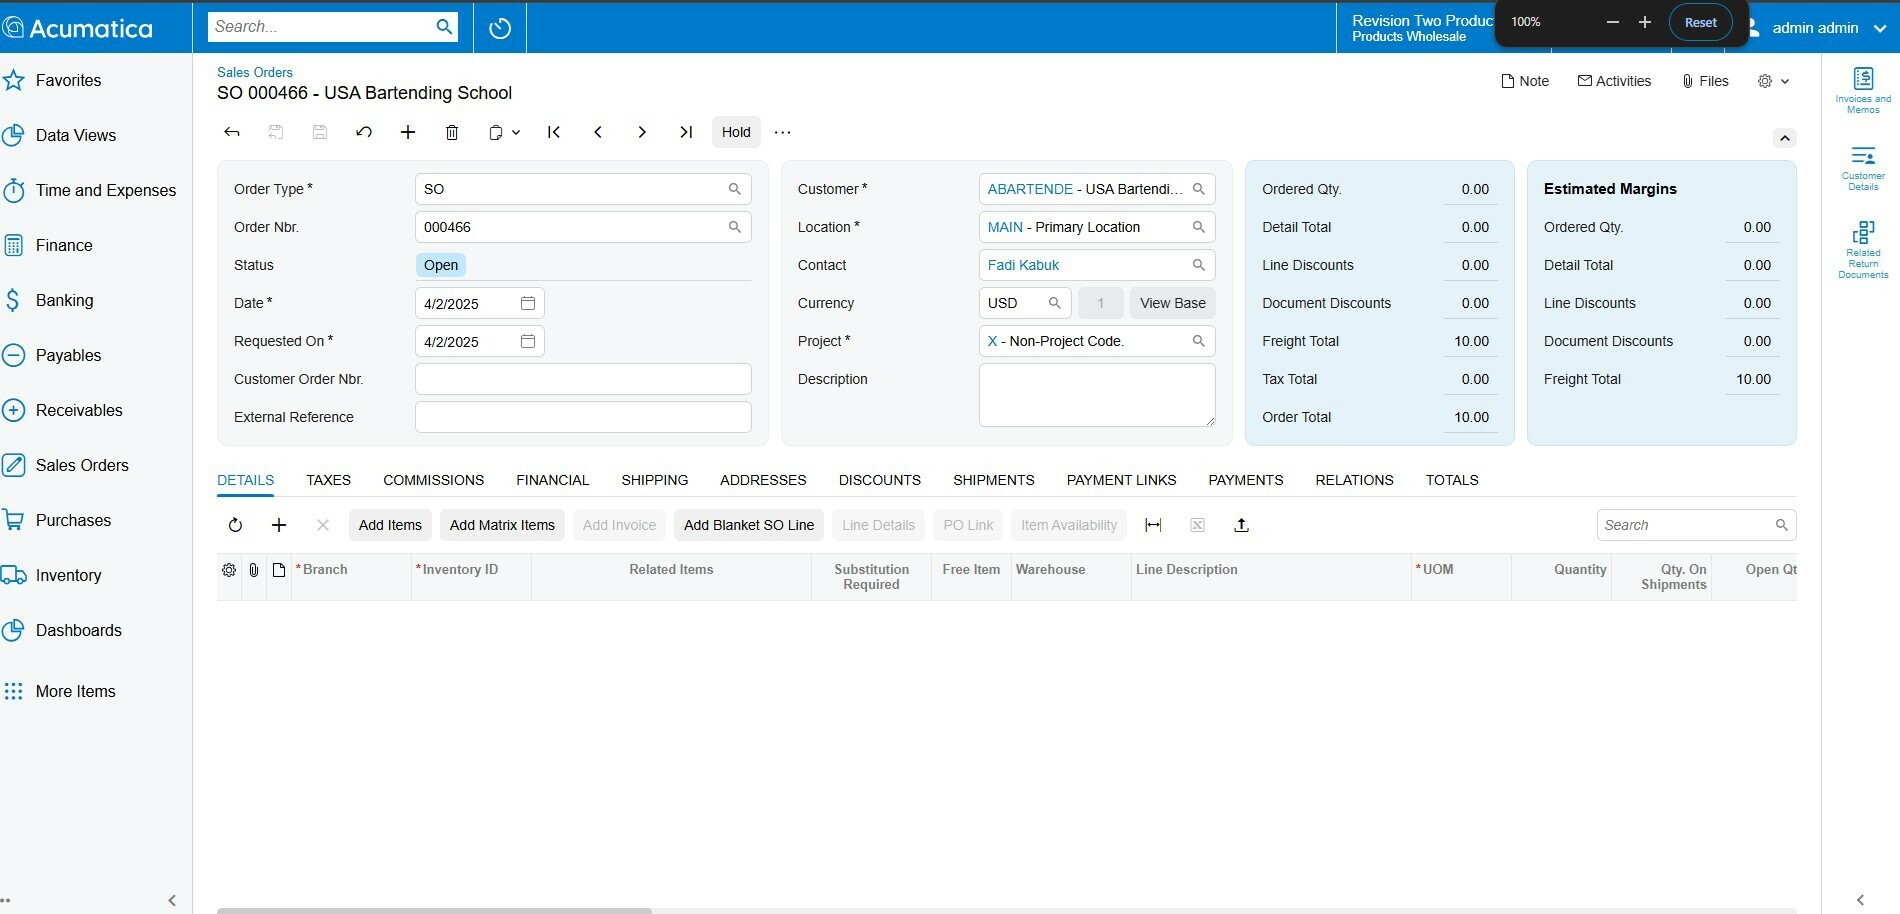
Outcome of the above code, as there is no space for the 4th column it was just pushed beneath the 3rd.
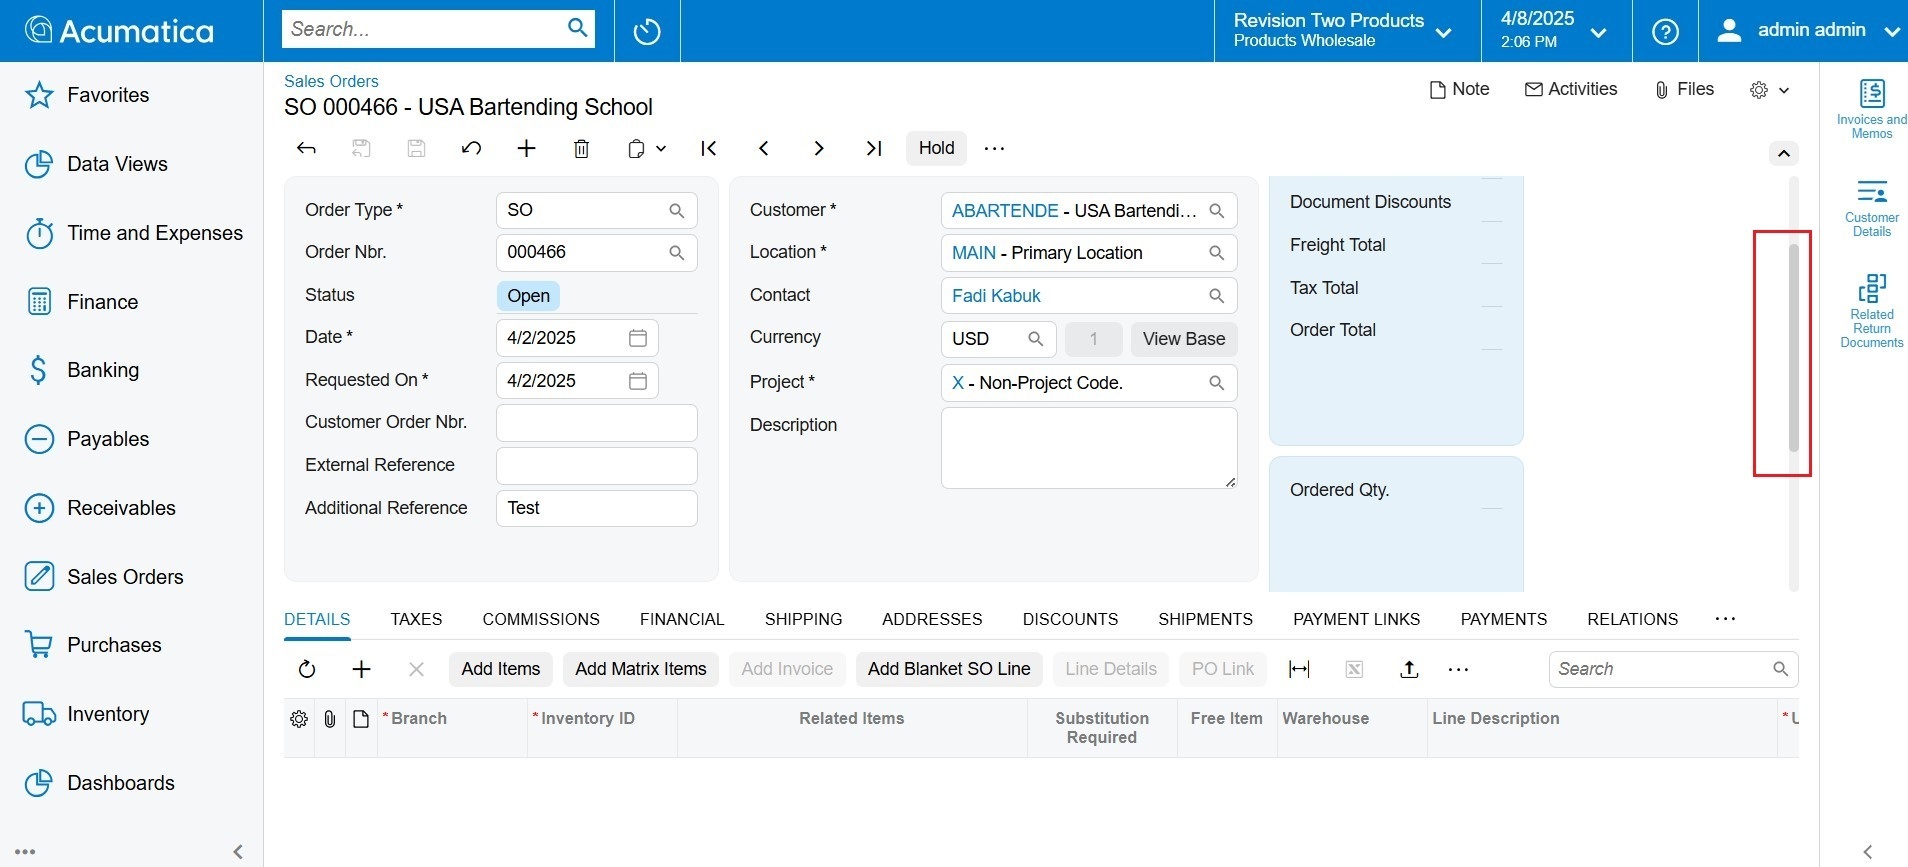
Challenges about,
- Adding the fourth columns is not recommended
- You might have to remove the #form-order section and just recreate the whole header part, you might have to spend sometime experimenting different templates to identify the ideal format that would work for 4 column layout
Please feel free to post back if you have any questions. Good Luck,
Thanks
<template>
<template remove="#fsColumnC-Order">
</template>
<template modify="#form-Order" name="17-14-17">
<qp-template id="split" after="#fsColumnB-Order" slot="C" name="1-1">
<qp-fieldset id="fsColumnC-Order" slot="A" view.bind="Document" class="highlights-section">
<field name="OrderQty" pinned="true"></field>
<field name="CuryDetailExtPriceTotal"></field>
<field name="CuryLineDiscTotal"></field>
<field name="CuryDiscTot"></field>
<field name="CuryFreightTot"></field>
<field name="CuryTaxTotal" pinned="true"></field>
<field name="CuryOrderTotal" pinned="true"></field>
<field name="CuryControlTotal" pinned="true"></field>
</qp-fieldset>
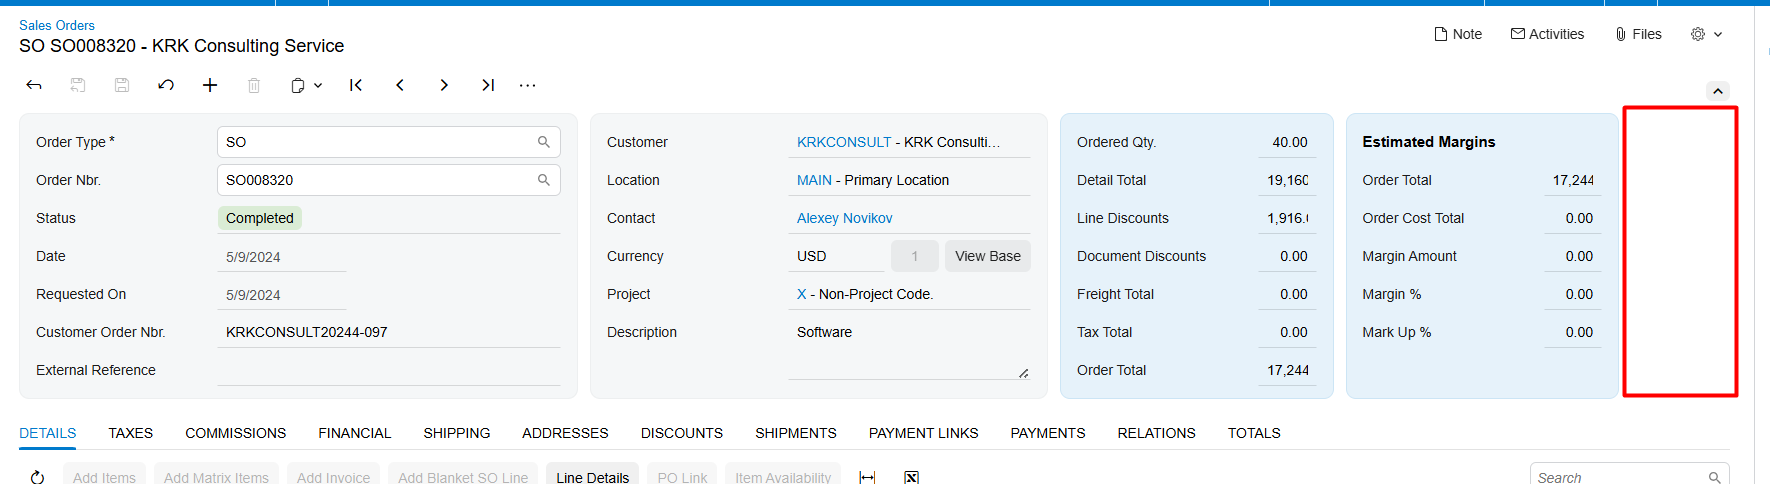
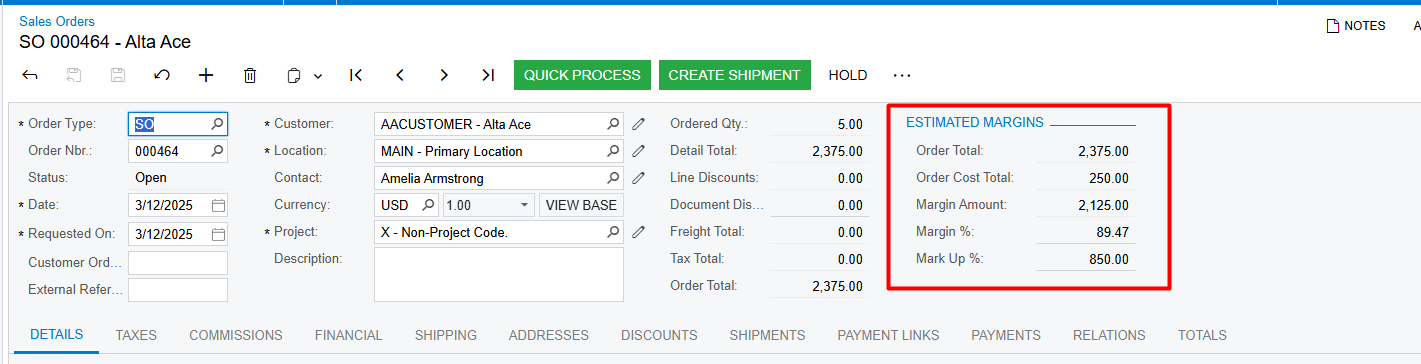
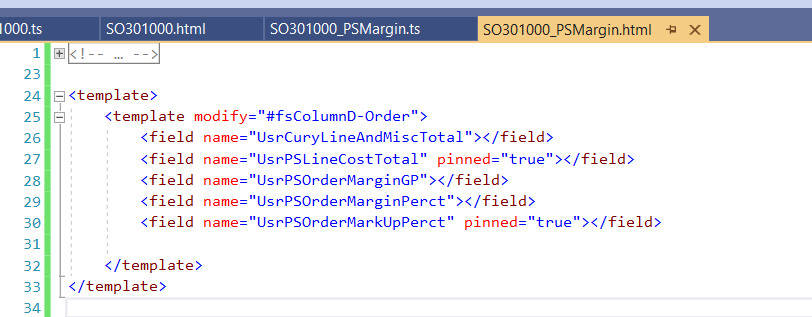
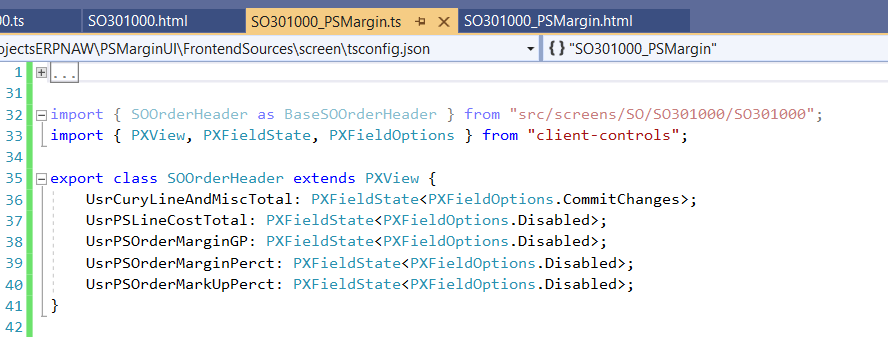
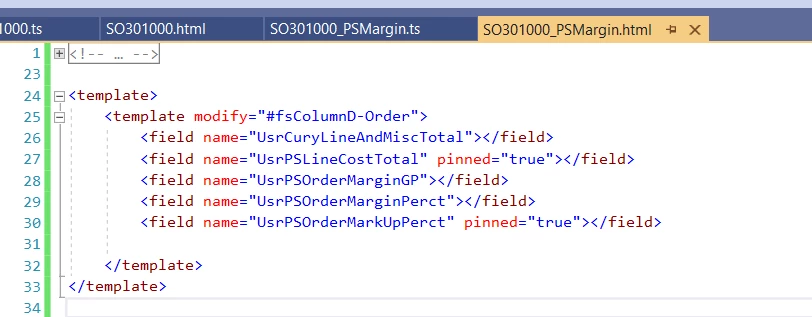
<qp-fieldset id="fsColumnC1-Order" slot="B" view.bind="Document" caption="Estimated Margins" class="highlights-section">
<field name="UsrCuryLineAndMiscTotal" ></field>
<field name="UsrPSLineCostTotal"></field>
<field name="UsrPSOrderMarginGP"></field>
<field name="UsrPSOrderMarginPerct"></field>
<field name="UsrPSOrderMarkUpPerct"></field>
</qp-fieldset>
</qp-template>
</template>
</template>


Reply
Most helpful members this week


Enter your E-mail address. We'll send you an e-mail with instructions to reset your password.