
Things I learned as an Acumatica noob.
As a brand new to Acumatica developer, the thought of creating and modifying reports was terrifying to me. But with a deep breath and fingers crossed I made the leap and have learned so much, including to not only have more faith in myself, but also in the world that is Acumatica. Report creation and modification doesn’t have to be scary. Acumatica Report Designer provides everything you need to modify or create a new report. In this post, I’ll be sharing a few tips that I learned while modifying my first report.
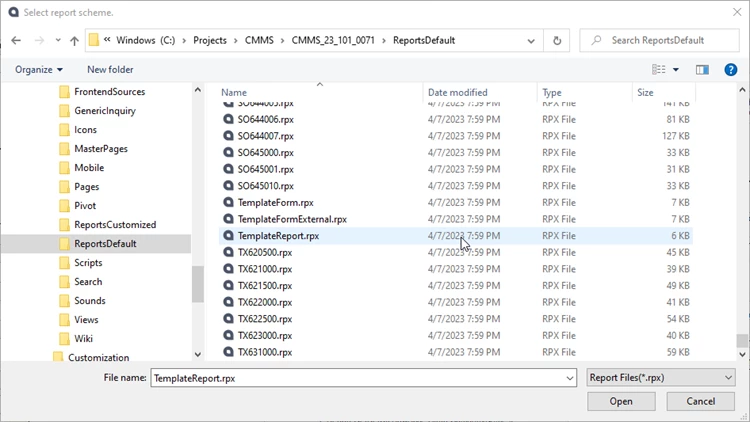
To begin, I installed a local instance of Acumatica, along with report designer. This allows me to work with my reports locally before publishing into either my test or production environments. Additionally, having a local install gave me access to one very important piece used for report aesthetics and consistency, namely the TemplateReport.rpx file.
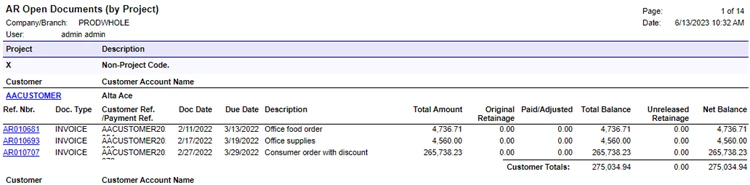
Often, I will be tasked with modifying an existing Acumatica report to meet a certain need. The out of the box reports provided by Acumatica have a very consistent formatting to them, as they all use the template above. For example, using the sales demo data set if I run the AR Open Documents report we see the expected formatting below.
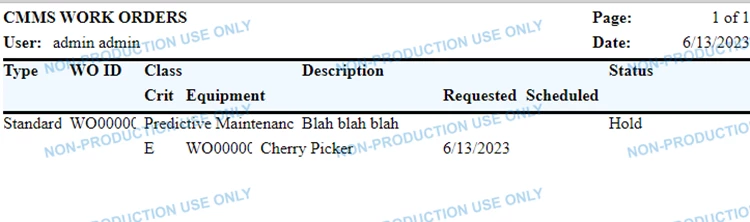
However, for this example I am taking a report from a community project that does not have the Acumatica report template in place. In this example report from the community project, the layout is in a portrait format and the font is not defined.
To address these two issues, we must first open the report in our Report Designer. Once open, you will notice that there is a ‘Properties’ box to the right of the report. Within this box is a drop down for ‘Appearance’. This is where we will want to select TemplateReport.rpx to have access to the predefined format settings.
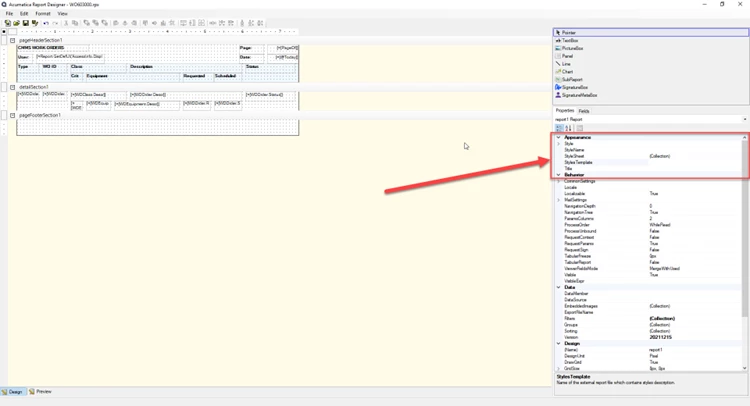
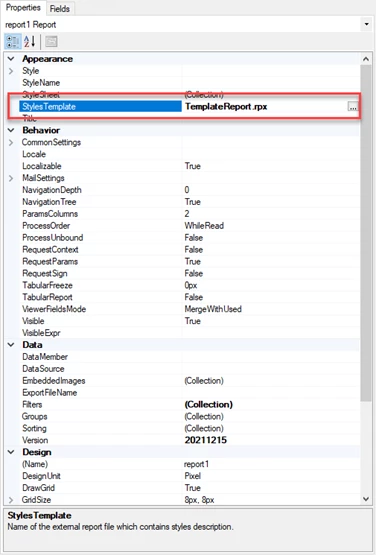
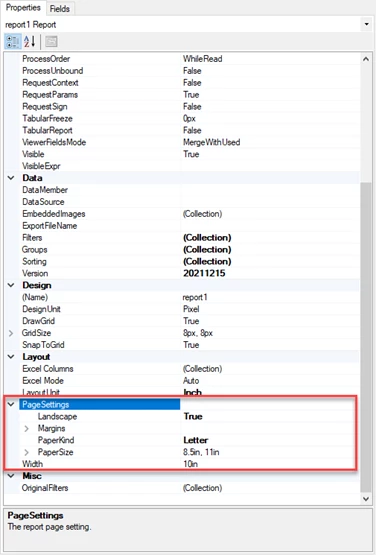
Please note that you must not have selected any of the fields within the report to be able to pull in the template. Also located in the ‘Properties’ box near the bottom, is a drop down for Page Settings. Within this dropdown you can select the size and orientation of the report.
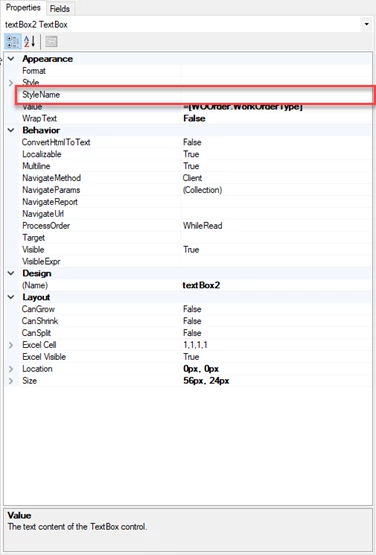
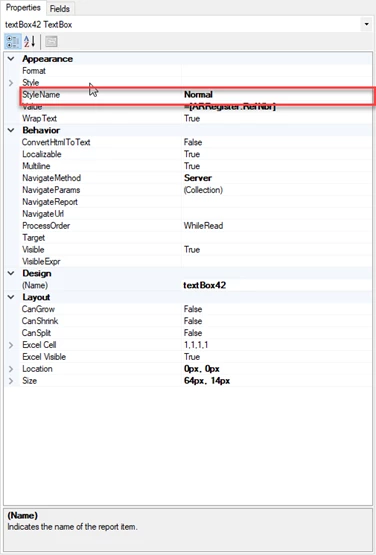
Now that we have the orientation of the page correct and the template reference in place, we can modify the formatting to match the aesthetics of the Acumatica reports. For example, in our community project report, the data fields do not have a style assigned to them, but the Acumatica report uses ‘Normal’. When modifying or creating a report, I typically will have an existing report open in the report editor. This allows me to confirm that I’m using the standard styles for the relevant sections and fields.
After much trial and error, I learned that using TemplateReport.rpx as your style template not only saves time with formatting fields, but you can also be sure that your shiny new reports will be consistent with the Acumatica standards.
Happy reporting!
