
With the Developer Preview of the Modern UI available in Acumatica 2023r1, no doubt one of the hottest topics will become converting screens from the classic webforms into the Modern UI using TypeScript. As there seems to be very little public content so far within the community, allow me to take you along on the start of my journey where I create a variation on “Hello World” in the modern UI for a very simple screen. Warning: I am just starting to learn this, so as simple as the screen is, there is room for error in this post. I would like to invite you to comment below if you find this helpful or if you find errors in my code or explanation so that we all can learn together!
When you are ready to get started on your own journey to learn how to develop for the modern UI in Acumatica, take a moment and head over to Kyle Vanderstoep’s post where he explains the basics of getting the environment ready and where the files go.
Link: Developer Preview of Acumatica's New Modern UI | Acumatica Cloud ERP
Those that know me best in the community know my passion for supporting maintenance organizations and the CMMS-Lite community project to bring basic work management tools to the internal maintenance organization. To start my own adventure into TypeScript for the modern UI, I followed Kyle’s post to get started and then selected a screen, and then another, and then one that I could finally get to work! (You know what they say… third time’s a charm!) Looking at examples installed with 2023r1, I finally settled on screen GL202500 which simply shows a basic list. This aligns with the community project screen WO202000 which defines a list of measurements that can be attached to a Work Order. Let’s just say that this screen is as simple a screen as they come, so the fact that this screen works for me purely validates that I’m on the right track - definitely not that I’m an expert… yet!
At a high level, the basic steps I followed on my third attempt at converting a screen (which also was my first successful attempt) are as follows:
- Setup my environment as per Kyle’s post linked above.
- Find the GL202500 screen folder located in FrontendSources\screen\src\screens within my site.
- Copy the folder and the files contained from GL\GL202500 to WO\WO202000
- Rename the files GL202500.html and GL202500.ts to WO202000.html and WO202000.ts, respectively.
- Edit the new contents of the WO202000 files to reference my DAC, view, and fields.
- Build my new screen using npm run getmodules and npm run build as Kyle explains.
- Toggle the screen to use the Modern UI in site map.
- Do the happy dance when I confirm my first successfully converted screen works in the new User Interface!
Let’s take a quick look under the covers and see what this really looks like. Below is the original screen using webforms.
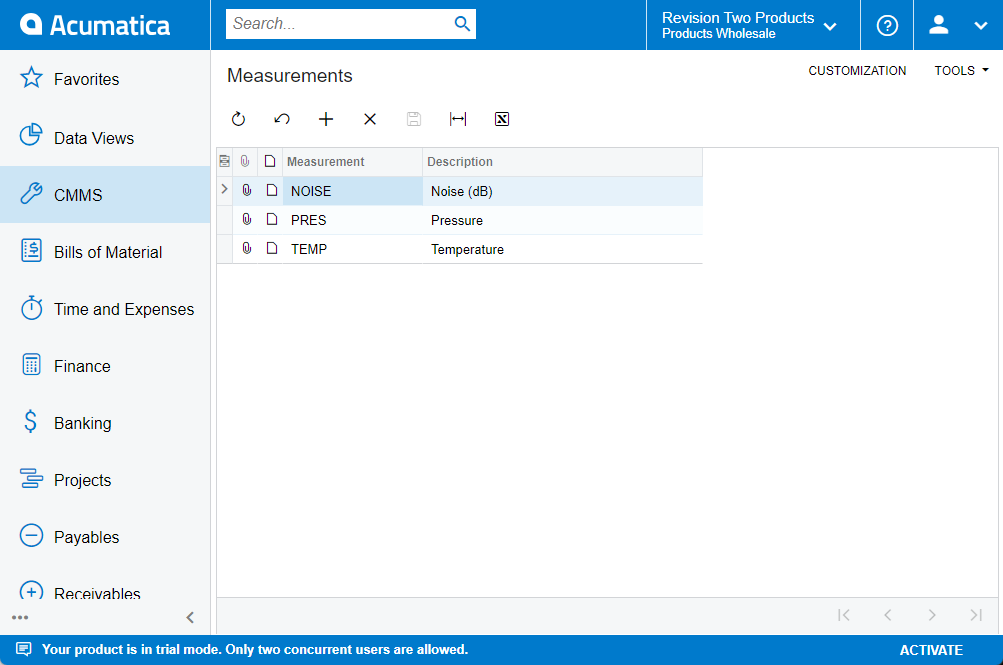
The ASPX code is as follows:
<%@ Page Language="C#" MasterPageFile="~/MasterPages/ListView.master" AutoEventWireup="true" ValidateRequest="false" CodeFile="WO202000.aspx.cs" Inherits="Page_WO202000" Title="Untitled Page" %>
<%@ MasterType VirtualPath="~/MasterPages/ListView.master" %>

<asp:Content ID="cont1" ContentPlaceHolderID="phDS" Runat="Server">
	<px:PXDataSource ID="ds" runat="server" Visible="True" Width="100%"
        TypeName="CMMS.WOMeasurementMaint"
        PrimaryView="Measurements"
        >
		<CallbackCommands>

		</CallbackCommands>
	</px:PXDataSource>
</asp:Content>
<asp:Content ID="cont2" ContentPlaceHolderID="phL" Runat="Server">
	<px:PXGrid runat="server" ID="grdMeasurements" SkinID="Primary" Width="100%" >
		<Levels>
			<px:PXGridLevel DataMember="Measurements">
				<Columns>
					<px:PXGridColumn DataField="MeasurementCD" />
					<px:PXGridColumn DataField="Descr" />
				</Columns>
			</px:PXGridLevel>
		</Levels>
		<AutoSize Enabled="True" Container="Window"/>
	</px:PXGrid>
</asp:Content>
To convert to TypeScript for the new UI, we need 2 files - a .html file and a .ts file.
WO202000.html
<template>
	<qp-grid style="height: 100%" view.bind="Measurements">
		<columns>
			<column field="MeasurementCD"></column>
			<column field="Descr"></column>
		</columns>
	</qp-grid>
</template>
WO202000.ts
import { autoinject } from 'aurelia-framework';
import {
	ScreenBaseViewModel, createCollection, graphInfo, commitChanges, BaseViewModel,
	PXFieldState
} from 'client-controls';

@graphInfo({ graphType: 'CMMS.WOMeasurementMaint', primaryView: 'Measurements' })
@autoinject
export class WO202000 extends ScreenBaseViewModel {
	Measurements = createCollection(WOMeasurement, {
		adjustPageSize: true, initNewRow: true, syncPosition: true,
		quickFilterFields: ['MeasurementCD'], mergeToolbarWith: "ScreenToolbar"
	});
}

export class WOMeasurement extends BaseViewModel {
	@commitChanges MeasurementCD: PXFieldState;
	Descr: PXFieldState;
}
Before the big reveal of the finished screen, first a few words about this code.
In the .html file, notice the use of qp-grid. This is the equivalent of PXGrid and PXGridLevel from aspx. It includes view.bind to specify the view that we would provide in DataMember of the PXGridLevel using webforms. The columns are defined very similarly to webforms, but PXGridColumn becomes simply column for TypeScript.
In the .ts file, there are several key settings to point out. First, @graphInfo specifies the fully qualified class of the graph, replacing TypeName in PXDataSource of the aspx file as well as indicating the primaryView just like PXDataSource. Next, we must export a class of the screen ID which will create a collection of our DAC (WOMeasurement) into the view (Measurements) by using createCollection. You may notice some familiar settings here, carried over from the aspx page. When you create a collection, by default this collection wants to inlclude a toolbar like the top of webform grids. The screen already has a toolbar, so we can merge the collection’s toolbar into the screen’s toolbar using mergeToolbarWith: “ScreenToolbar”. Finally, we need to specify the fields of the DAC that should be exposed. When we export the class WOMeasurement, notice the use of @commitchanges - yes, it does exactly what you expect from webforms.
A few other common elements of TypeScript that will pop up in other screens include:
- qp-fieldset - The equivalent of the PXFormView control to display fields of a single record
- qp-tabbar and qp-tab - The equivalent of PXTab and PXTabItem, respectively
- caption.bind within a qp-fieldset - The equivalent of GroupCaption in a PXLayoutRule
Since this isn’t meant to be a complete primer in TypeScript, and I’m just starting to learn it myself, just note that there is a lot more to learn than shown here… and if you are as new to this as I am, most of the community is starting where you are today.
And now, without any further delay, let’s take a peek at the resulting Modern UI of this screen using TypeScript. Drumroll, please!
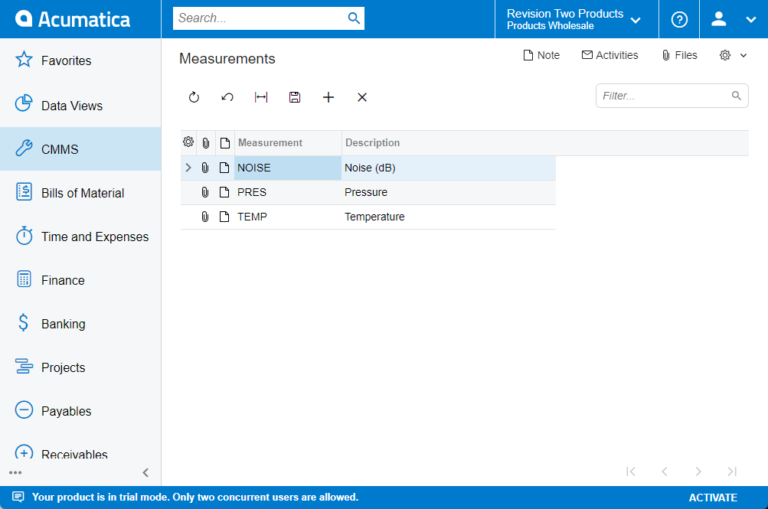
The top right corner of the screen is a little different than before. It also seems the new screen leaves the save button solid instead of grayed out, although leaving the page does not warn of a dirty cache. The export to Excel icon seems to be missing. These are mysteries that I will need to investigate further. Otherwise, this appears to me to be basically the same screen as before. If you happen to check the new Sales Order Entry screen as supplied by Acumatica with 2023r1, no doubt you will notice far more visual differences. For now, this looks like “mission accomplished".
As the Chinese proverb says, “A journey of a thousand miles begins with a single step.” If you are brave enough to take the first step of this journey, I hope to meet you along the way.
Happy coding!

