
After inserting an image into a column, the gap between the column and the grid increased. Can I manually change the gap between them?

After inserting an image into a column, the gap between the column and the grid increased. Can I manually change the gap between them?
Best answer by Md Kalim Ashraf
Hi rashmika,
To reduce the gap between groups after inserting an image, you can adjust the layout properties in the Customization Project Editor. Here's how, using the AR303000 (Customers) screen as an example:
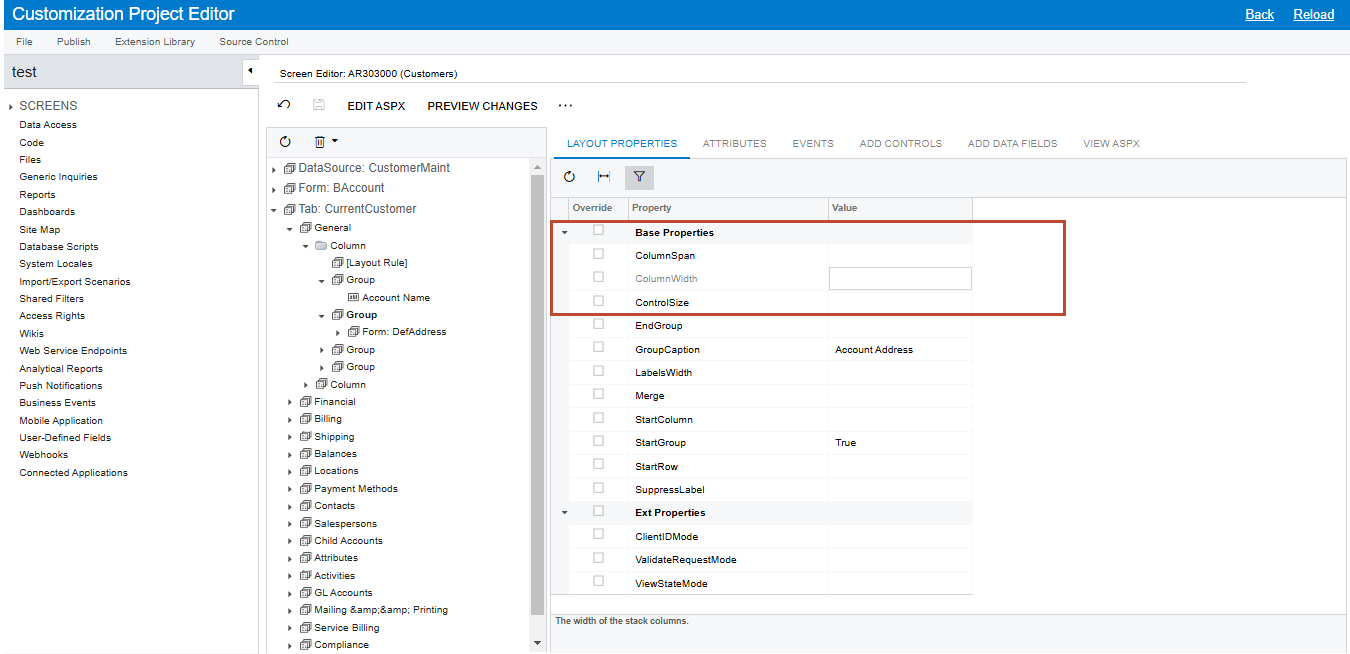
ColumnWidth: Set this to "300px" or "400px" depending on your image size. This directly controls the column width and helps eliminate extra spacing.ControlSize: Set this to "M" (Medium) for standard spacing or "S" (Small) if you need to reduce the spacing further.Let me explain the available values for both properties:
ColumnWidth values:
ControlSize values (preset options):
For example, in the Customer screen (AR303000), if you've added an image in the General section and notice increased spacing, you can select the Column or Group element in the layout tree and adjust these properties to achieve better spacing.
These settings should help maintain a compact layout while accommodating your image properly.
Note: If you need even finer control, you can also adjust the ColumnSpan property, though the ColumnWidth adjustment is usually sufficient for most cases.
No account yet? Create an account
Enter your E-mail address. We'll send you an e-mail with instructions to reset your password.