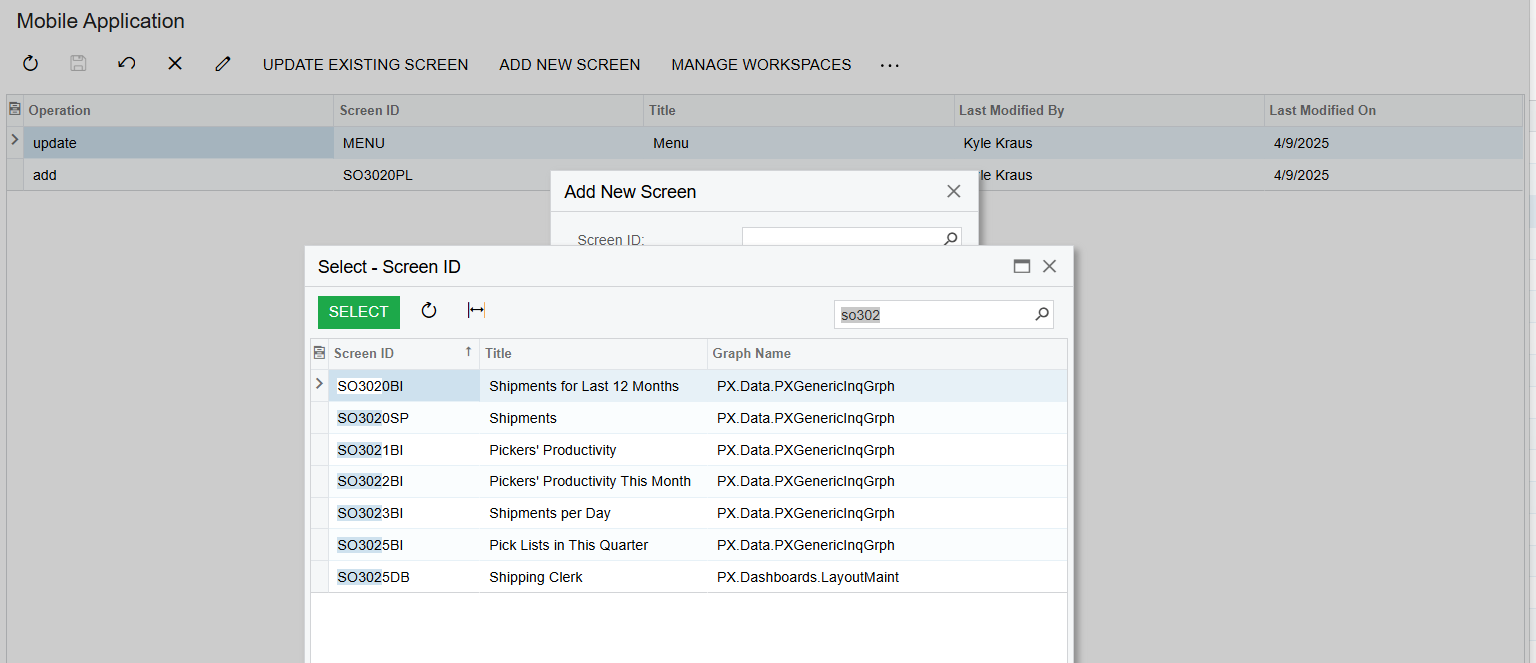
I reread your question and realized you were originally asking about SO302000, not the list view SO3020PL. To add SO302000 to the mobile app:
- Add a new screen in Mobile Applications (SO302000). Something like the below...(this example is very basic and does not include formatting or actions).
add screen SO302000 {
  add container "ShipmentSummary" {
      add field "Customer"
      add field "ShipmentNbr"
      add field "Type"
      add field "Status"
      add field "ShipmentDate"
      add field "Location"
      add field "WarehouseID"
      add field "ToWarehouse"
      add field "Workgroup"
      add field "Owner"
      add field "ShippedQuantity"
      add field "ControlQuantity"
      add field "ShippedWeight"
      add field "ShippedVolume"
      add field "Packages"
      add field "PackageWeight"
      add field "Description"
    attachments {
    }
  }
}
- Update the Main Menu to include SO302000.
update sitemap {
add folder "Shipments" {
type = HubFolder
isDefaultFavorite = True
displayName = "Shipments"
icon = "system://Cash"
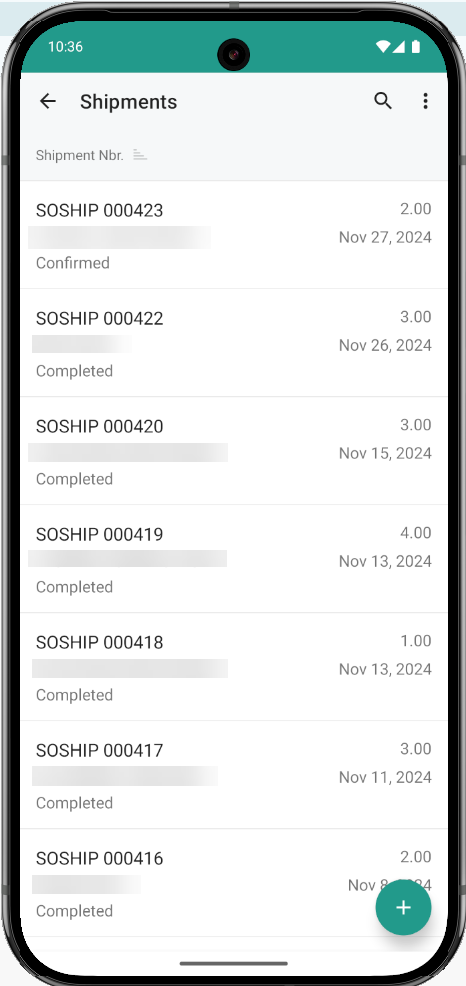
add item "SO3020PL" {
displayName = "Shipments"
icon = "system://Box1"
}
}
add item "SO302000" {
displayName = "Shipments"
visible = False
}
}
Updated customization package is attached if you want to try it out. Hope this helps.