Solved

Moving Custom Button to the Action Menu

  • 4 July 2023
  • 6 replies
  • 252 views

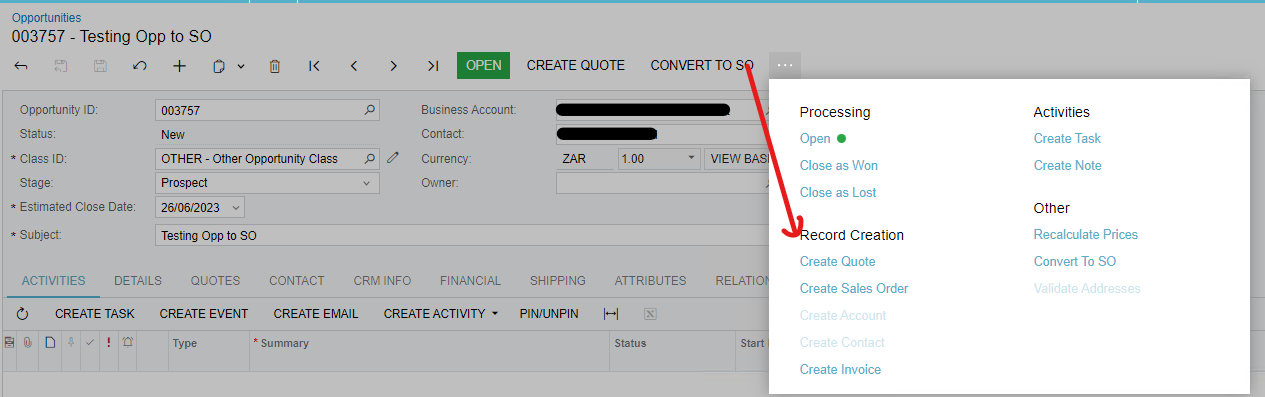
I have created a button on the Opportunities (CR304000) called 'Convert to SO’ which converts the current opportunity to a Sales Order. I would like to move the button to the Action Menu > Record Creation, how can I do it?

The Acumatica version I am using is: 23.105.0016 (2023R1)


icon

Best answer by darylbowman 31 July 2023, 14:09

View original

6 replies

Userlevel 7
Badge +11

Hi @Sadaf10 

We can relocate the button using the workflow. Open the screen in the customization projects, select the action, and modify the category.


I have tried this, but the button shows on the toolbar as well as in the action menu under Other as highlighted on the snippet below:


Userlevel 7
Badge +17

@Sadaf10 

 If you do not want to show the buttons on the Toolbar, you can uncheck the “Duplicate on Toolbar” checkbox in the Workflow steps in the Customization project. 

Please find the screenshot for reference.


Userlevel 7
Badge +12

Hi @Sadaf10 

Please find the attached package workflow defined to remove the shipment action and Added print shipment confirmation button on every workflow status in the shipment screen,

refer below package for a sample reference.

Userlevel 5
Badge +1

Hello @Sadaf10 

o move a button to the Action Menu > Record Creation in Acumatica, you need to override the Initialize() method of the graph and use the AddMenuAction() method to add your button to the menu.

Here's an example of how you can do this. Note that the code below assumes that you have a button action called ConvertToSO.


public class OpportunityMaint_Extension : PXGraphExtension<OpportunityMaint>
{
public PXAction<CROpportunity> ConvertToSO;

[PXButton(CommitChanges = true)]
[PXUIField(DisplayName = "Convert to SO", MapEnableRights = PXCacheRights.Select)]
protected virtual IEnumerable convertToSO(PXAdapter adapter)
{
// Your button logic goes here
// This is where you would put the code to convert the opportunity to a sales order

return adapter.Get();
}

public override void Initialize()
{
base.Initialize();
Base.action.AddMenuAction(ConvertToSO);
}
}


This code will create an action named 'Convert to SO' and put it under the Actions > Record Creation menu. The Initialize() method is called when the graph is created, and Base.action.AddMenuAction(ConvertToSO) will add the ConvertToSO action to the Actions menu.


Badge +11

@Sadaf10 

All of the above methods are valid, but since you’ve specified that your action is custom, the easiest way to assign menu placement is probably right within the action definition:

[PXButton(CommitChanges = true, Category = "RecordCreation")]


Reply


About Acumatica ERP system
Acumatica Cloud ERP provides the best business management solution for transforming your company to thrive in the new digital economy. Built on a future-proof platform with open architecture for rapid integrations, scalability, and ease of use, Acumatica delivers unparalleled value to small and midmarket organizations. Connected Business. Delivered.
© 2008 — 2024  Acumatica, Inc. All rights reserved