Modifying the Printing & Emailing section of PO screen
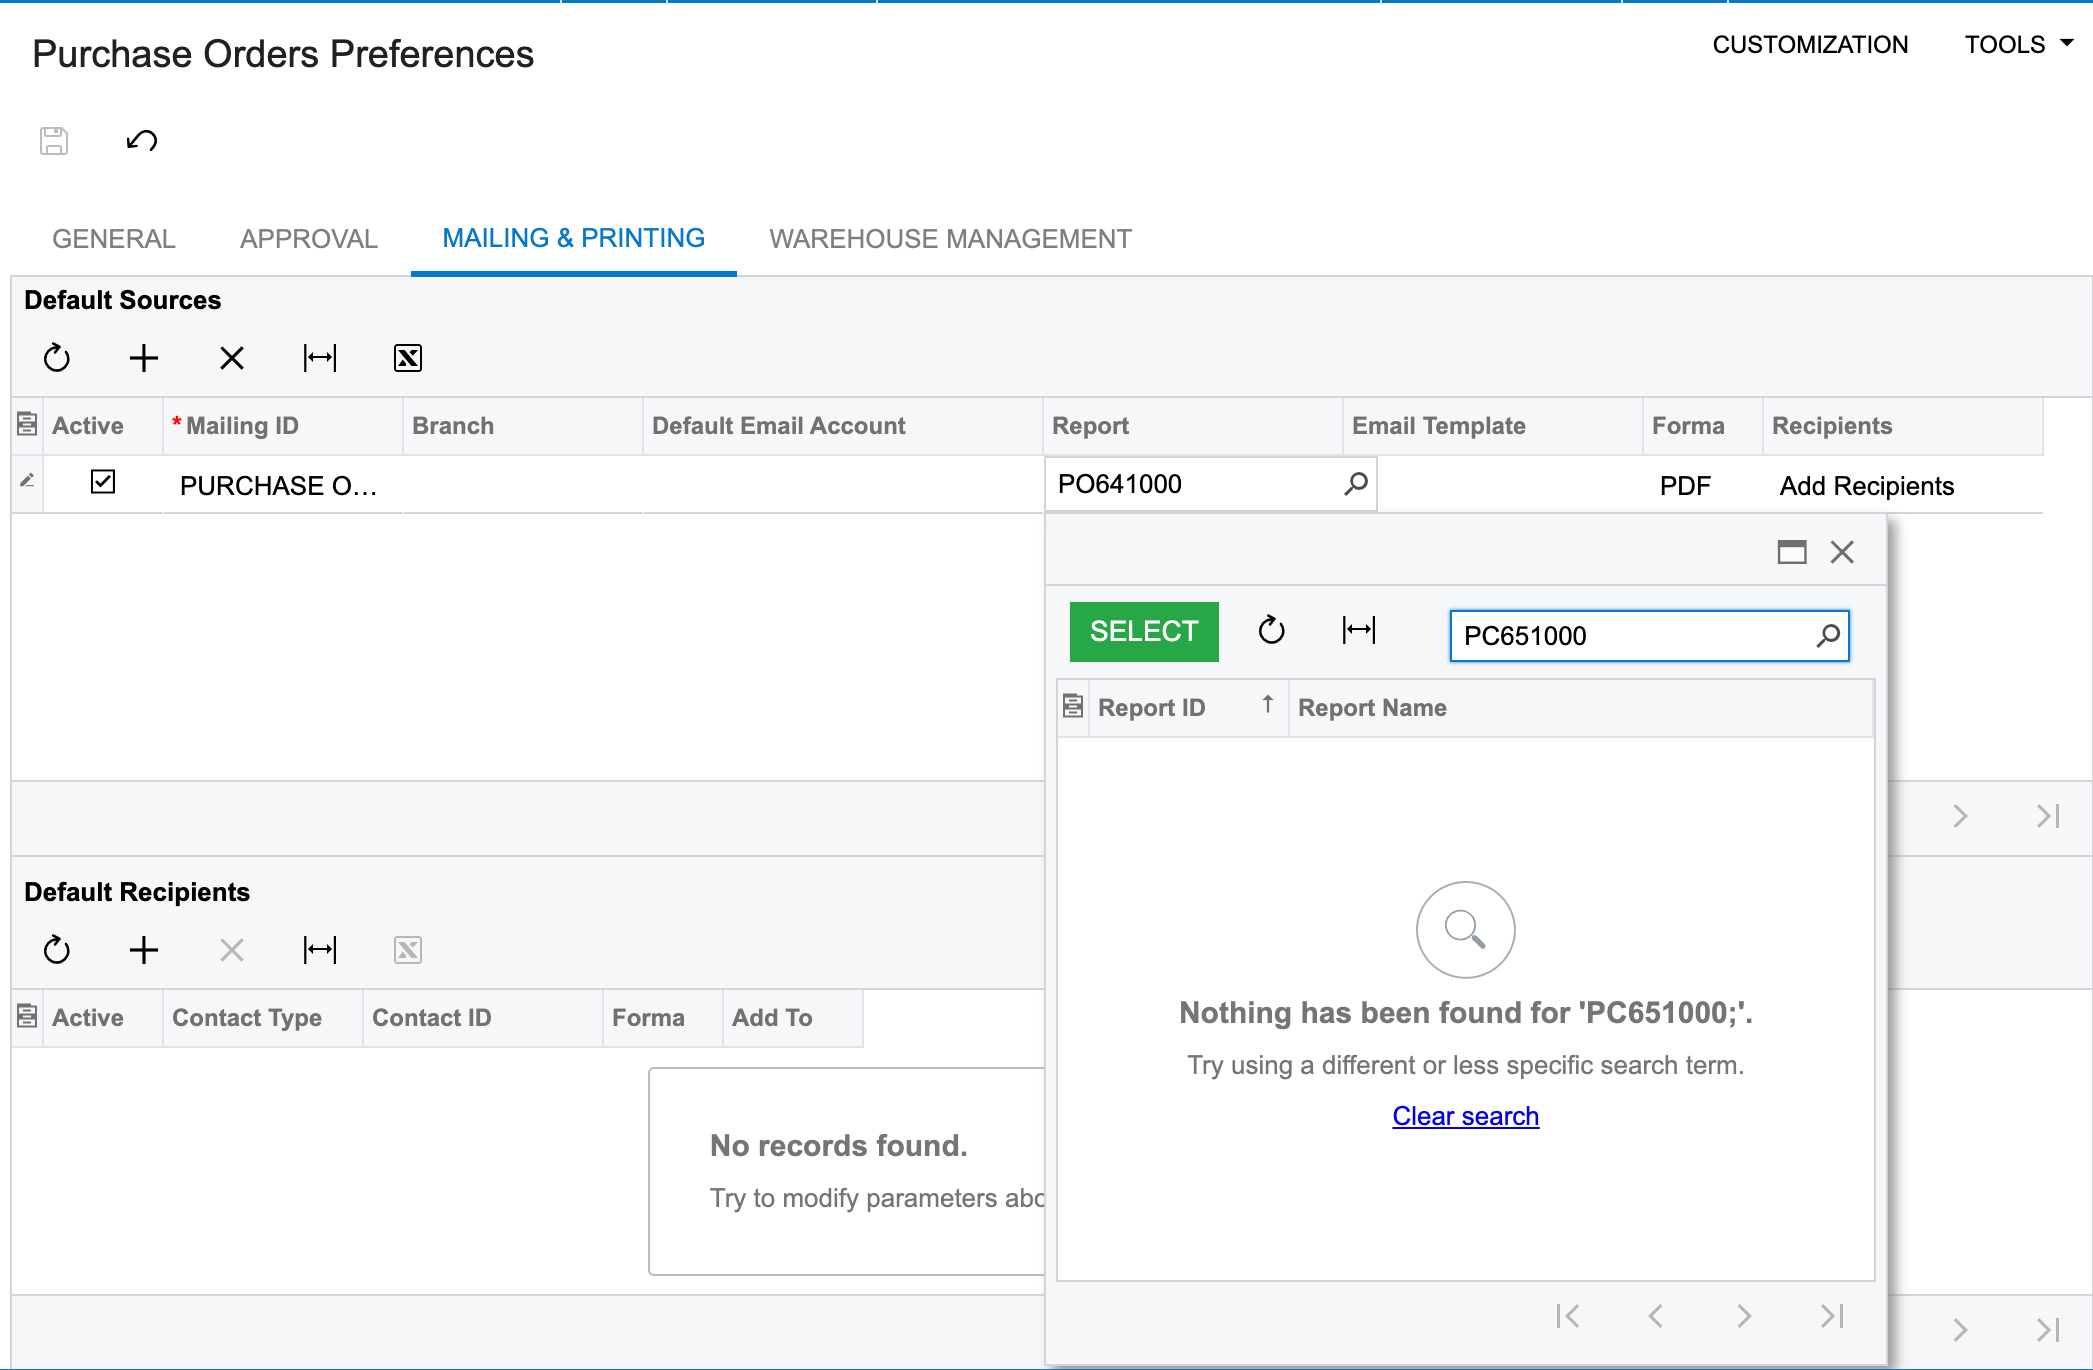
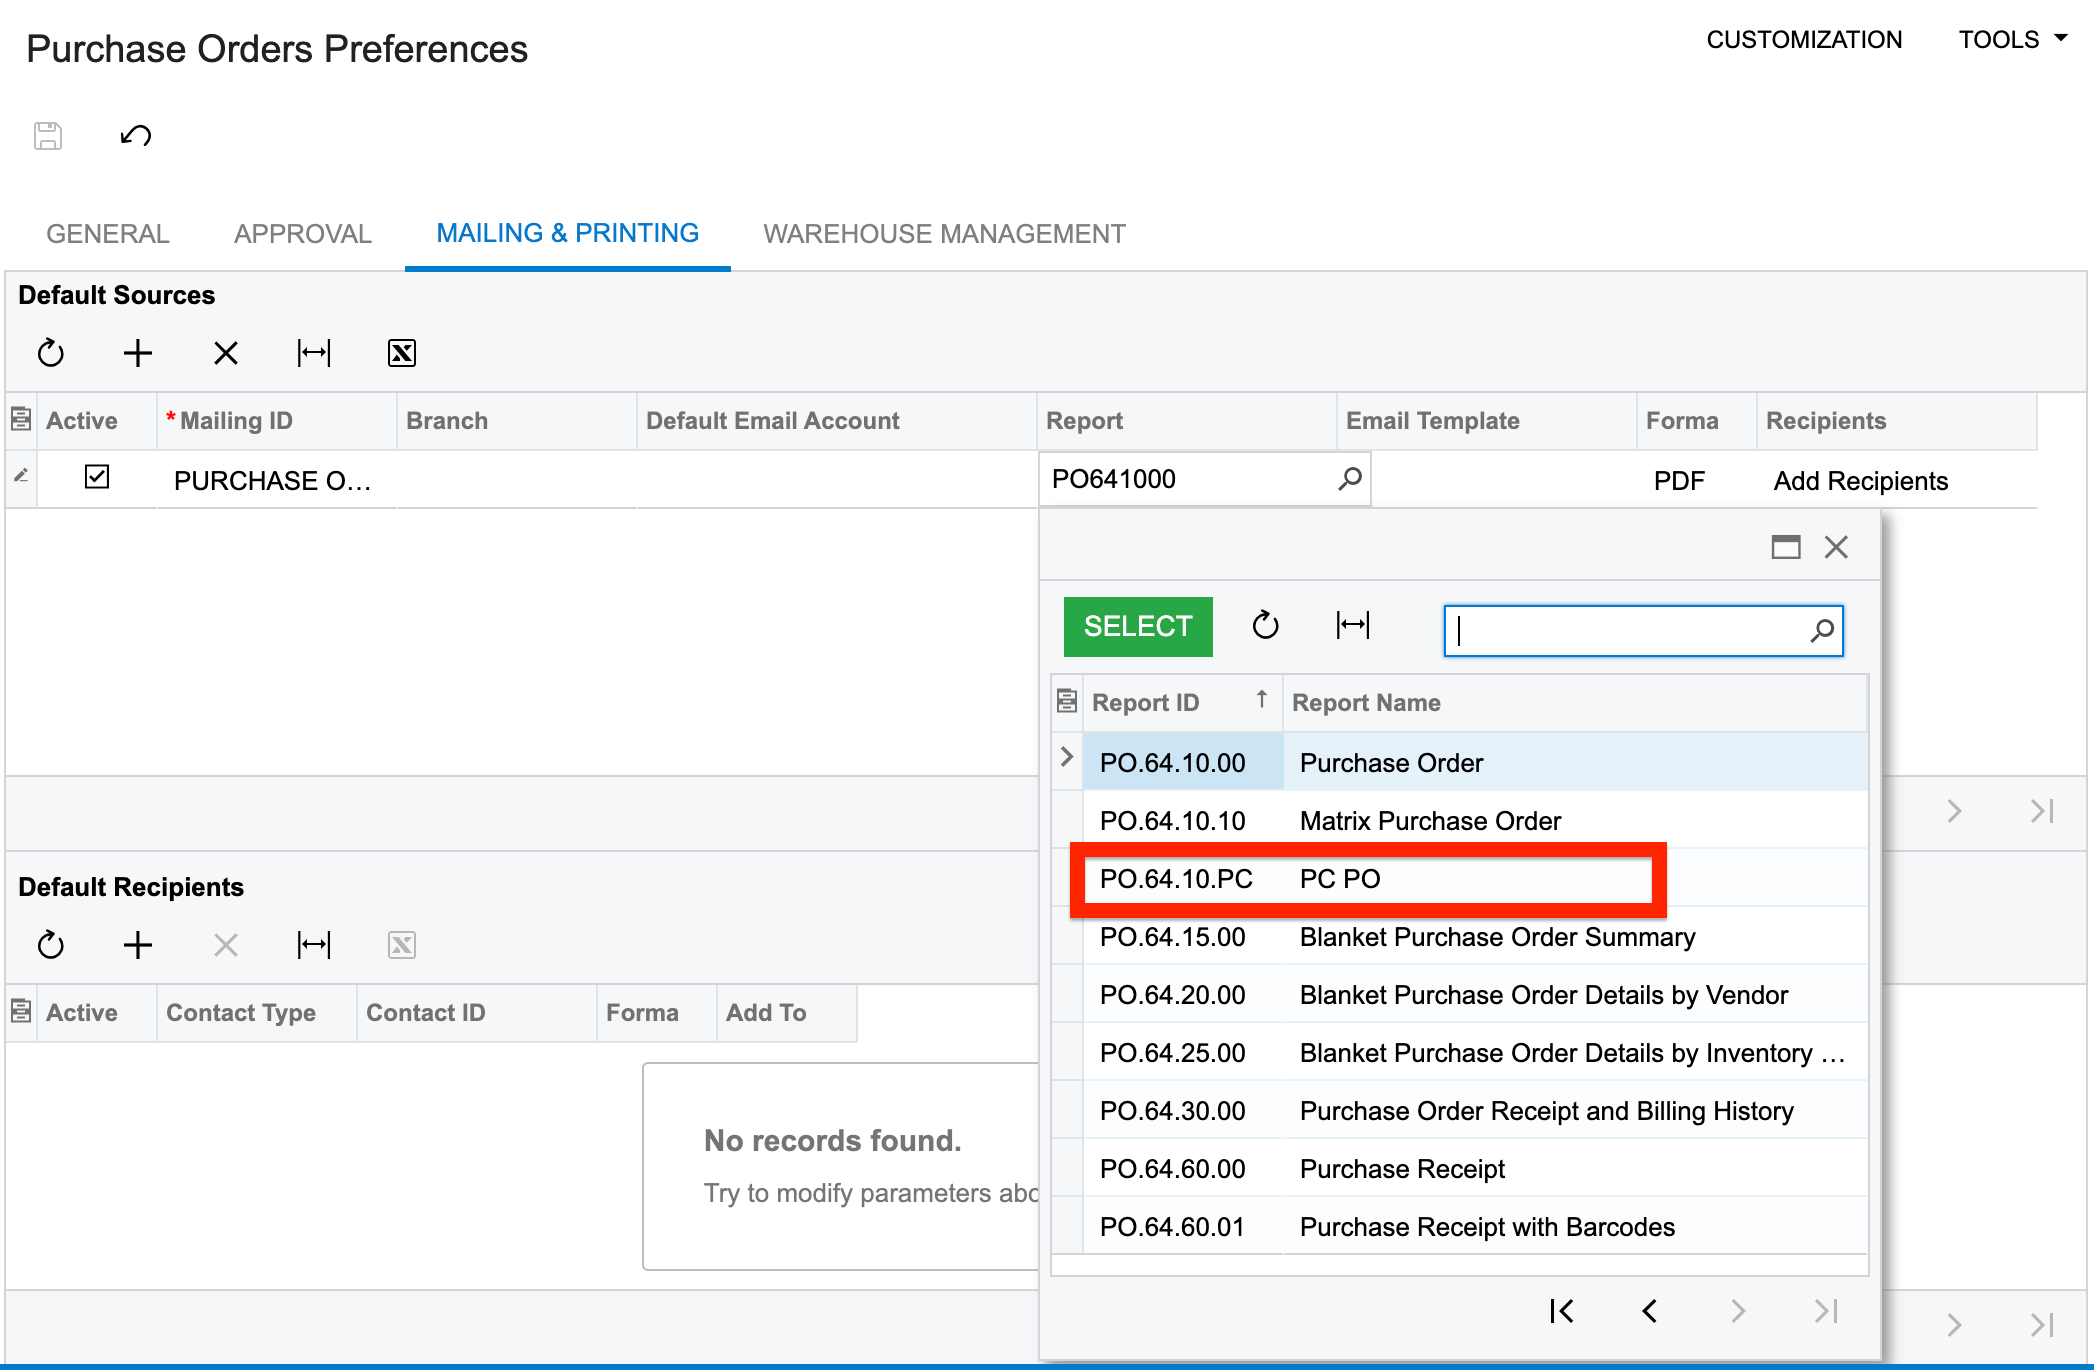
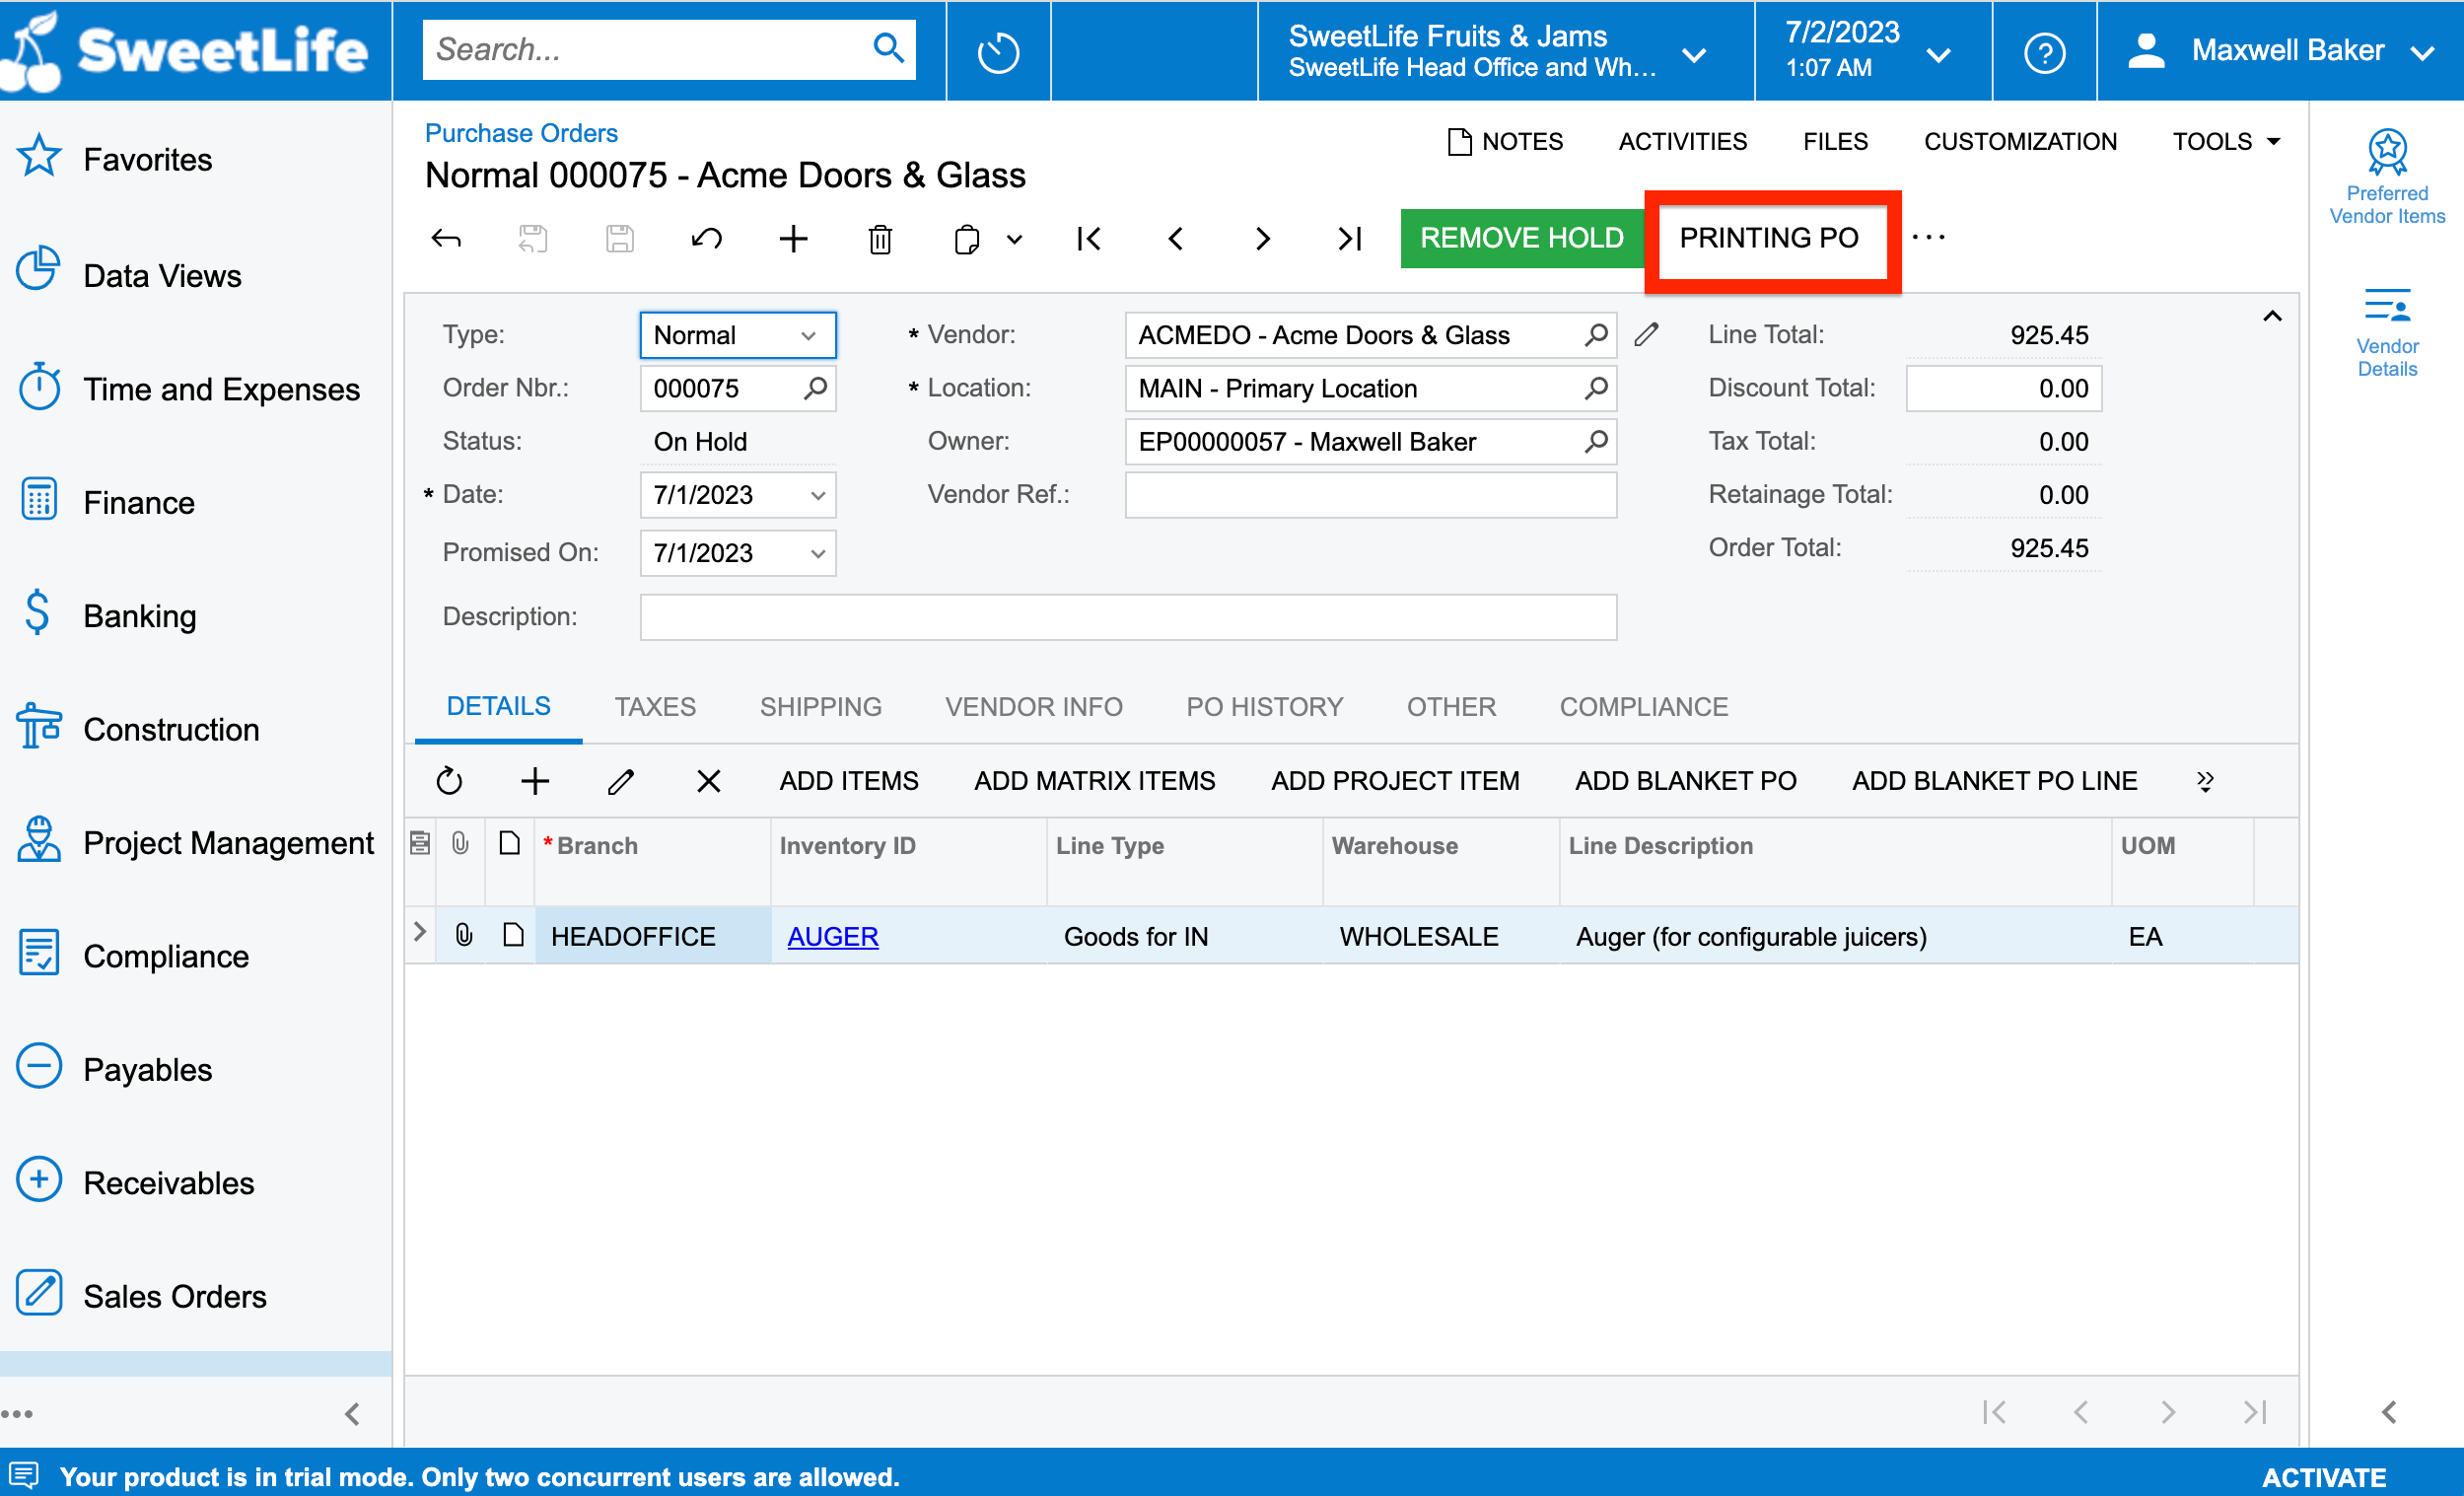
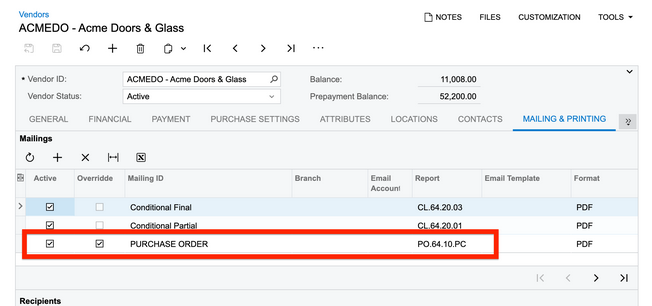
Hello Linkies, I have created a new PO report - PC PO (PC651000) in the system that I would like to add in place of the Print Purchase Order report as highlighted below.
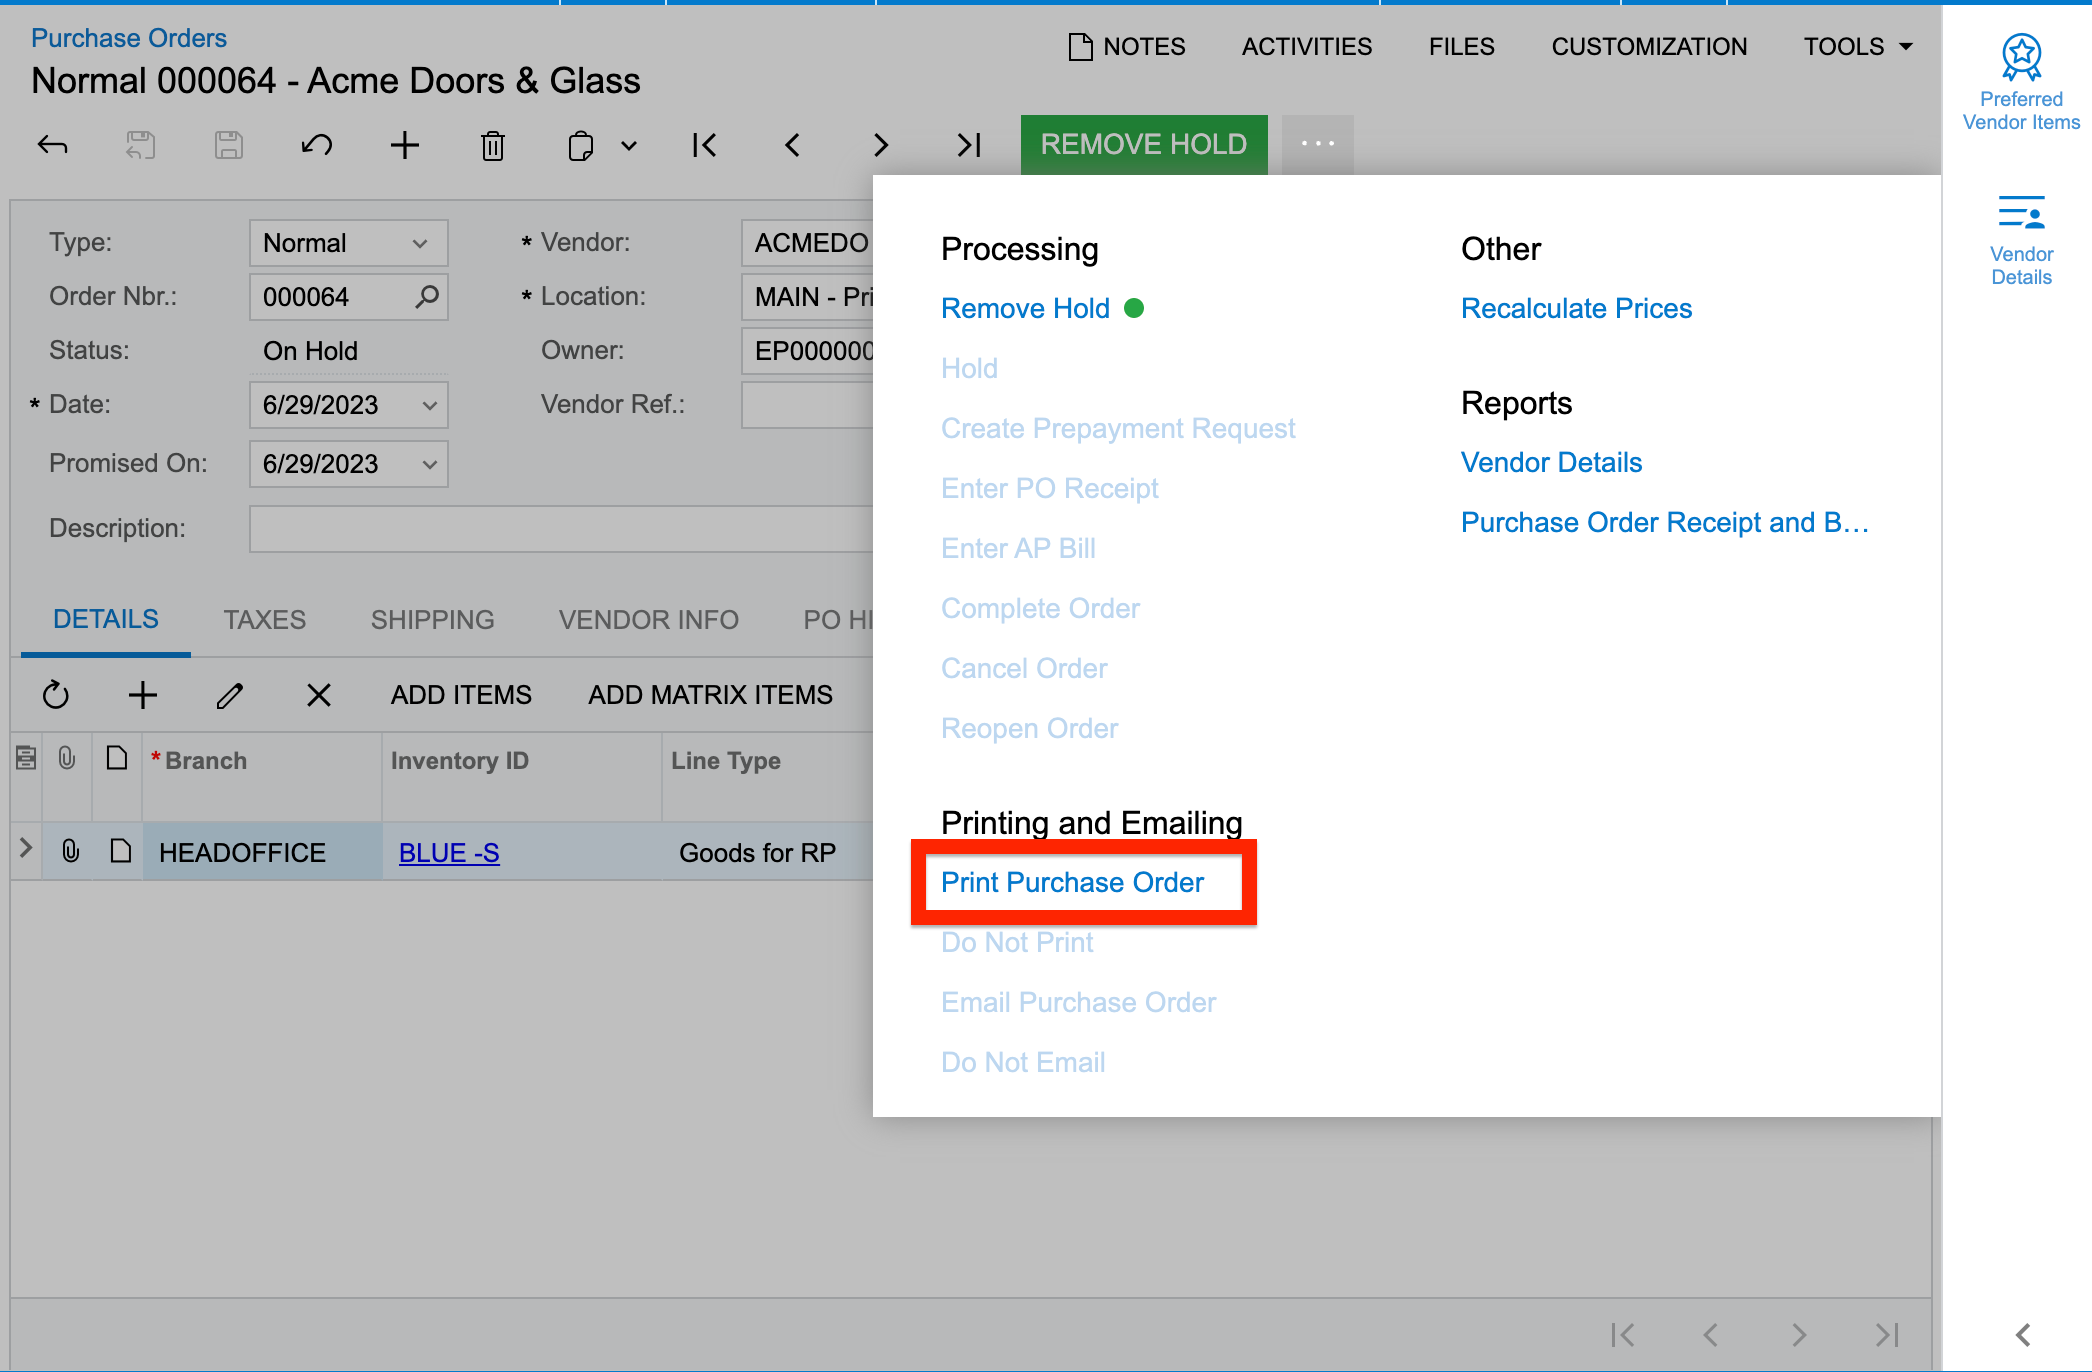
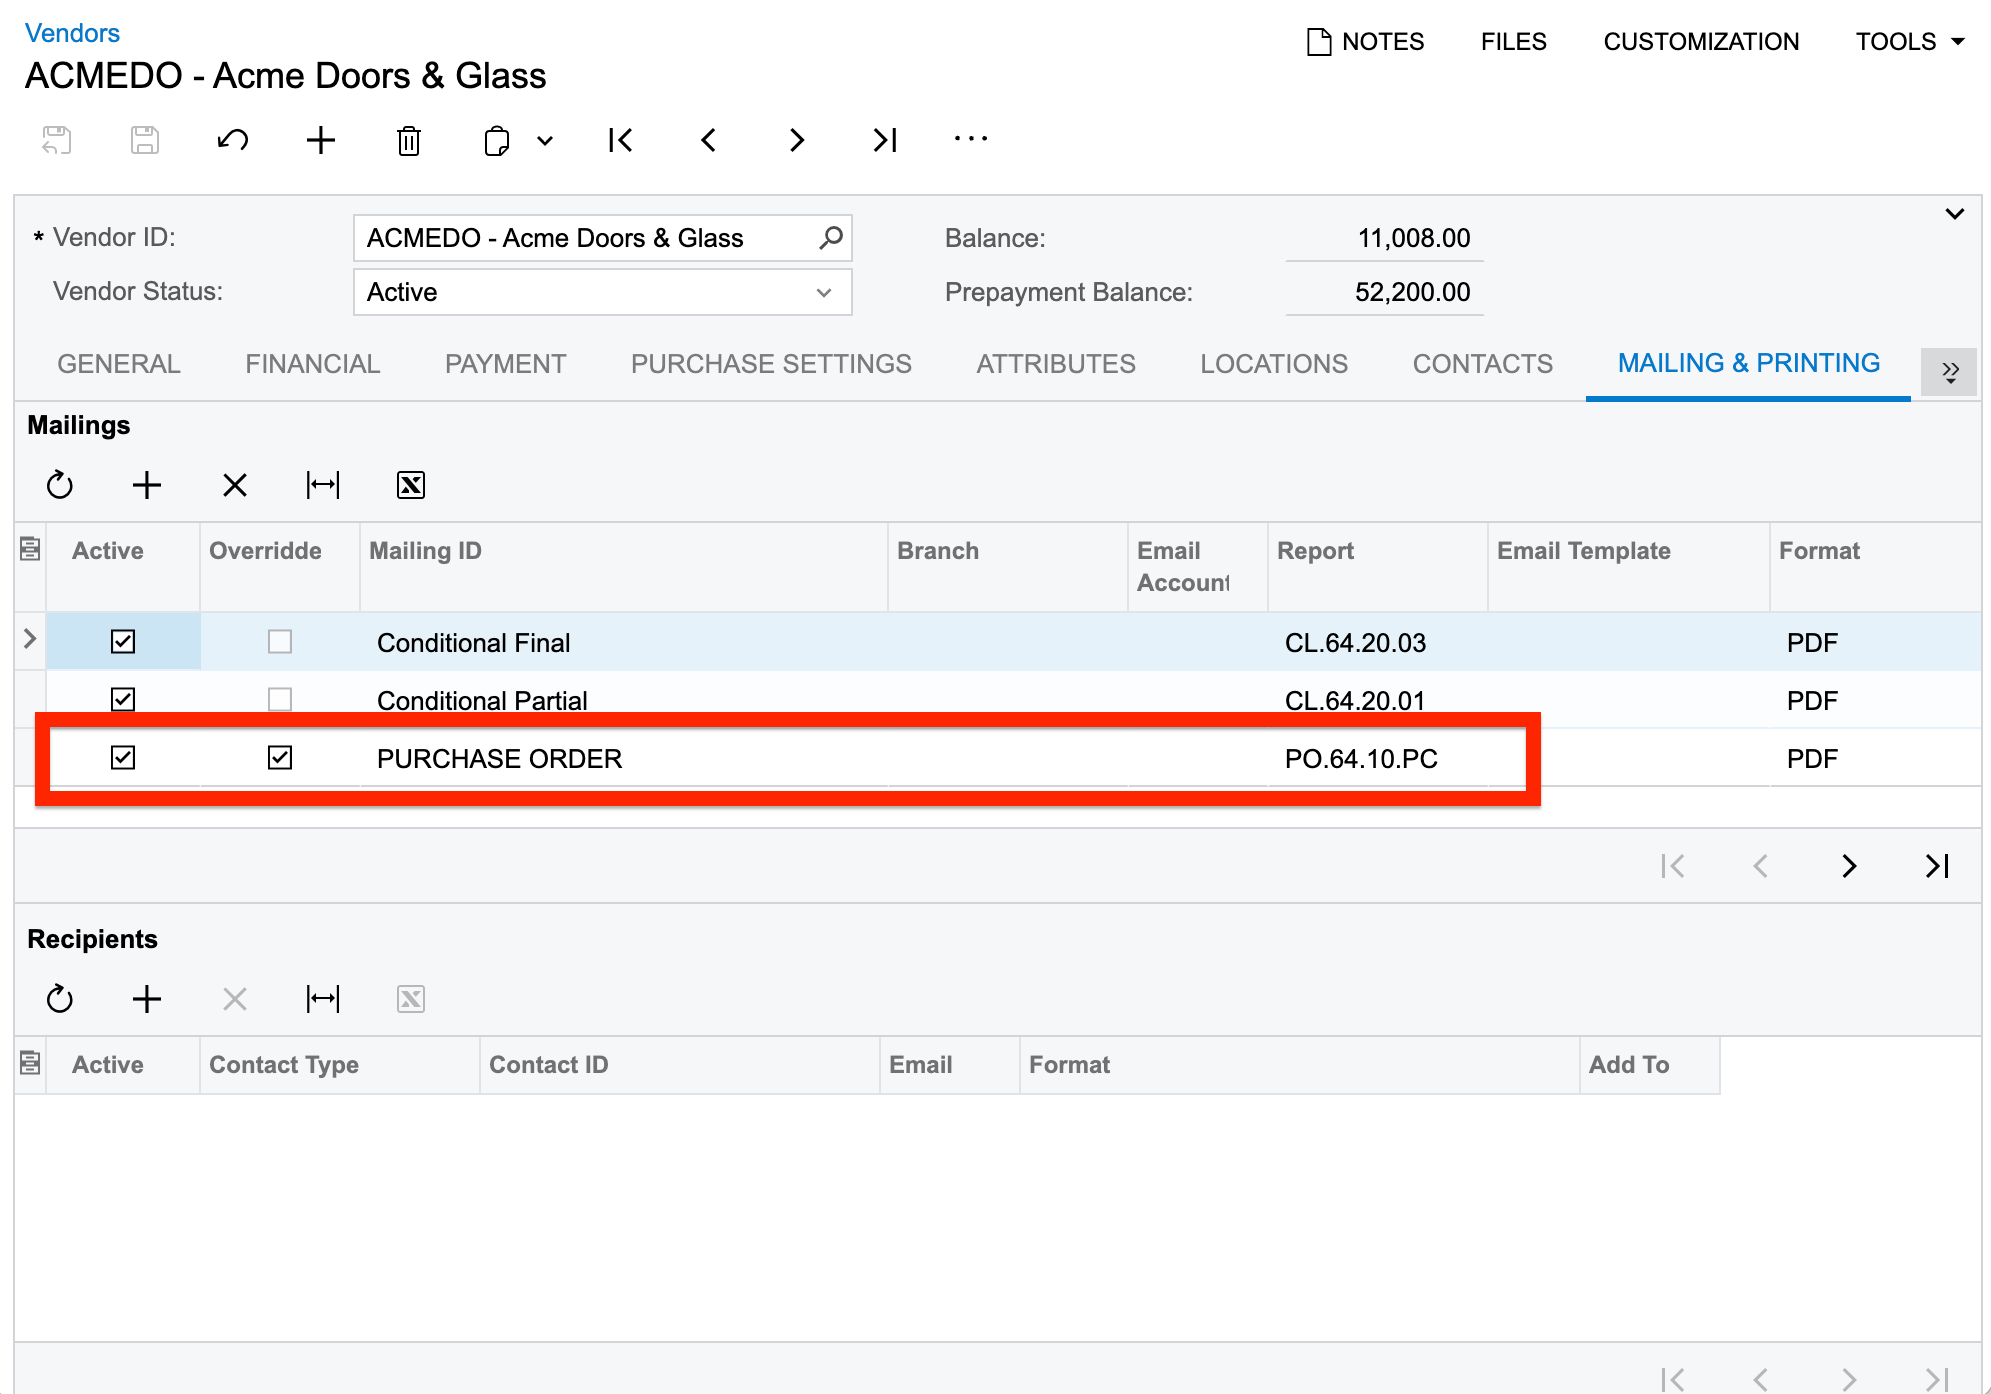
But I am unable to add the newly created report by modifying the Mailing & Printing tab in the Vendors (AP303000) form & Purchase Orders Preferences (PO101000) form.
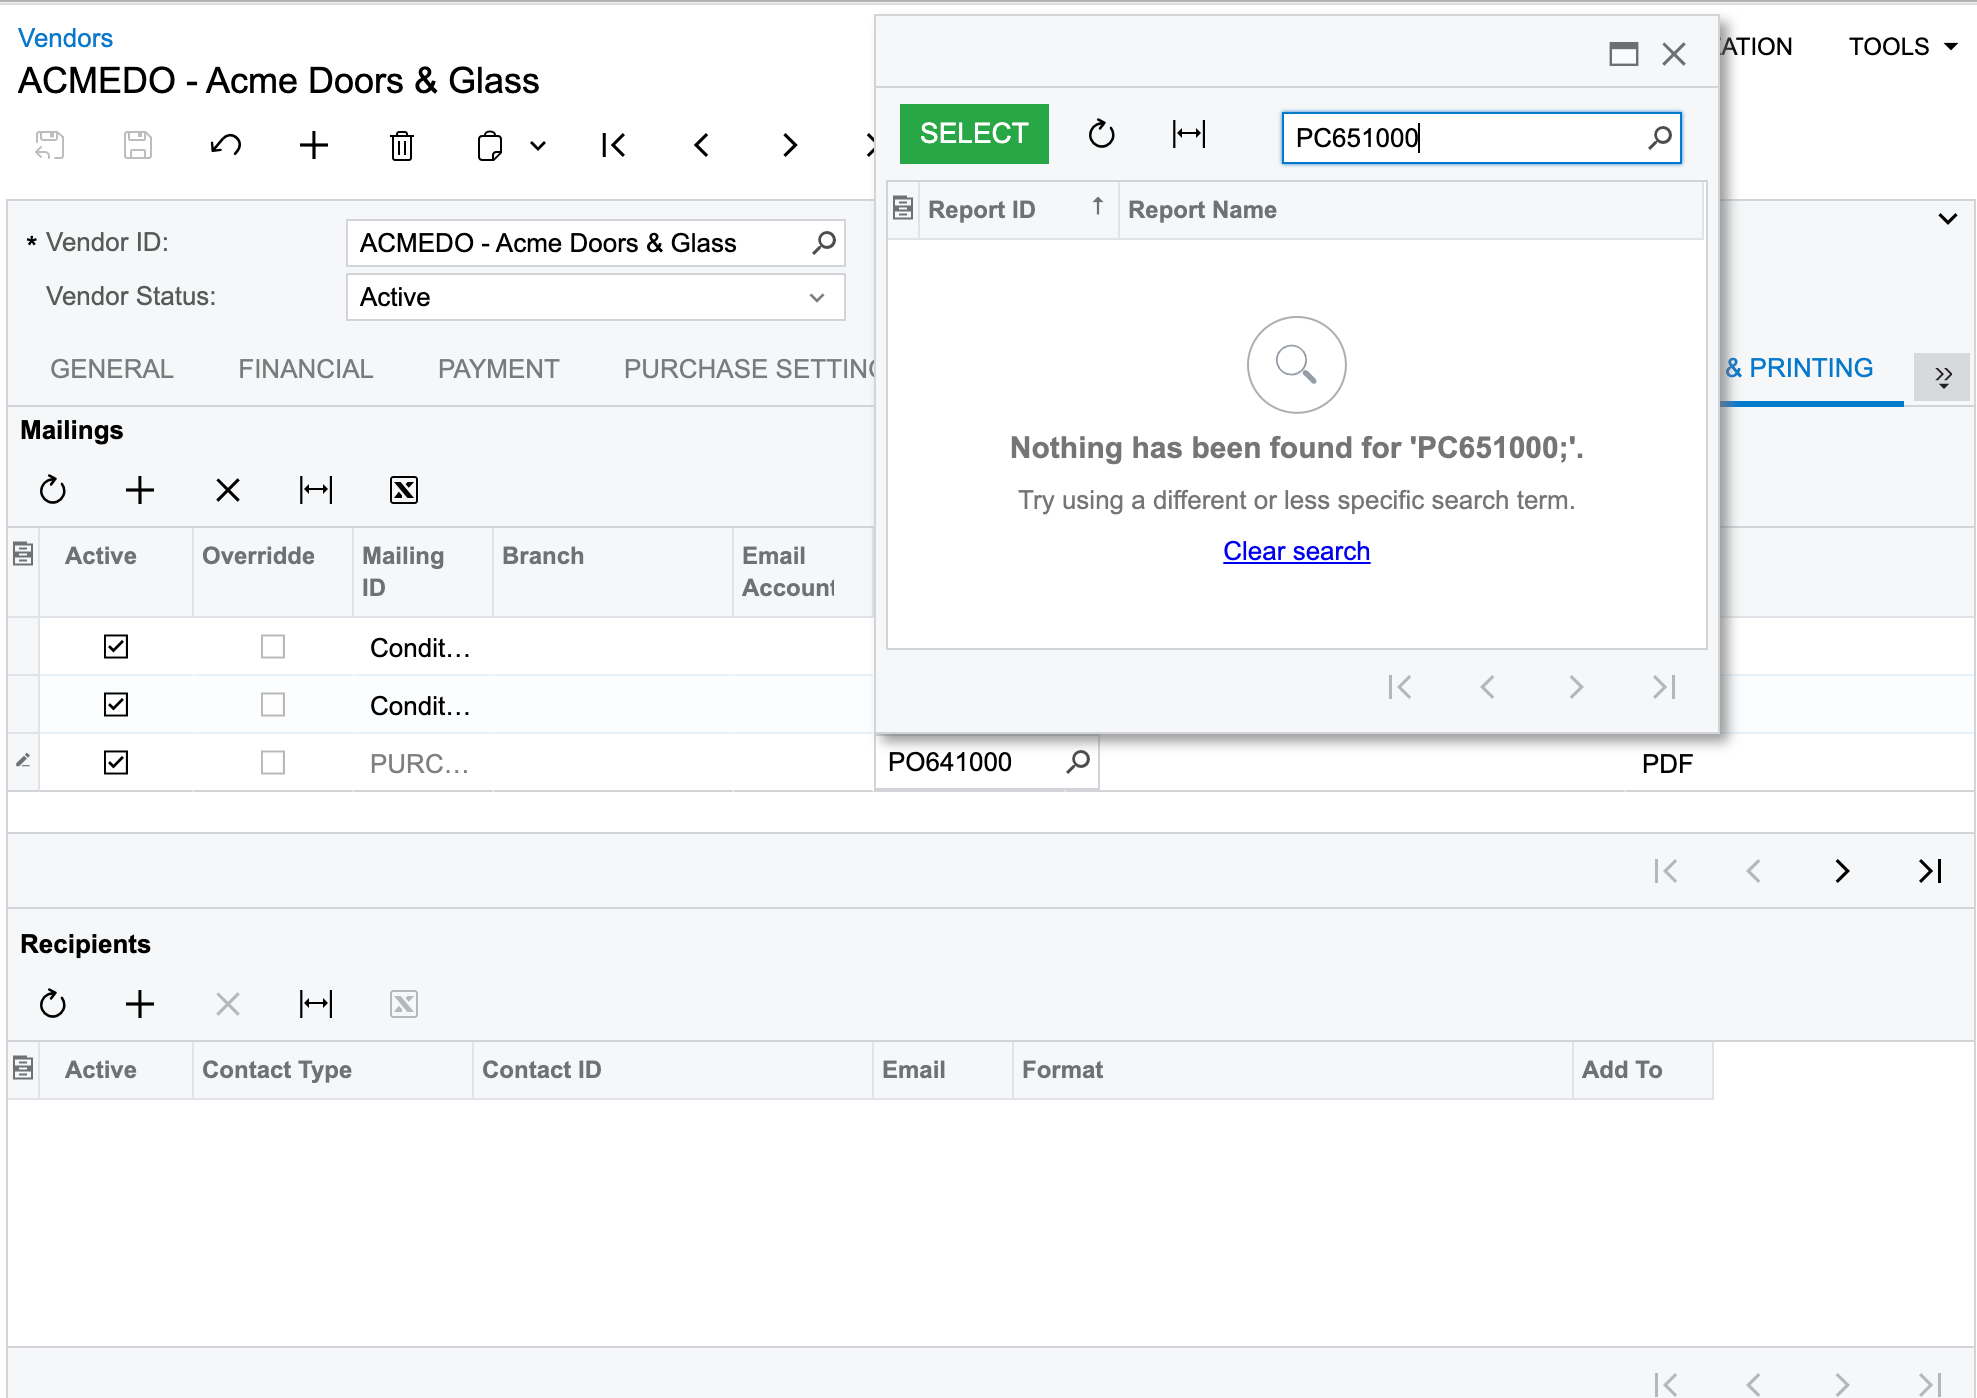
Kindly let me know how can I achieve it. I am not looking to modify the already existing report.
Page 1 / 1
Hello @Harshita ,
Has the new report been added to the Site Map Screen? Here is an example where I added a new check format. I recommend copying the URL from the most similar line (in your case the standard PO report) and change the report name at the end of the URL to match your new report, PC651000.
.
Hello @Harshita ,
Has the new report been added to the Site Map Screen? Here is an example where I added a new check format. I recommend copying the URL from the most similar line (in your case the standard PO report) and change the report name at the end of the URL to match your new report, PC651000.
Yes I did add the report ID and the URL in the Site Map screen
Hi,
I think the name of the report is causing the problem. When I go to the Mailings tab of Purchase Order Preferences screen, I can only see reports that begin with PO.
Laura
Hi,
I think the name of the report is causing the problem. When I go to the Mailings tab of Purchase Order Preferences screen, I can only see reports that begin with PO.
Laura
Hello @Laura02 , I tried to modified the Report ID from PC651000 to PO6410PC, and it worked. Looks like due to the naming conventions the system wasn’t displaying the previously created report ID.
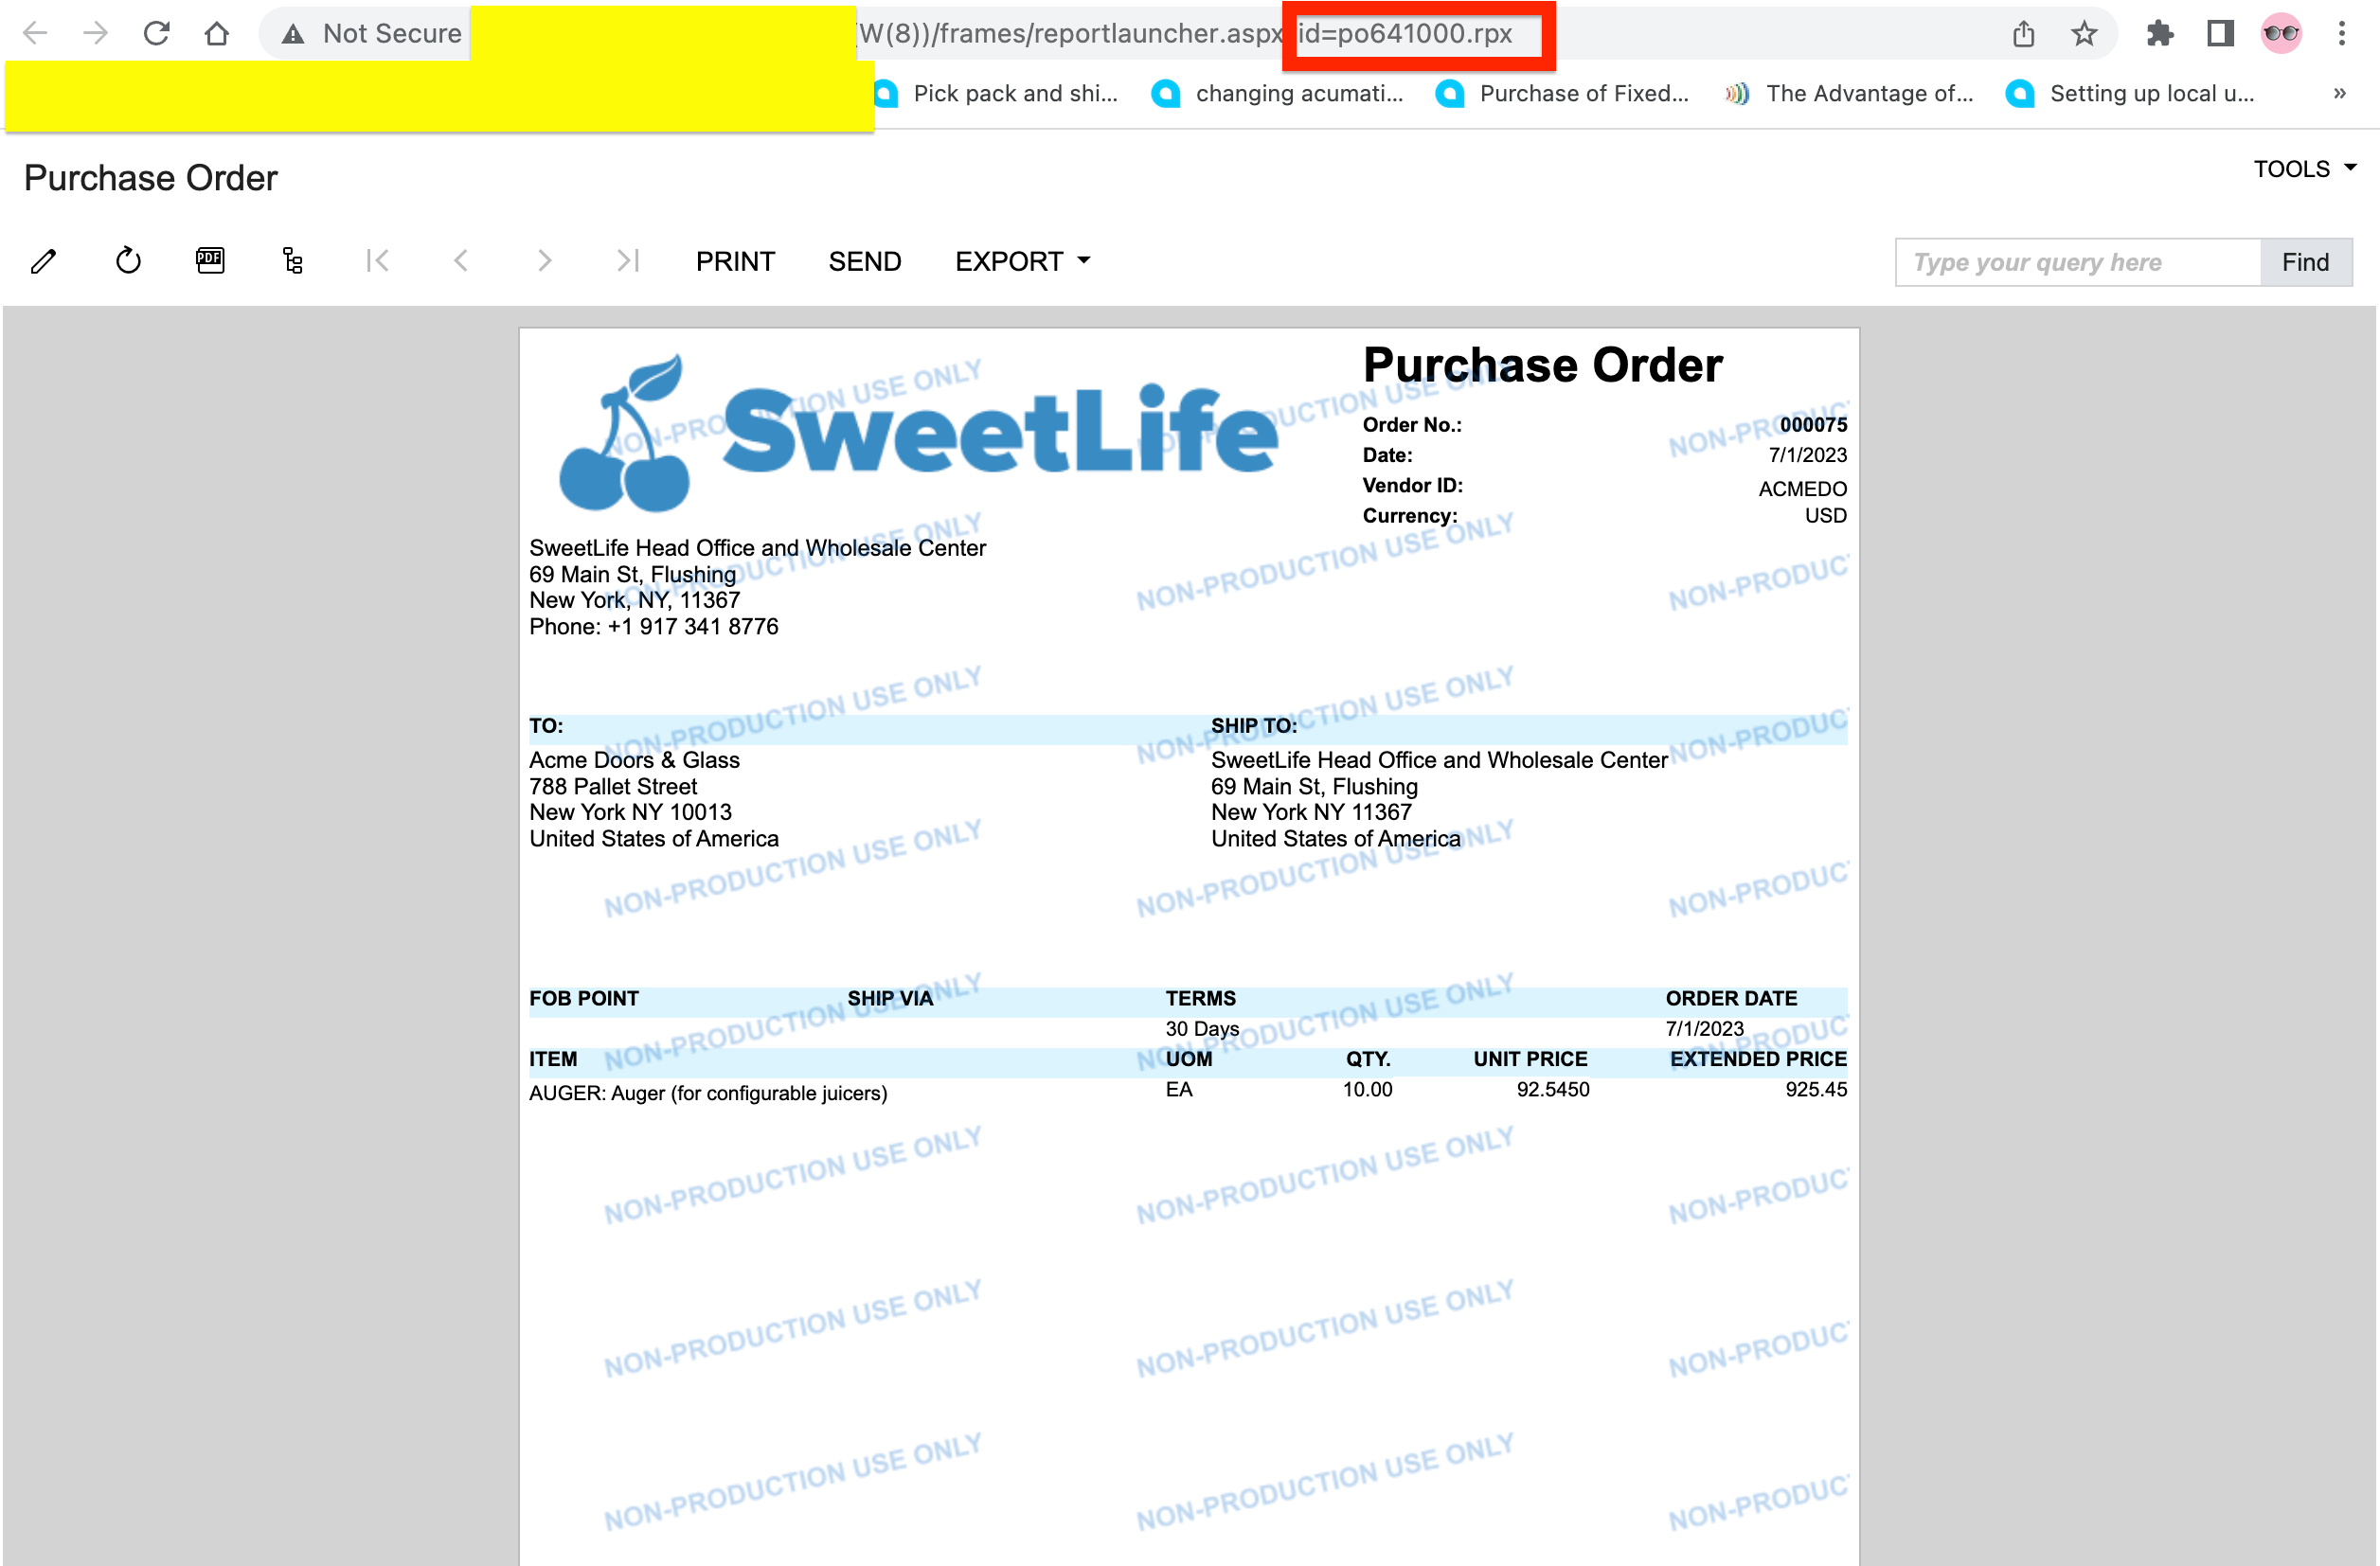
But still I am unable to replace the default format Print Purchase Order (PO641000) in the PO (PO301000) to the new report ID. I tried to change the Report ID in the Purchase Order Preferences screen & also under the Mailing & Printing Tab → Vendors (AP303000) screen, but still not getting the result. The system still opens up the old one.
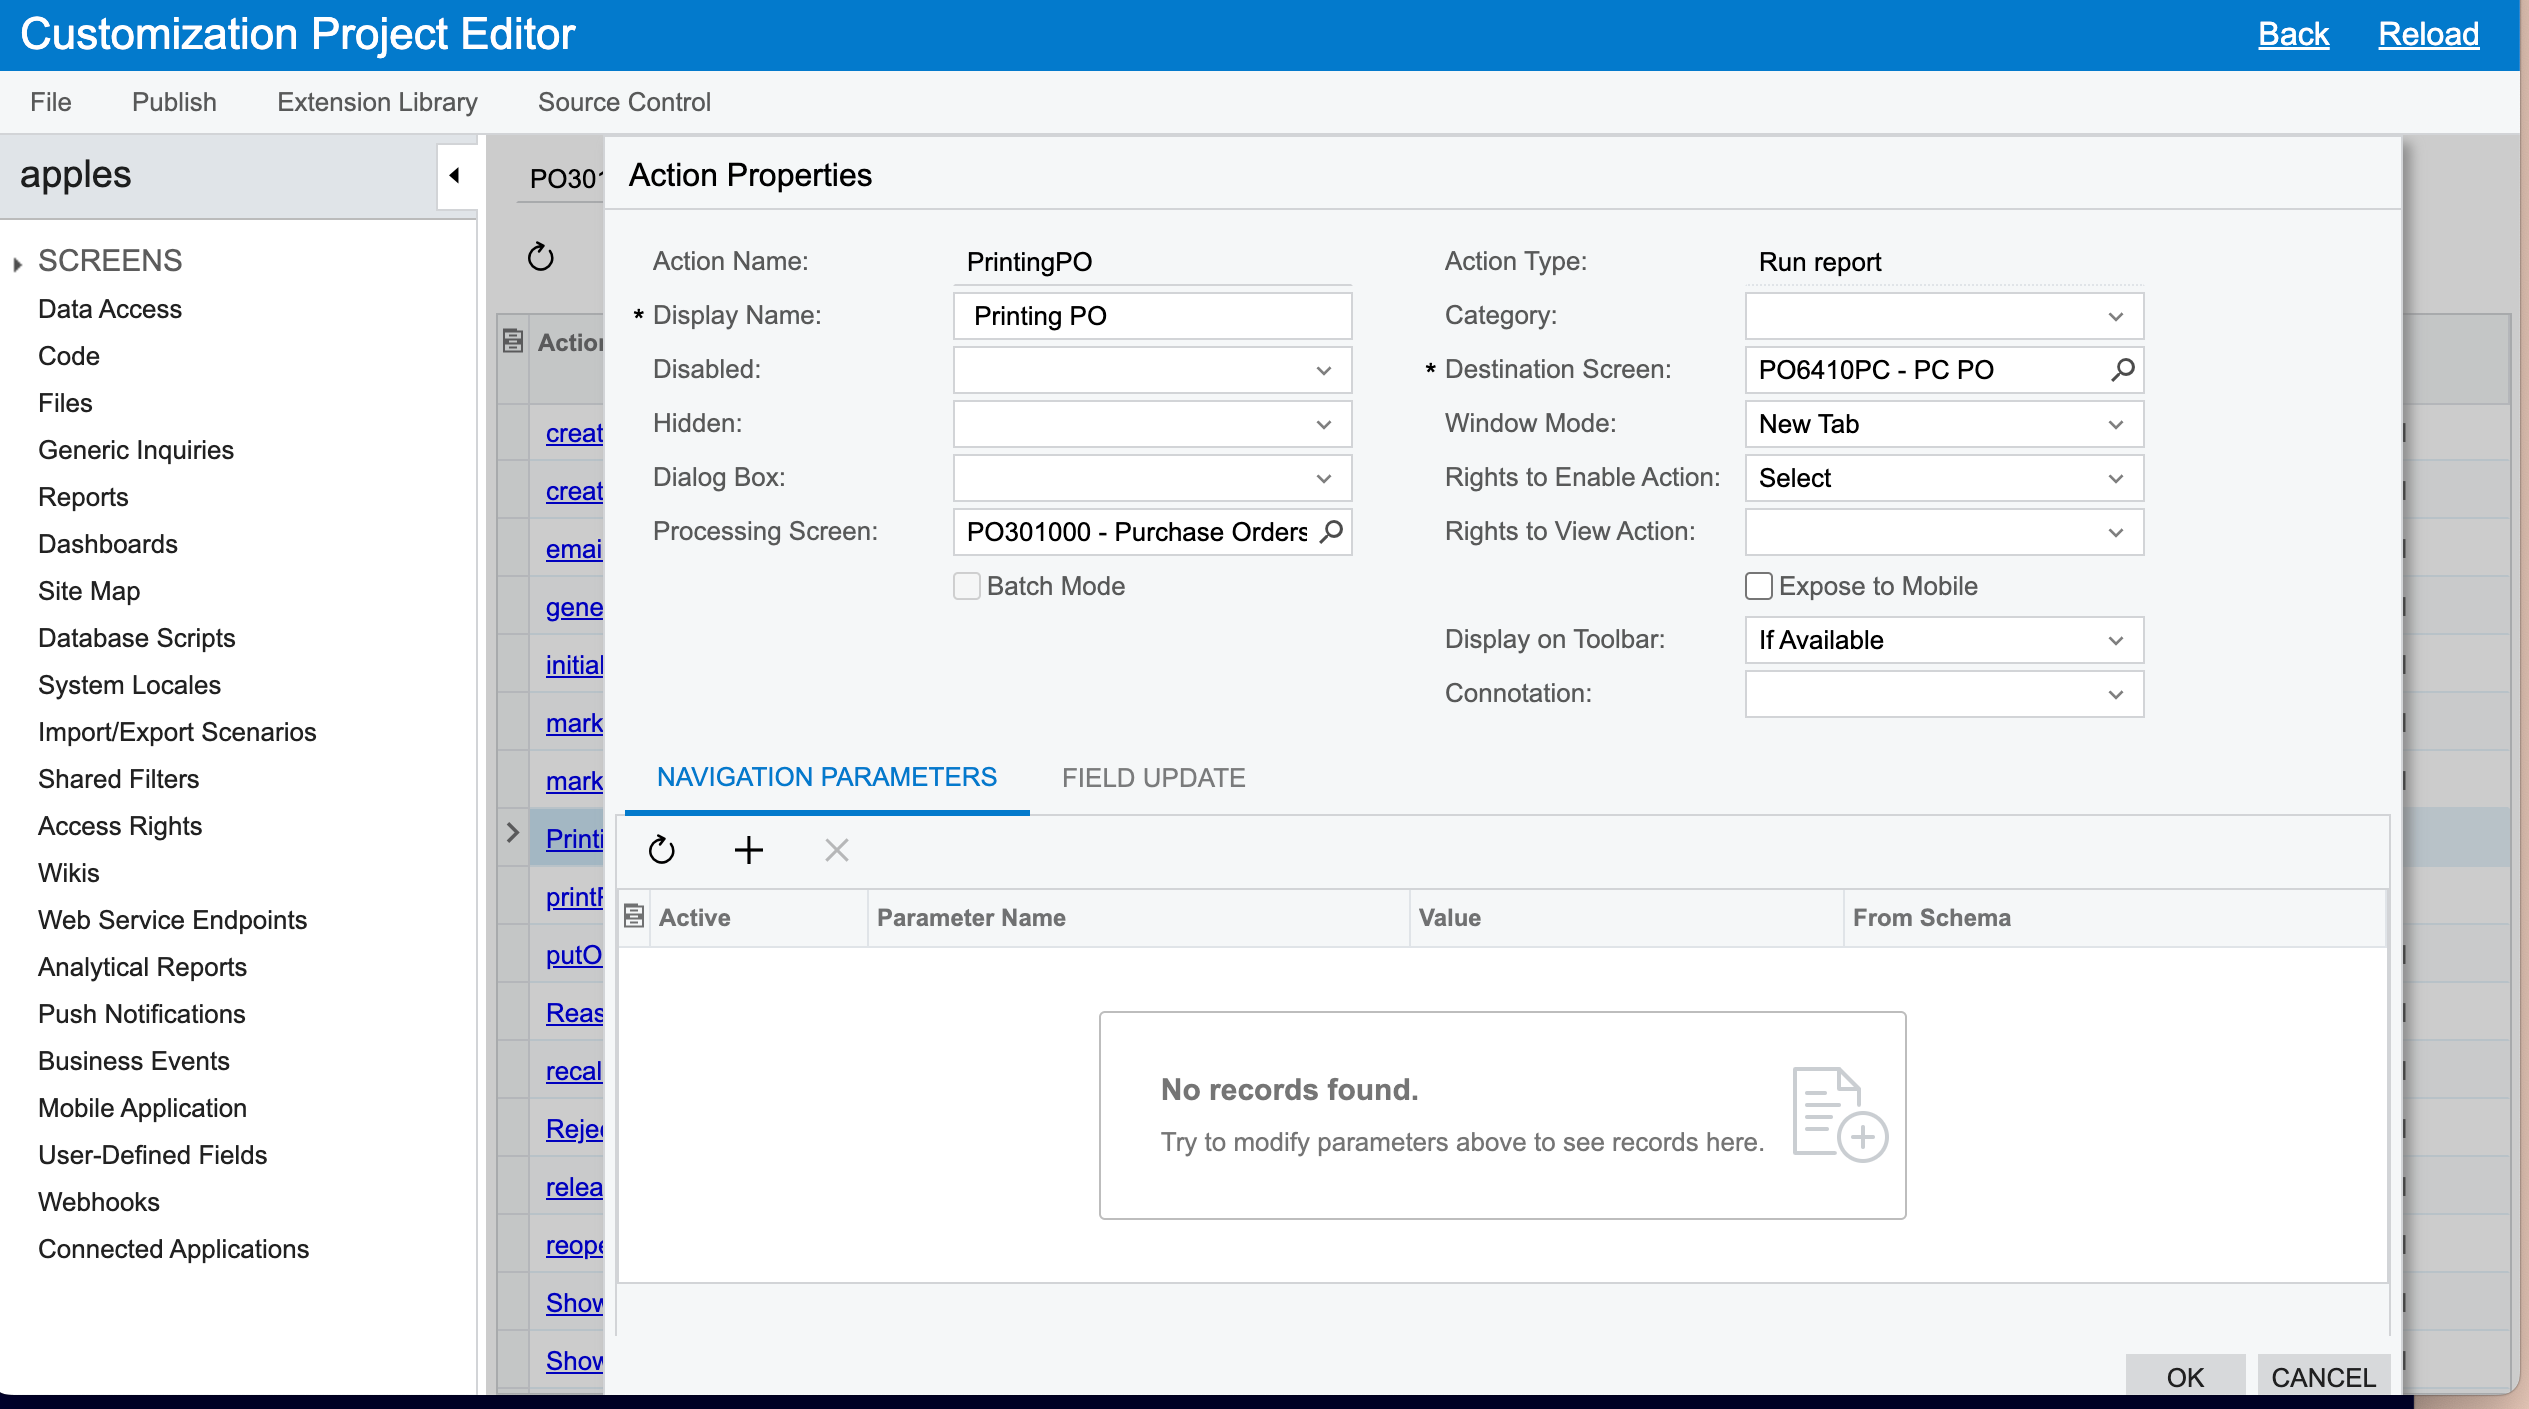
But what I tried is, using Customization Project Editor, I tried to add this new report in the form toolbar:
This is the only workaround I can see for now. Also what if there are different report formats for different vendors. Is it possible to achieve this with such no code customizations?
Thanks in advance.
Hello,
When there are different reports for different vendors, we connect them here, where you have already shown.
I don’t know why Acumatica is not selecting report PO6410PC when you print. How are you printing the PO? Does it make a difference if you print from the PO Screen’s (...) Actions menu versus from Purchases → Printed Forms → Purchase Order report, versus Process → Create Purchase Orders?
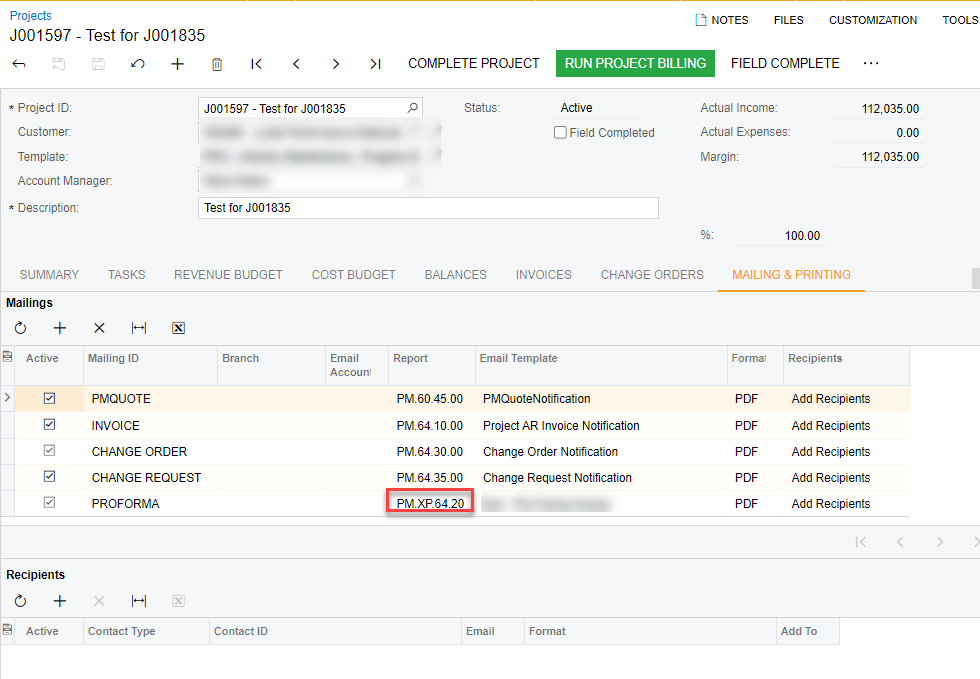
I am having a very similar issue with Pro Forma invoices. I have a custom Pro Forma invoice report I created and I want that to be the one that runs from Actions->Print. But instead it keeps printing the standard Pro Forma (PM642000). I modified the Report ID value in both Project Preferences and added to the specific project(s) - but still doesn’t print my custom report. Obviously I could just name my custom report PM642000 (same as standard/default) and it would work but it seems what I am doing should work. Am I missing something? Or is something broke in our version? Or? Wondering if anyone has had any luck with this.
Hi @Harshita were you able to find a solution? Thank you!