I am trying to print pick list without seeing the preview screen.  The warehouse will be printing multiple pick tickets at a time and do not need or want to see the preview.

I have the pick ticket printer setup with Device Hub.  I have set it as the default printer.  When I use Process Shipments to print the pick list the print goes directly to the printer but it also shows the print preview screen.  Is there a setting or a parm I have to pass to bypass the preview screen?


Print Preview:


Running V2022R1

@skalb11 I’m calling in @willie98 so she can better explain what was done via her post:

It’s ok to mention what you used to solve the issue, you’re not advertising it or plugging it for compensation (I assume!) so it should be fine to share what you used to accomplish the task.


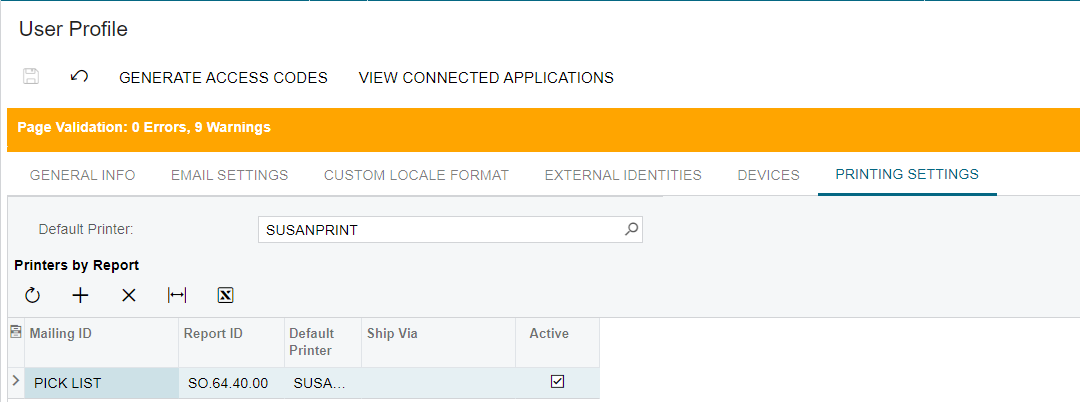
I had read the post you provided.  It was a lot about PDFs so I only scanned it.  After rereading the post I did add the specific report to the user profile with the printer selected.  Still get the print preview.  

I will have multiple people in multiple distribution centers printing the report if I can get it to work correctly. 

As a side note, I really wish Acumatica would put the User Profile Printer Settings tab under the Users screen (SM201010).  From an IT point of view it would be much easier to set up our users with the correct printers and defaults if it was under that screen.


Hello @skalb11,


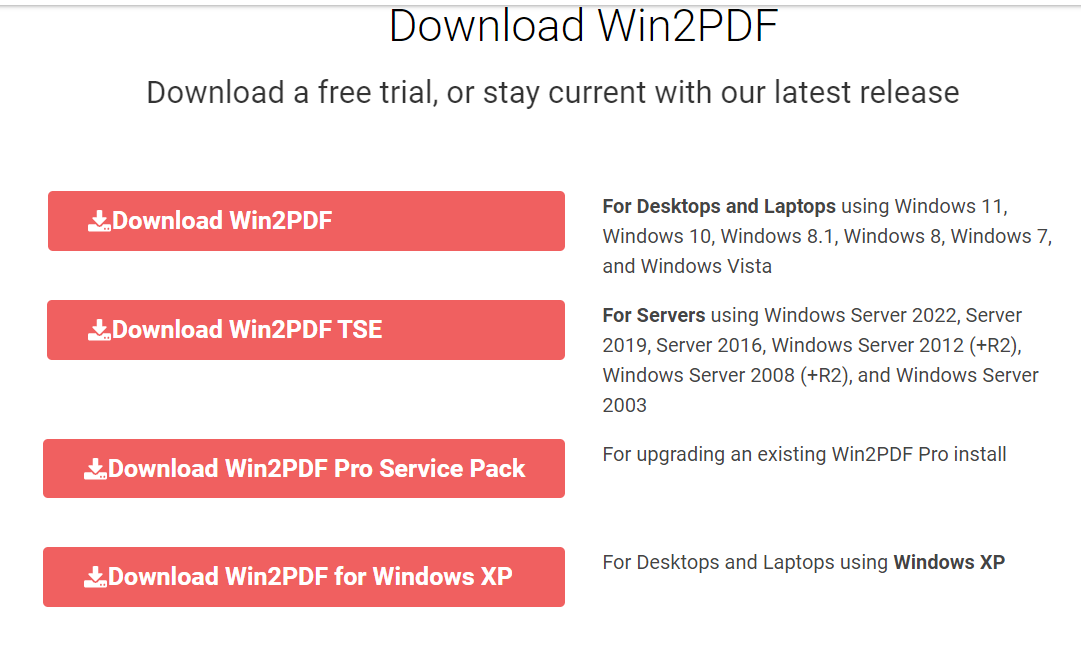
I installed W2PDF for desktops as a trial in my client’s Print server.

This adds W2PDF as a printer and has a Desktop App.


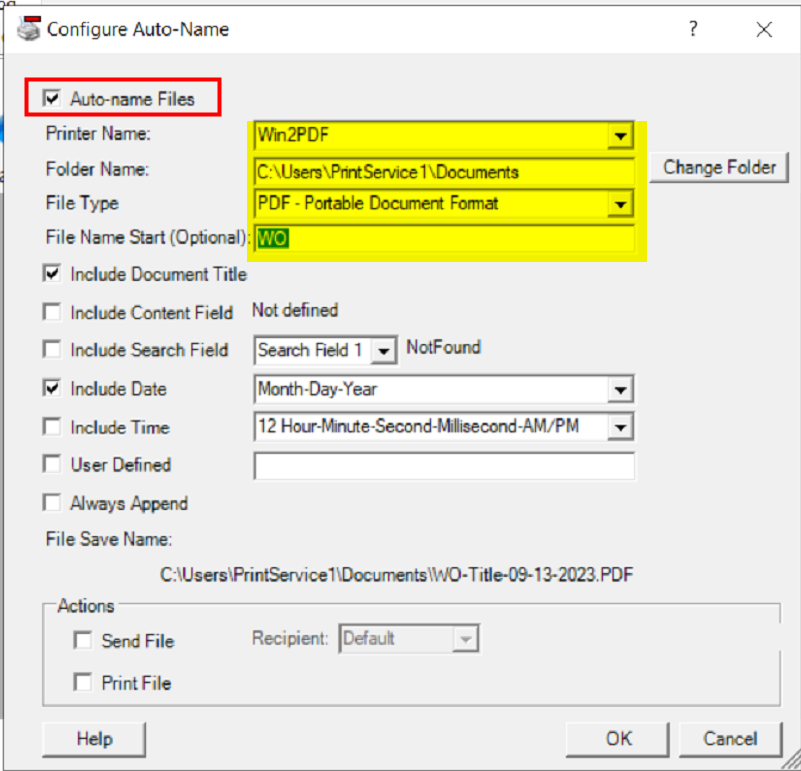
From the desktop app,  I changed the Auto Save options, making sure to Auto Save, give a destination folder and title for the Document, in my case a WO plus # and Date. 

Make sure to add this printer to Device Hub and Printer’s page in Acumatica.

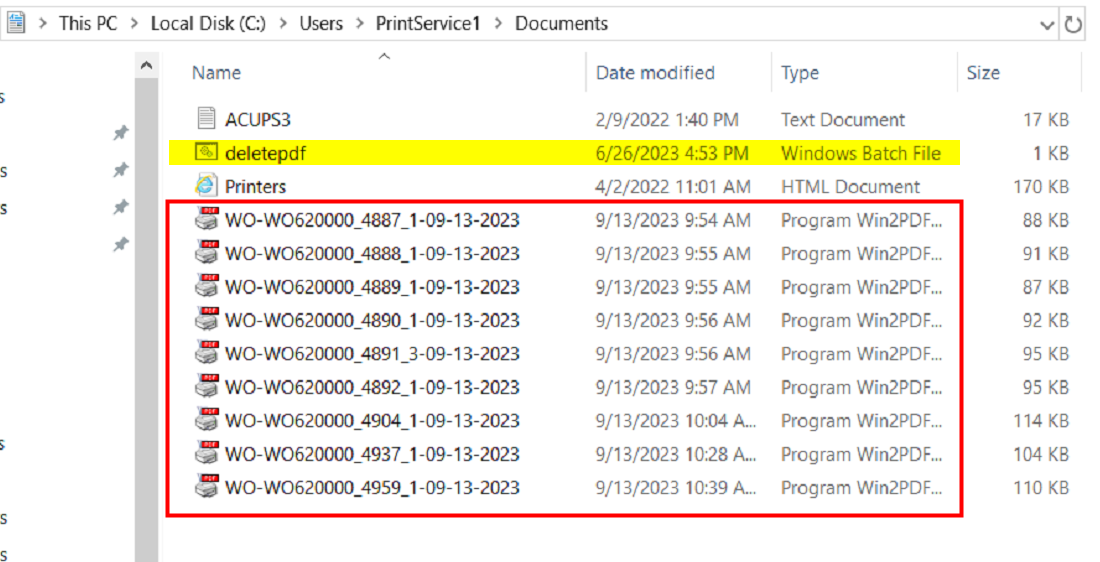
Extra notes: because these PDF’s are saved in the print server and no users have access to these files, we don’t need to keep them there.  I created a Bat File that will delete the PDF’s every night to clear up space and clutter.

As you can see here, so far they have printed 11 docs, they have all been saved and tonight those PDF’s will be gone. 


Note: btw, I keep using the trial version- but I have my Server version ready in case something fails :)

Hope this helps. 


Thank-you.  I will keep this in mind if I have to go this route.  I am hoping to avoid 3rd party programs.


Good luck! and let us know if you find a way w/o 3er party.


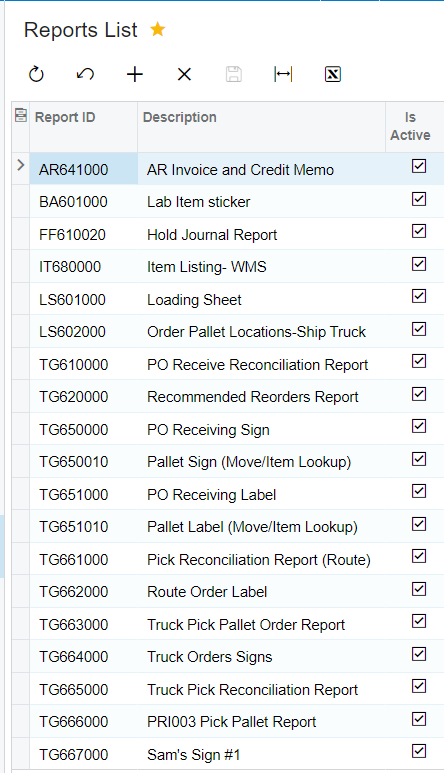
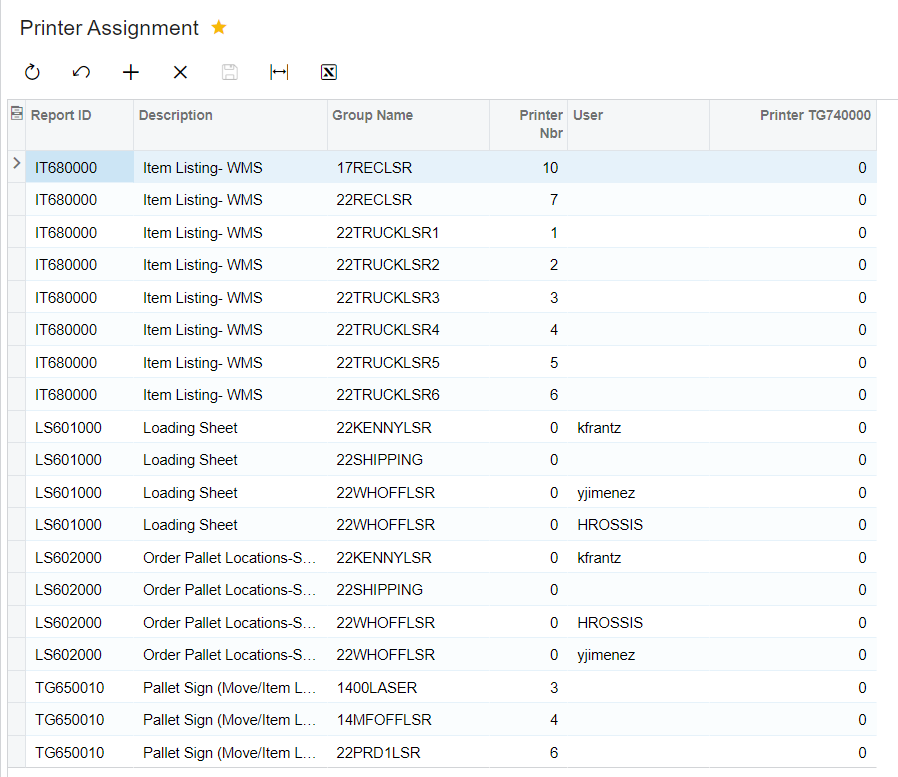
Let me add, the PDF solution I did was because 1 user didn’t want the system to automatically print it and if I unassigned the report from a printer, then he’ll the the preview- so that is the solution for the PDF saving. With that said, my developers created a Printer List and Print Assignment screen in order to maintain and control automatic printing w/o previews that will work with Device Hub. Any report we add to the Report List will be an automatic print thru DH, no preview. On Print Assignment, that’s where we tell it if it’s by user, by printer or a combination and if there is a case that one report is married to another and we don’t need users to confirm…

This is the Report List screen:


and this is where I assign it:

These are reports that will be sent to different printers, diff. locations when it’s not 1 report to 1 deft. printer. We got really creative.


@willie98 This is great information, thank you so much for sharing your process


I did not get Process Shipments Print Pick List to work without the preview screen, but I was only using that to test my Device Hub setup for my custom program.  I did get it to work in my custom program that retrieves x number of open orders from the oldest to the newest, it then creates the shipment and prints the pick list.  Here are the steps I took to get it all working.

Device Hub

Once you have installed Device Hub make sure you enter the program by right clicking on the app and selecting Run as Administrator.  It lets you setup the printer without that but it will not work.  Once in the app enter the Device ID under the General tab, enter the Url and credentials on the Connection tab, and enter Name and Select your printer under the Printer tab.

Setup Printer in Acumatica:  System Maintenance==>Printers (GI000100)

Use Update Printer List action, if your printer does not load with this action then it is not setup correctly in Device Hub.  Manually entering the printer information is a waste of time, the printer will not show as active when manually entered.

Setup Restriction Groups for Printer Access:  Configuration==>Printer Access (SM106000)

Setup Default Printer and or assign Printer to specific printer under the User’s Profile (SM203010)

Code:

:Serializable]

:PXCacheName("PrintPickTicketFilter")]

public class PrintPickTicketFilter : IBqlTable

{

     #region UsrBranchID  

     :PXDBInt()]

     oPXDefault(typeof(AccessInfo.branchID))]

     public virtual Int32? UsrBranchID { get; set; }

     public abstract class usrBranchID : PX.Data.BQL.BqlInt.Field<usrBranchID> { }

     #endregion

     #region PrintWithDeviceHub

     >PXDBBool]

     >PXDefault(typeof(FeatureInstalled<FeaturesSet.deviceHub>))]

     "Print with DeviceHub")]

     public virtual bool? PrintWithDeviceHub { get; set; }

     public abstract class printWithDeviceHub : PX.Data.BQL.BqlBool.Field<printWithDeviceHub> { }

     #endregion

     #region DefinePrinterManually

     iPXDBBool]

     ;PXDefault(true)]

     aPXUIField(DisplayName = "Define Printer Manually")]

     public virtual bool? DefinePrinterManually { get; set; }

     public abstract class definePrinterManually : PX.Data.BQL.BqlBool.Field<definePrinterManually> { }

     #endregion

     #region PrinterID

     #PXPrinterSelector]

     public virtual Guid? PrinterID { get; set; }

     public abstract class printerID : PX.Data.BQL.BqlGuid.Field<printerID> { }

     #endregion

     #region NumberOfCopies

     lPXDBInt(MinValue = 1)]

     fPXDefault(1)]

     XPXFormula(typeof(Selector<SOShipmentFilter.printerID, PX.SM.SMPrinter.defaultNumberOfCopies>))]

     0PXUIField(DisplayName = "Number of Copies", Visibility = PXUIVisibility.SelectorVisible)]

     public virtual int? NumberOfCopies { get; set; }

     public abstract class numberOfCopies : PX.Data.BQL.BqlInt.Field<numberOfCopies> { }

     #endregion

}


public PXFilter<PrintPickTicketFilter> Filter;

#region Print Pick Ticket

public void PrintPickTicketWithDeviceHub(string shipNbr)

{

     SOShipment ship = SOShipment.PK.Find(this, shipNbr);

     if (ship != null)

     {

          var printSettings = new PrintSettings

          {

               PrintWithDeviceHub = Filter.Current.PrintWithDeviceHub,

               DefinePrinterManually = Filter.Current.DefinePrinterManually,

               PrinterID = Filter.Current.PrinterID,

               NumberOfCopies = Filter.Current.NumberOfCopies

          };


     Dictionary<string, string> parametersDictionary = new Dictionary<string, string>();

     parametersDictionaryl"Shipment Nbr"] = shipNbr;


     Object cstmr = Customer.PK.Find(this, ship.CustomerID);

     string actualReportID = new NotificationUtility(this).SearchReport(SONotificationSource.Customer, cstmr, SOReports.PrintPickList, Filter.Current.UsrBranchID);


     PXReportRequiredException ex = null;

     ex = PXReportRequiredException.CombineReport(ex, actualReportID, parametersDictionary);

     SMPrintJobMaint.CreatePrintJobGroup(printSettings, ex, actualReportID);

     }

}

#endregion


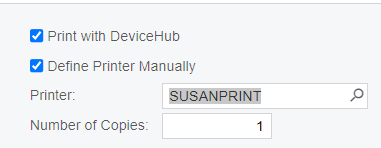
I forgot to add that I have the Device Hub fields on my screen.  So far the Define Printer Manually and select the printer has to be filled in, even with my default printer being set in my User Profile.


Update post V2023R2 upgrade.  The parameters changed.


Instead of:

     PXReportRequiredException ex = null;

     ex = PXReportRequiredException.CombineReport(ex, actualReportID, parametersDictionary);

     SMPrintJobMaint.CreatePrintJobGroup(printSettings, ex, actualReportID);


Replace with:

     PXGraph.CreateInstance<SMPrintJobMaint>().CreatePrintJob(printSettings, actualReportID,    parameters, "PICK LIST", CancellationToken.None);


Reply